TKG-S Setup with vCenter Server Network - Part 1
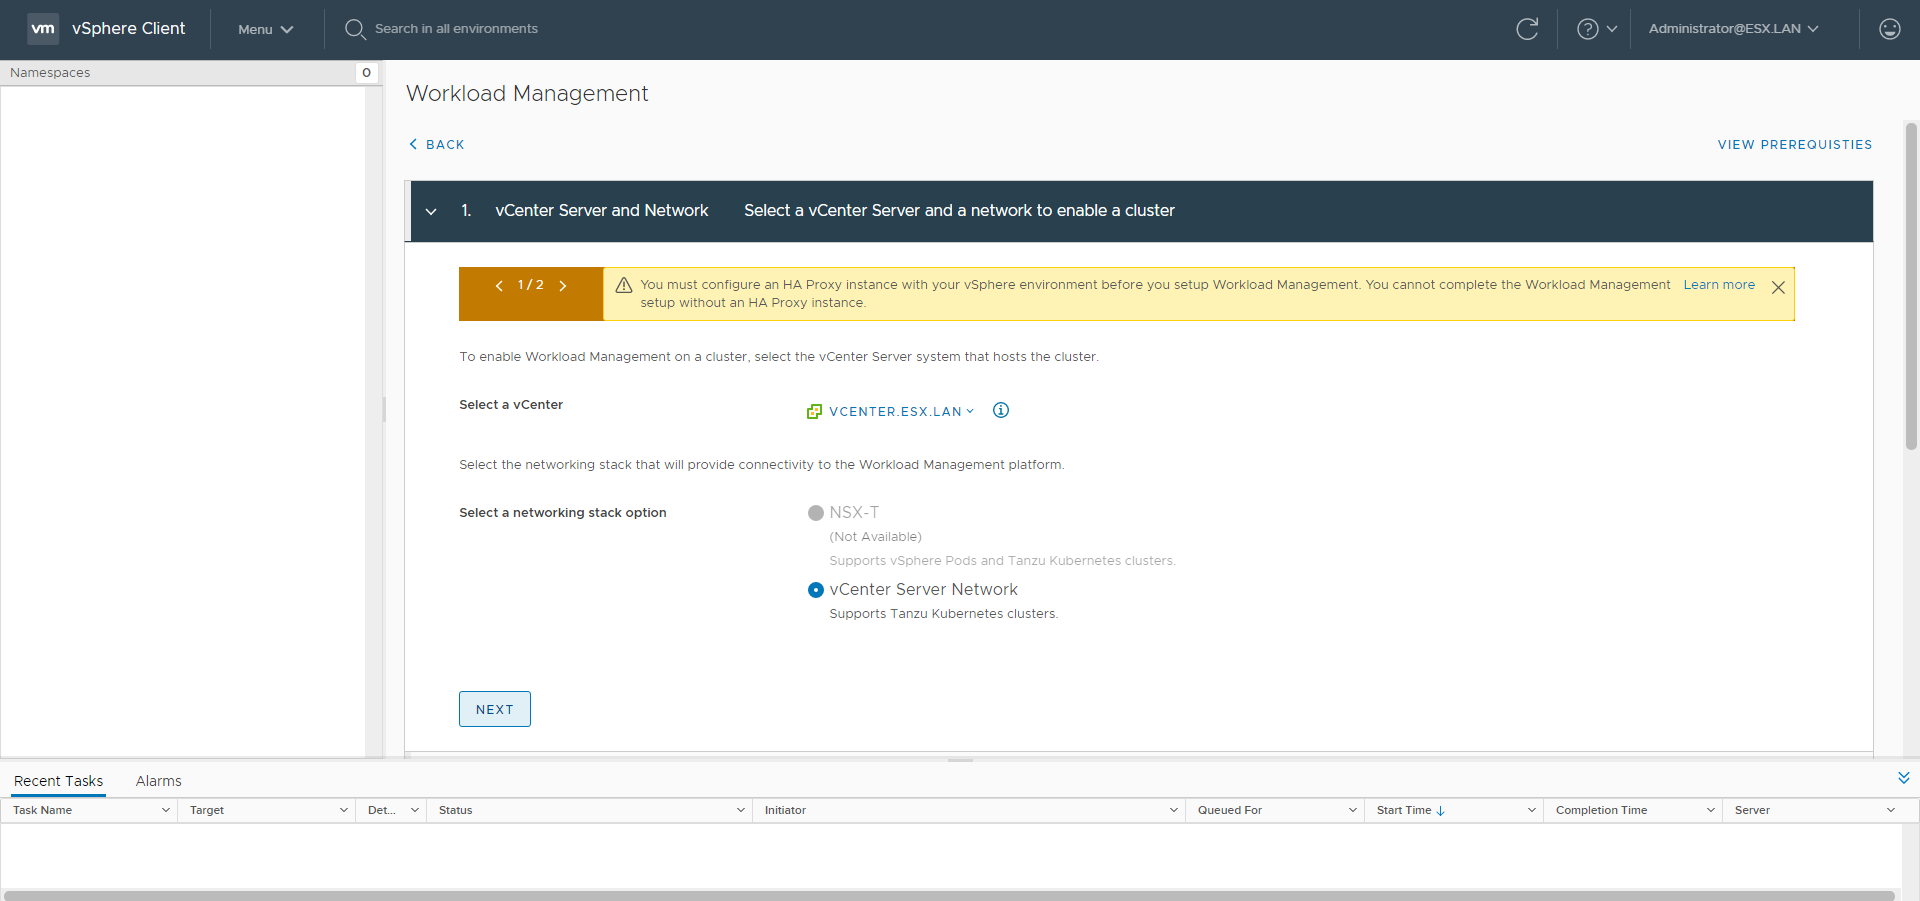
With the new vCenter 7.0.1 it is possible to deploy the Workload Management feature using the vCenter Server Network instead of NSX-T. I wanted to try it out immediately and this is my experience.
Table of Contents
Prerequisites
- A VMware vCenter 7.0.1 installed
- A VMware ESXi 7.0.1 installed
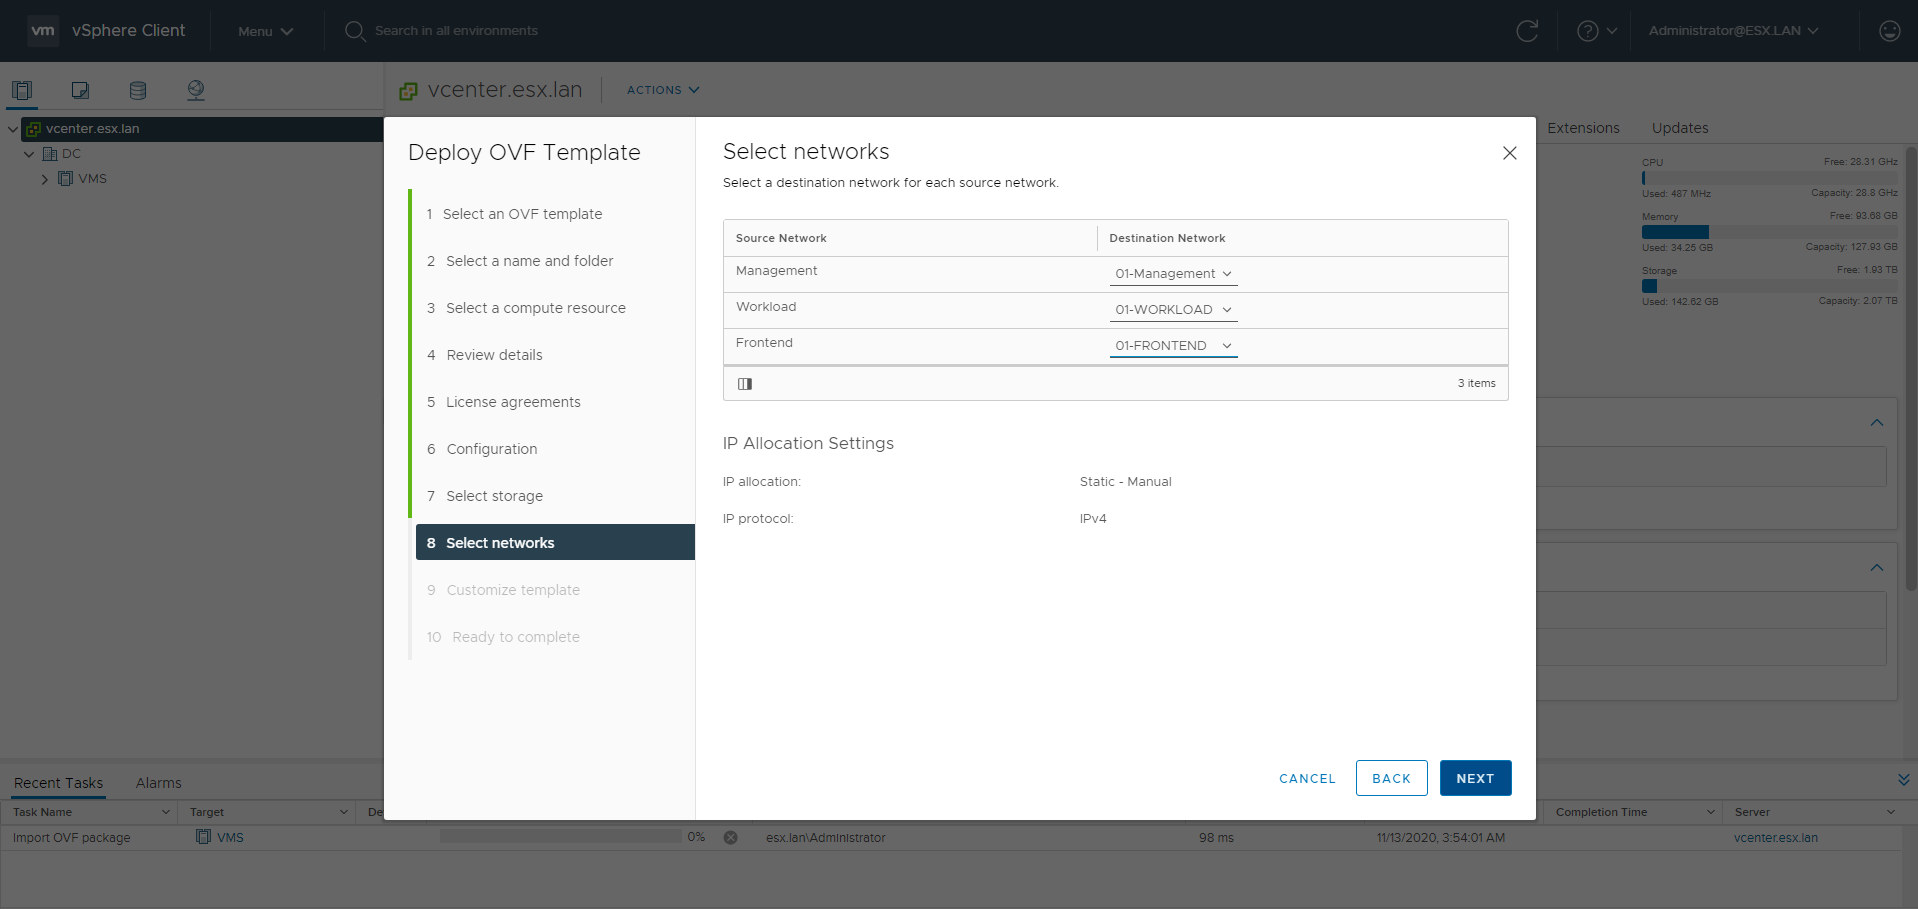
- Distributed Switch with the Distributed Port Group configured for:
- Management Network
- Workload Network
- Frontend Network
- Every Network MUST have its Gateway
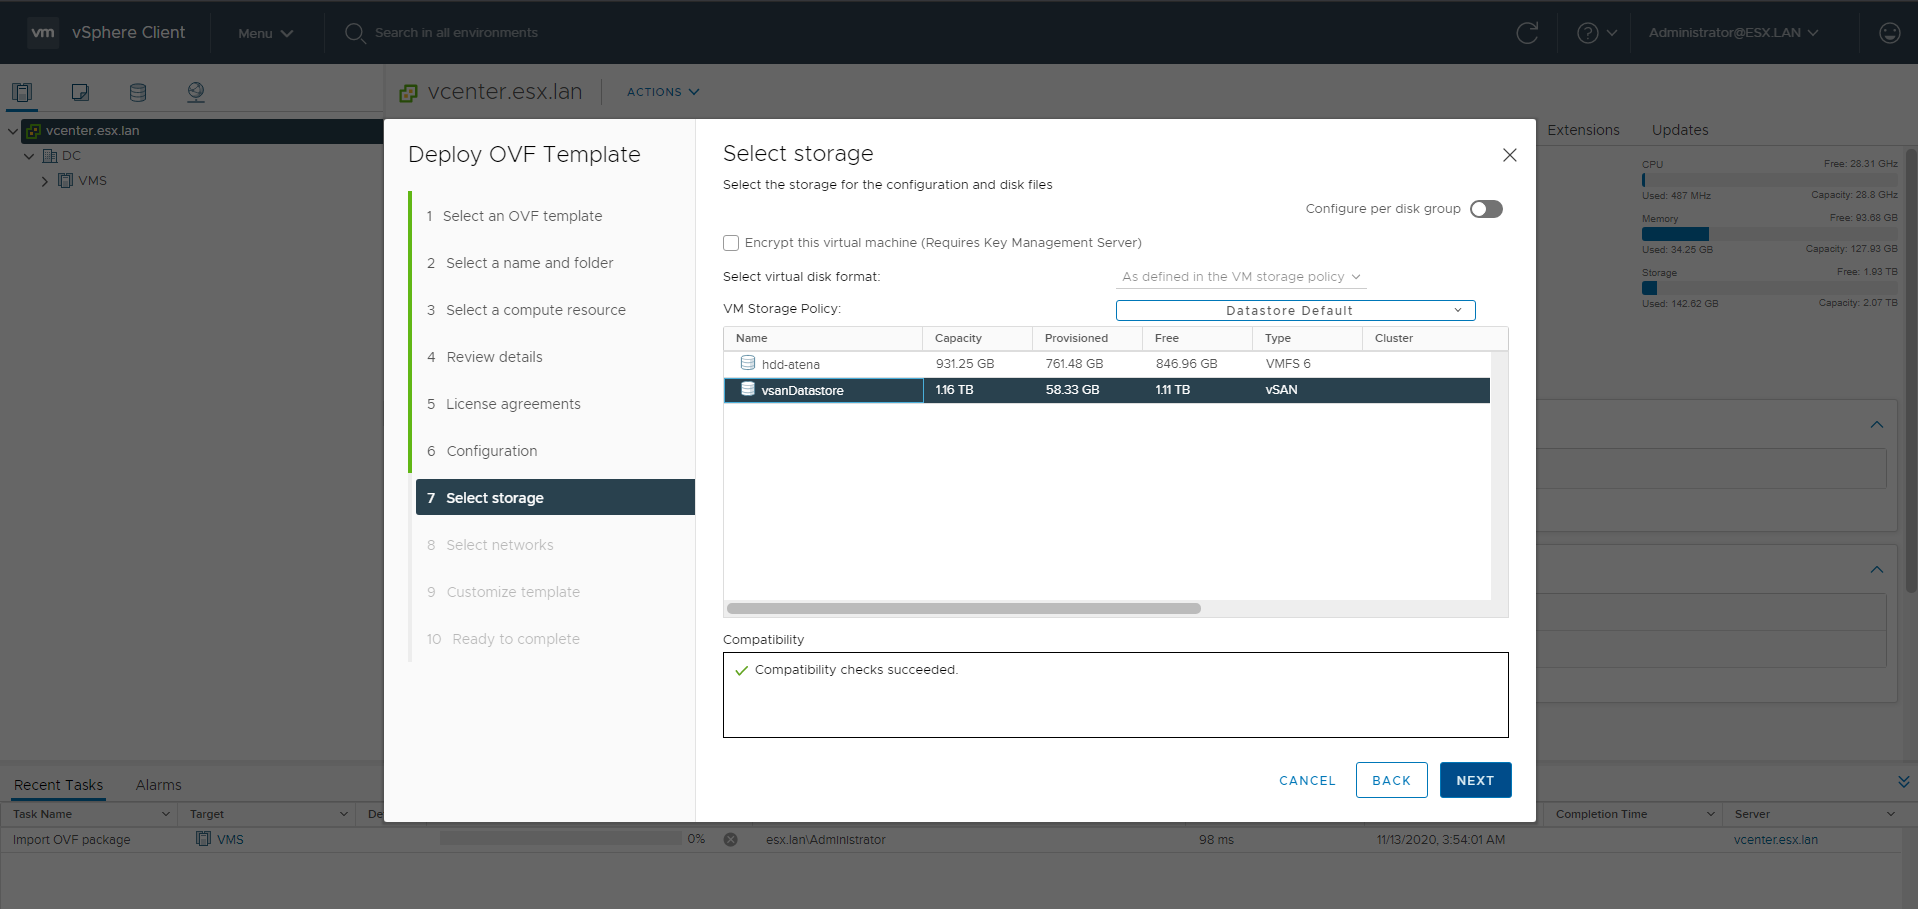
- vSAN configured
Network Configurations
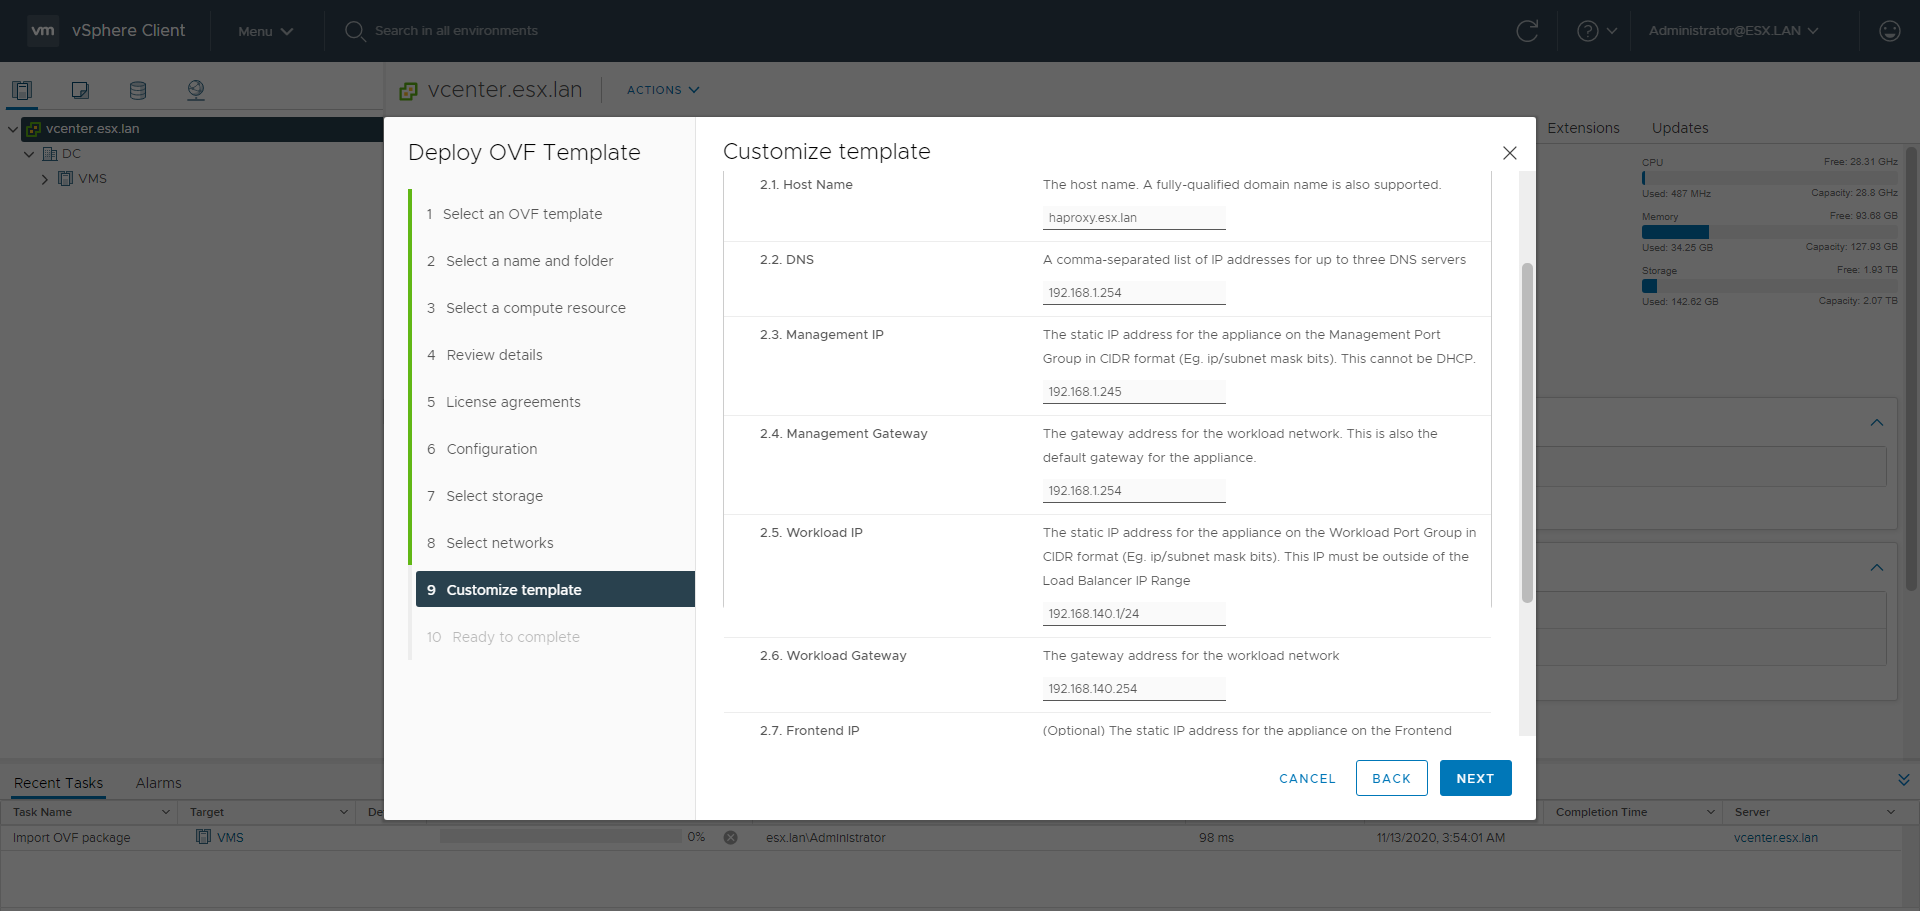
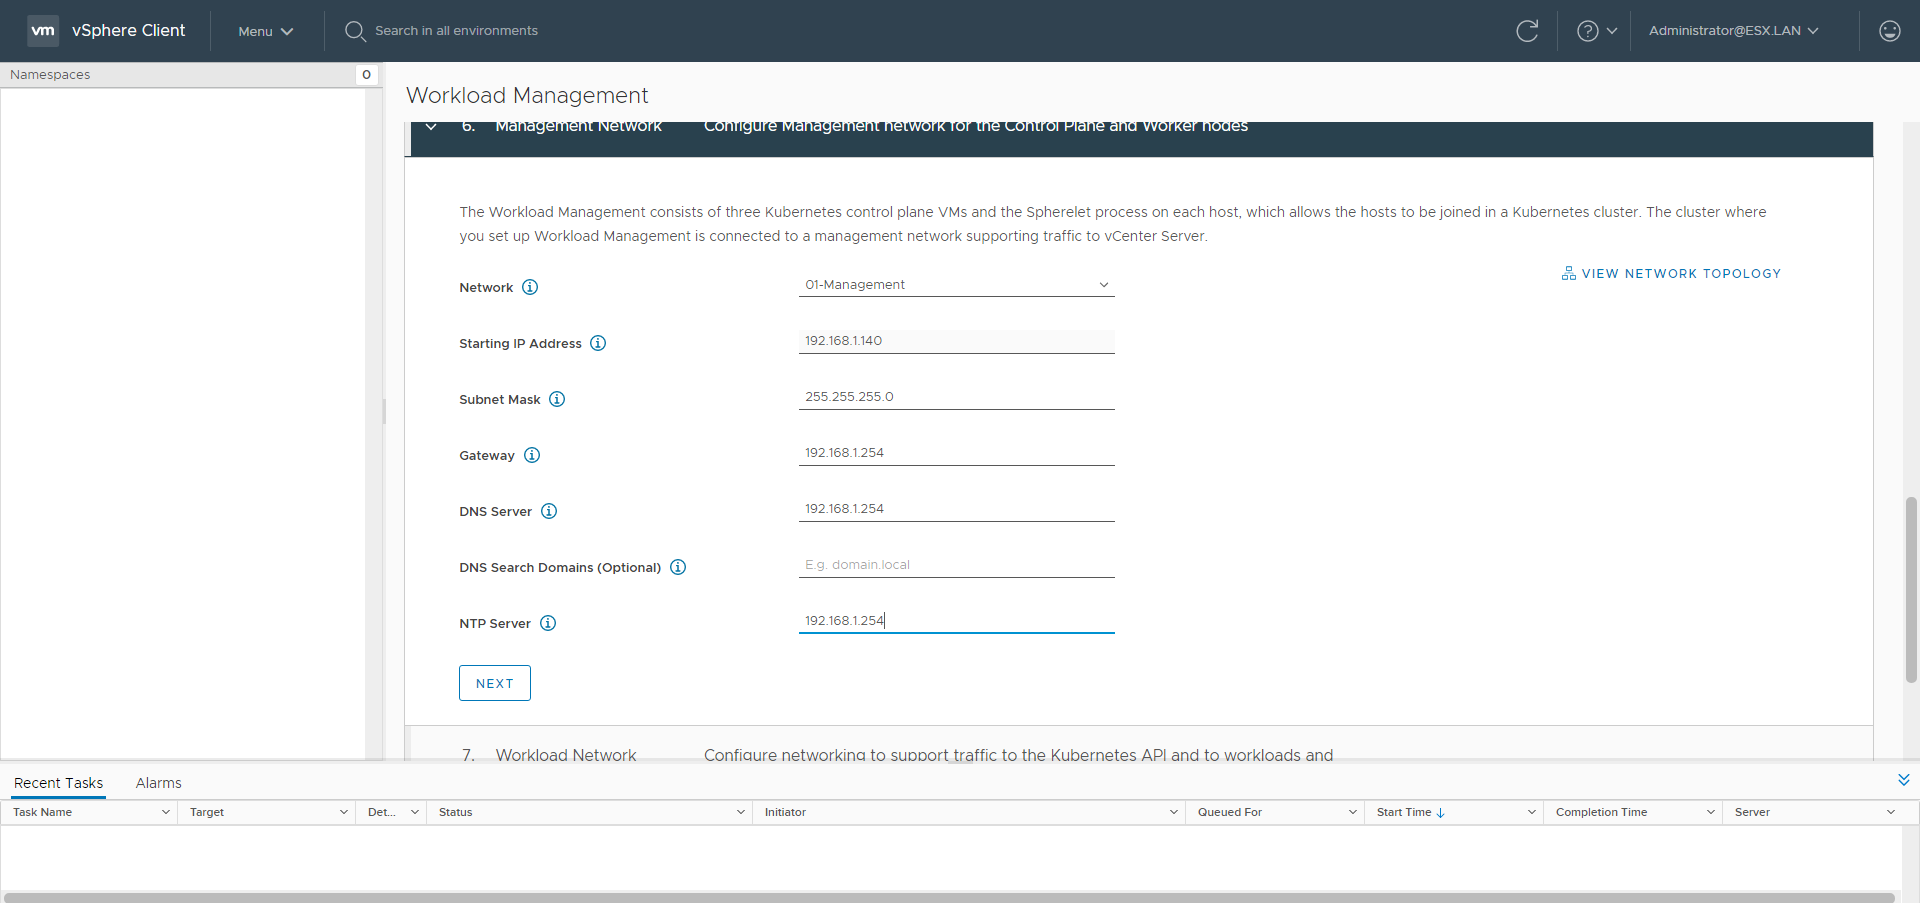
- Management:
- subnet: 192.168.1.0/24
- gateway: 192.168.1.254
- dns: 192.168.1.254
- ntp: 192.168.1.254
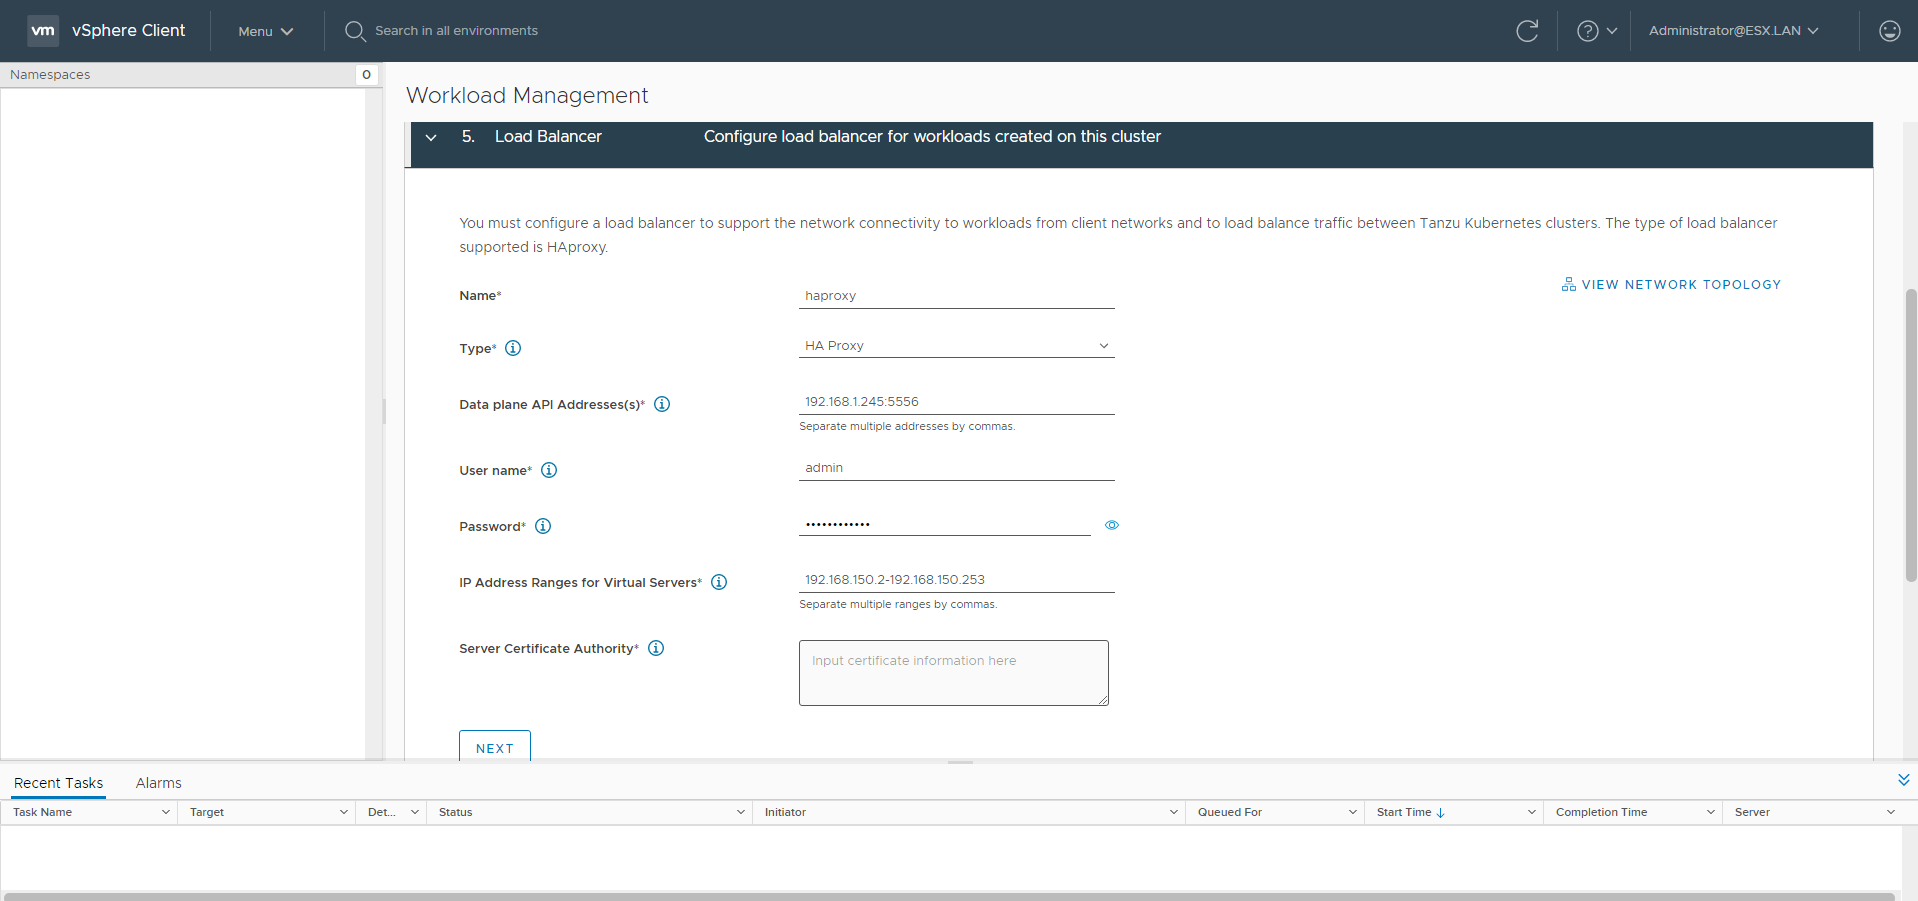
- HAproxy management ip: 192.168.1.245
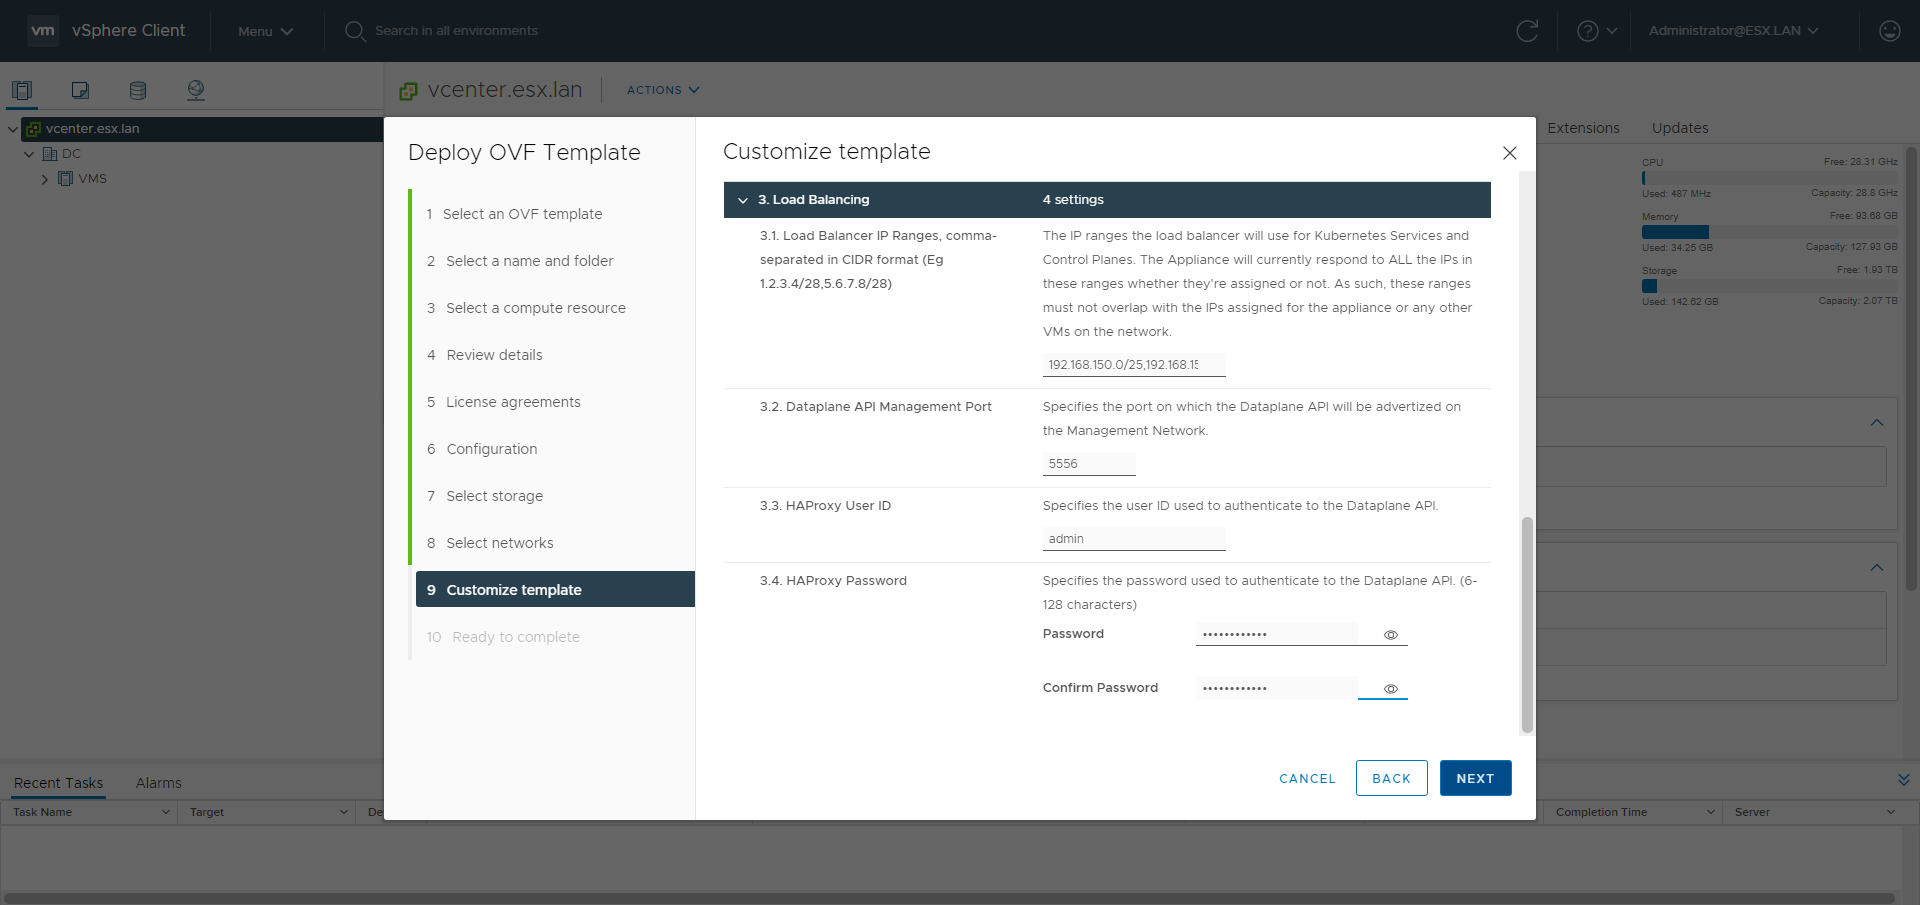
- dataplane API port: 5556
- SupervisorControlPlanes starting IP: 192.168.1.140
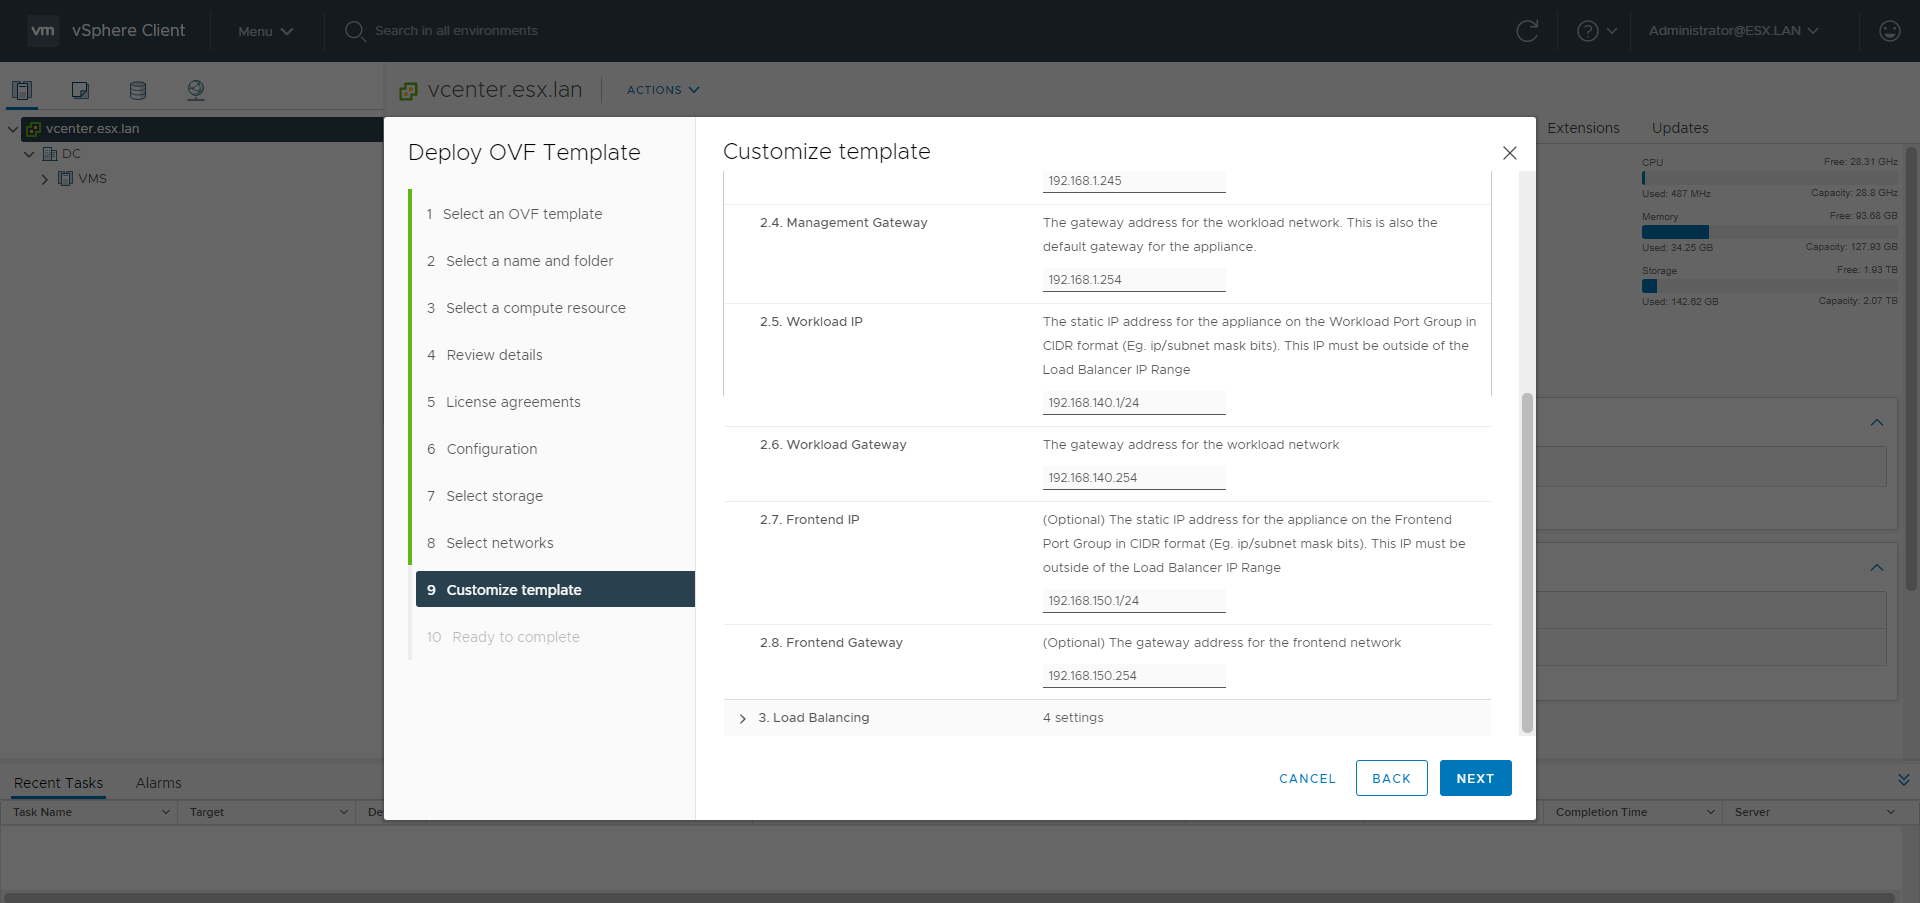
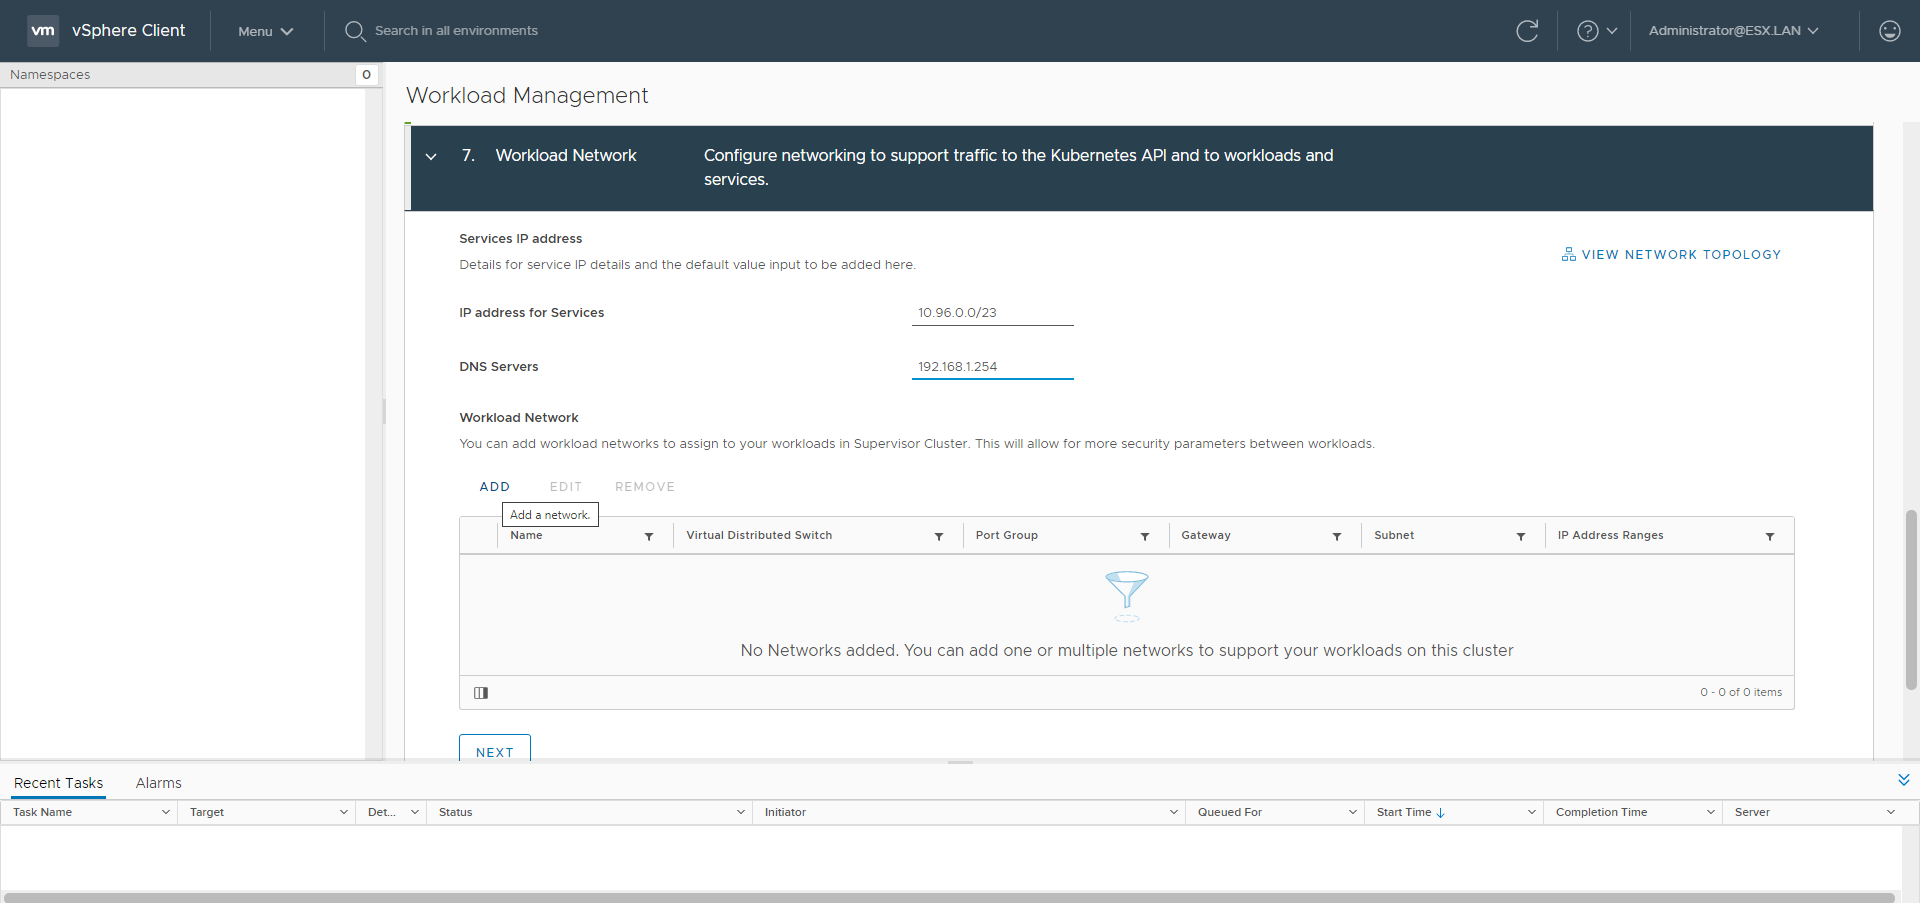
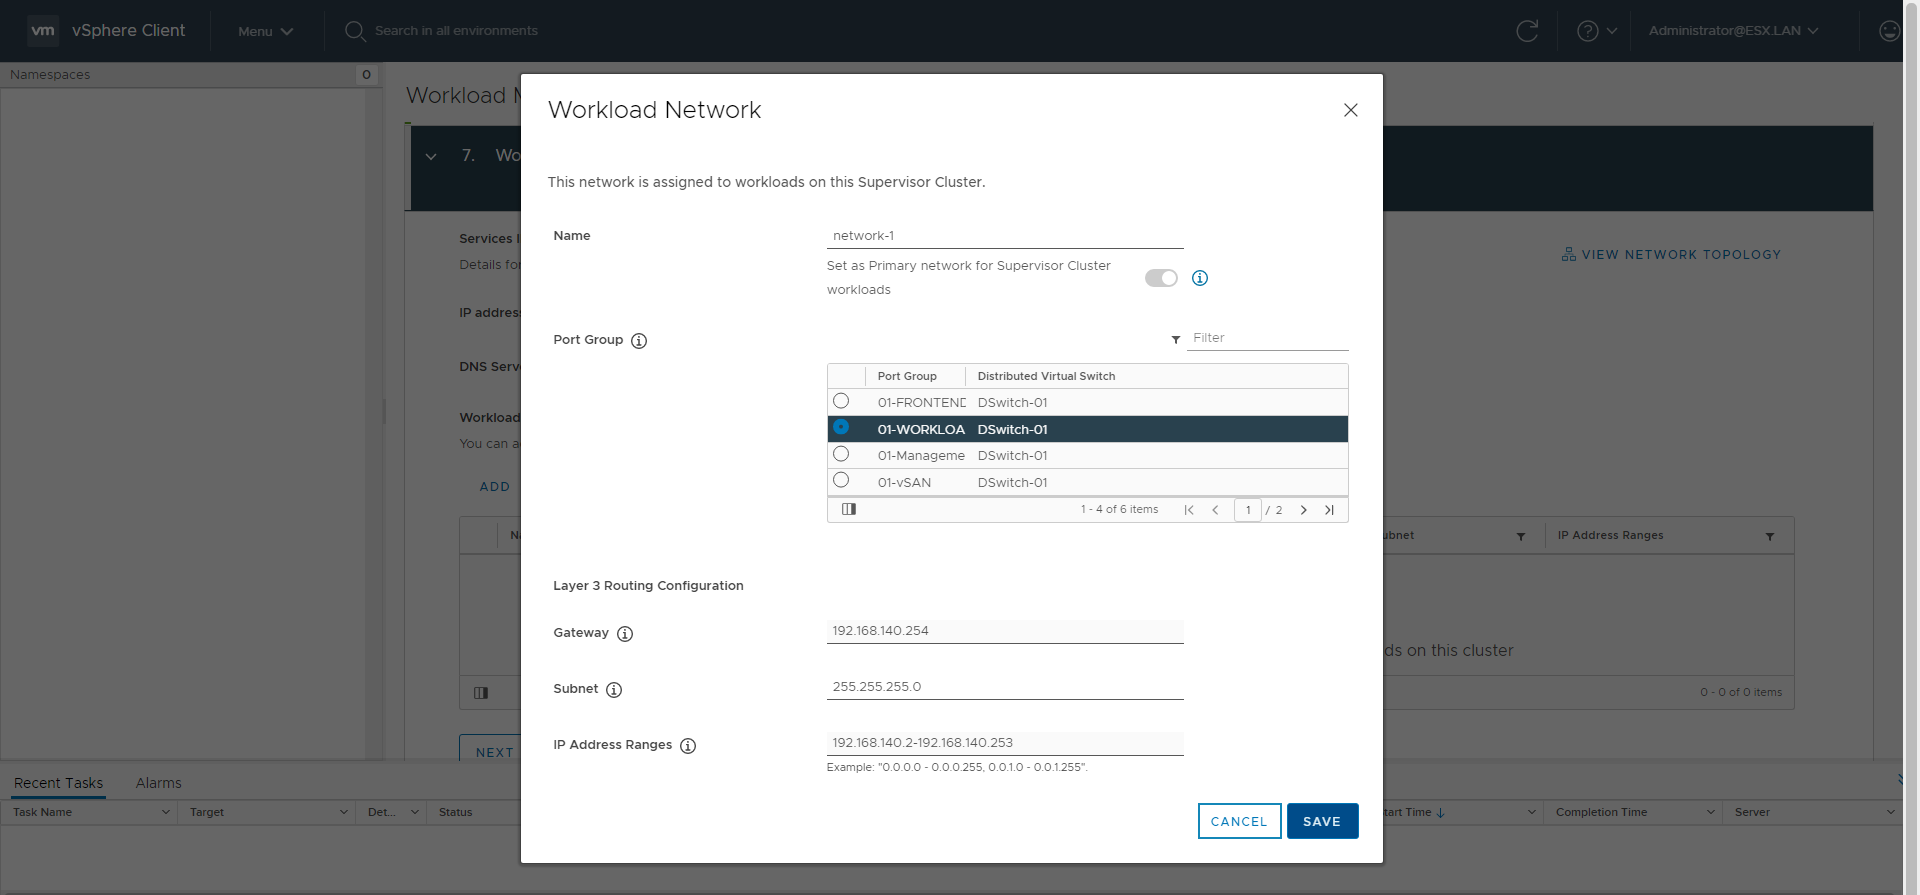
- Workload:
- subnet: 192.168.140.0/24
- gateway: 192.168.140.254
- dns: 192.168.1.254
- workload IPs range: 192.168.140.2-192.168.140.253
- HAproxy workload IP: 192.168.140.1
- Frontend
- subnet: 192.168.150.0/24
- gateway: 192.168.150.254
- dns: 192.168.1.254
- frontend IPs range: 192.168.150.1-192.168.150.253
- frontend IPs ranges with CIDR: 192.168.150.0/25,192.168.150.128/26,192.168.150.192/27,192.168.150.224/28,192.168.150.240/29,192.168.150.248/30,192.168.150.252/31
- HAproxy frontend IP: 192.168.150.1
Procedures
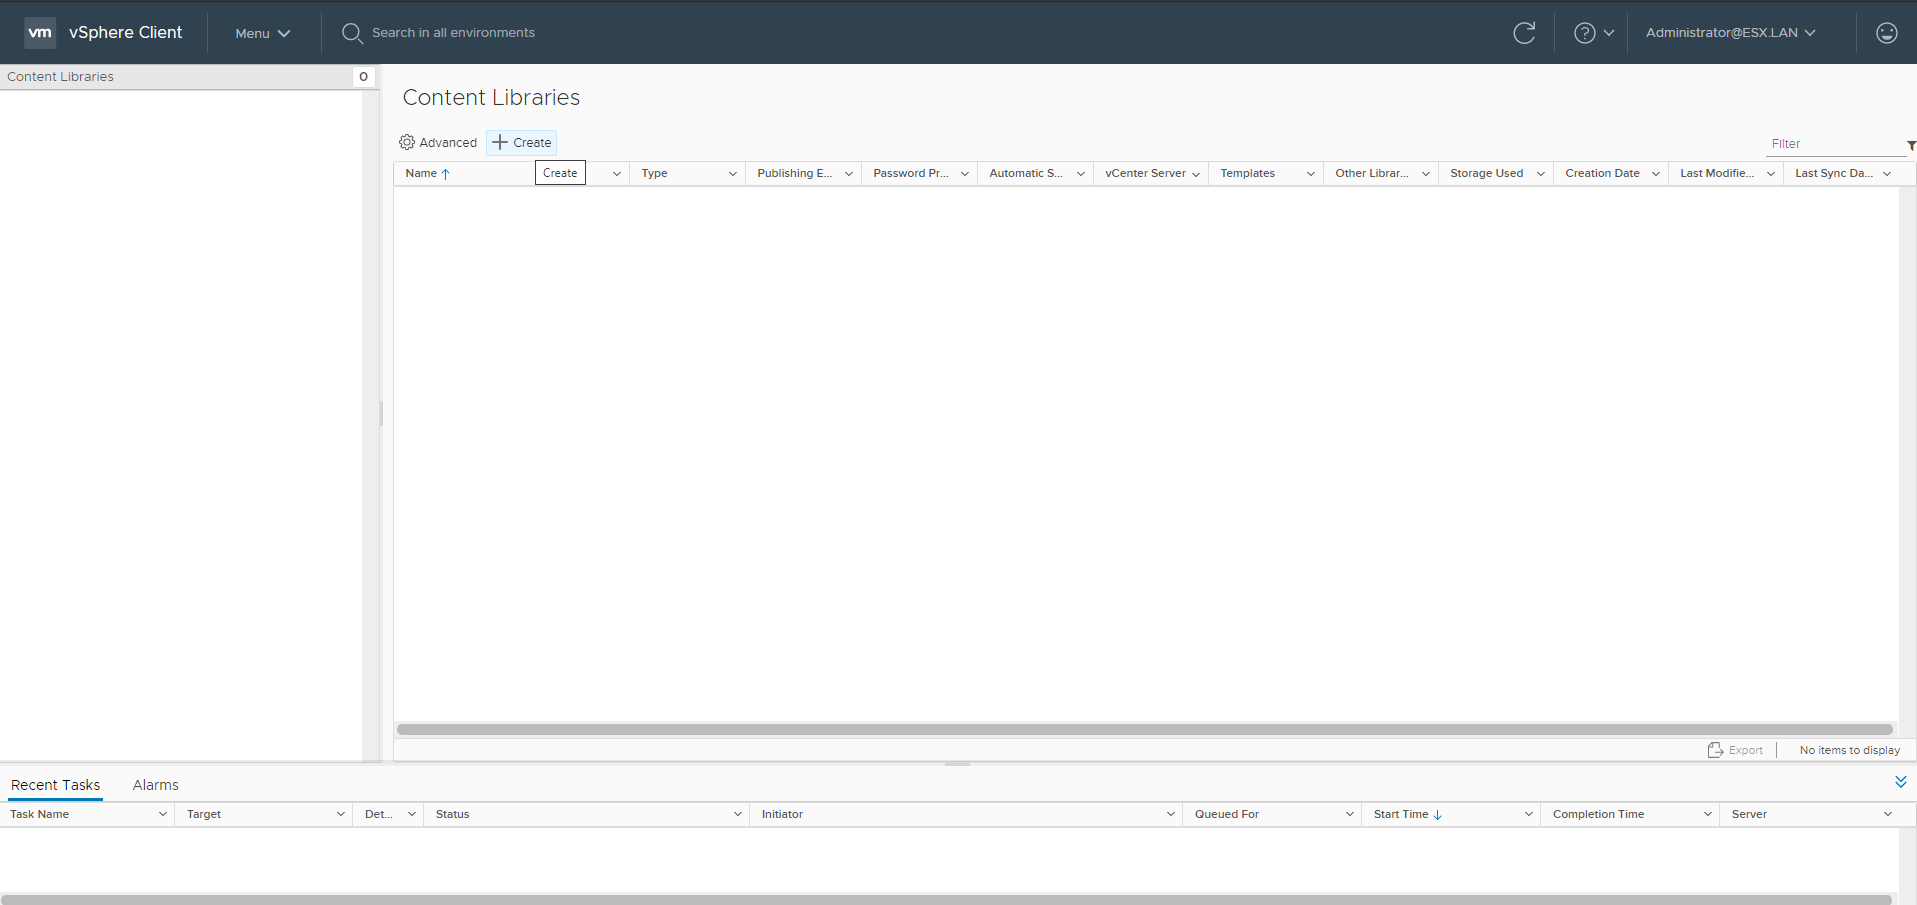
Content Library
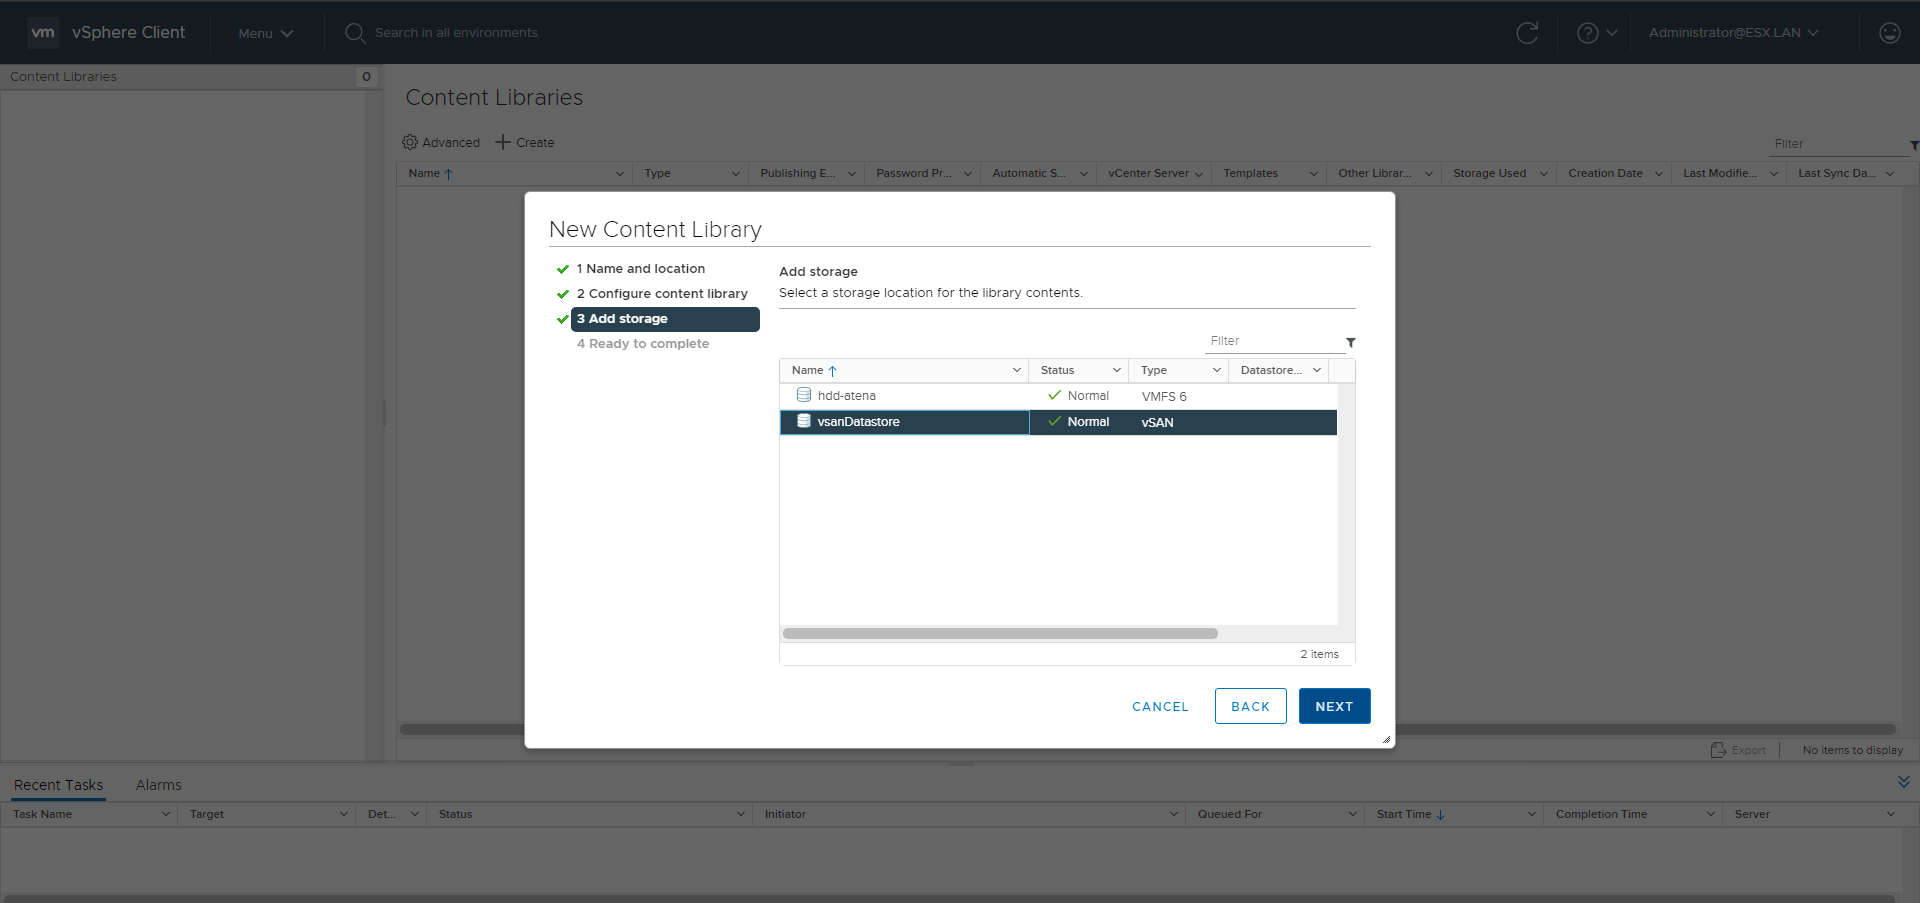
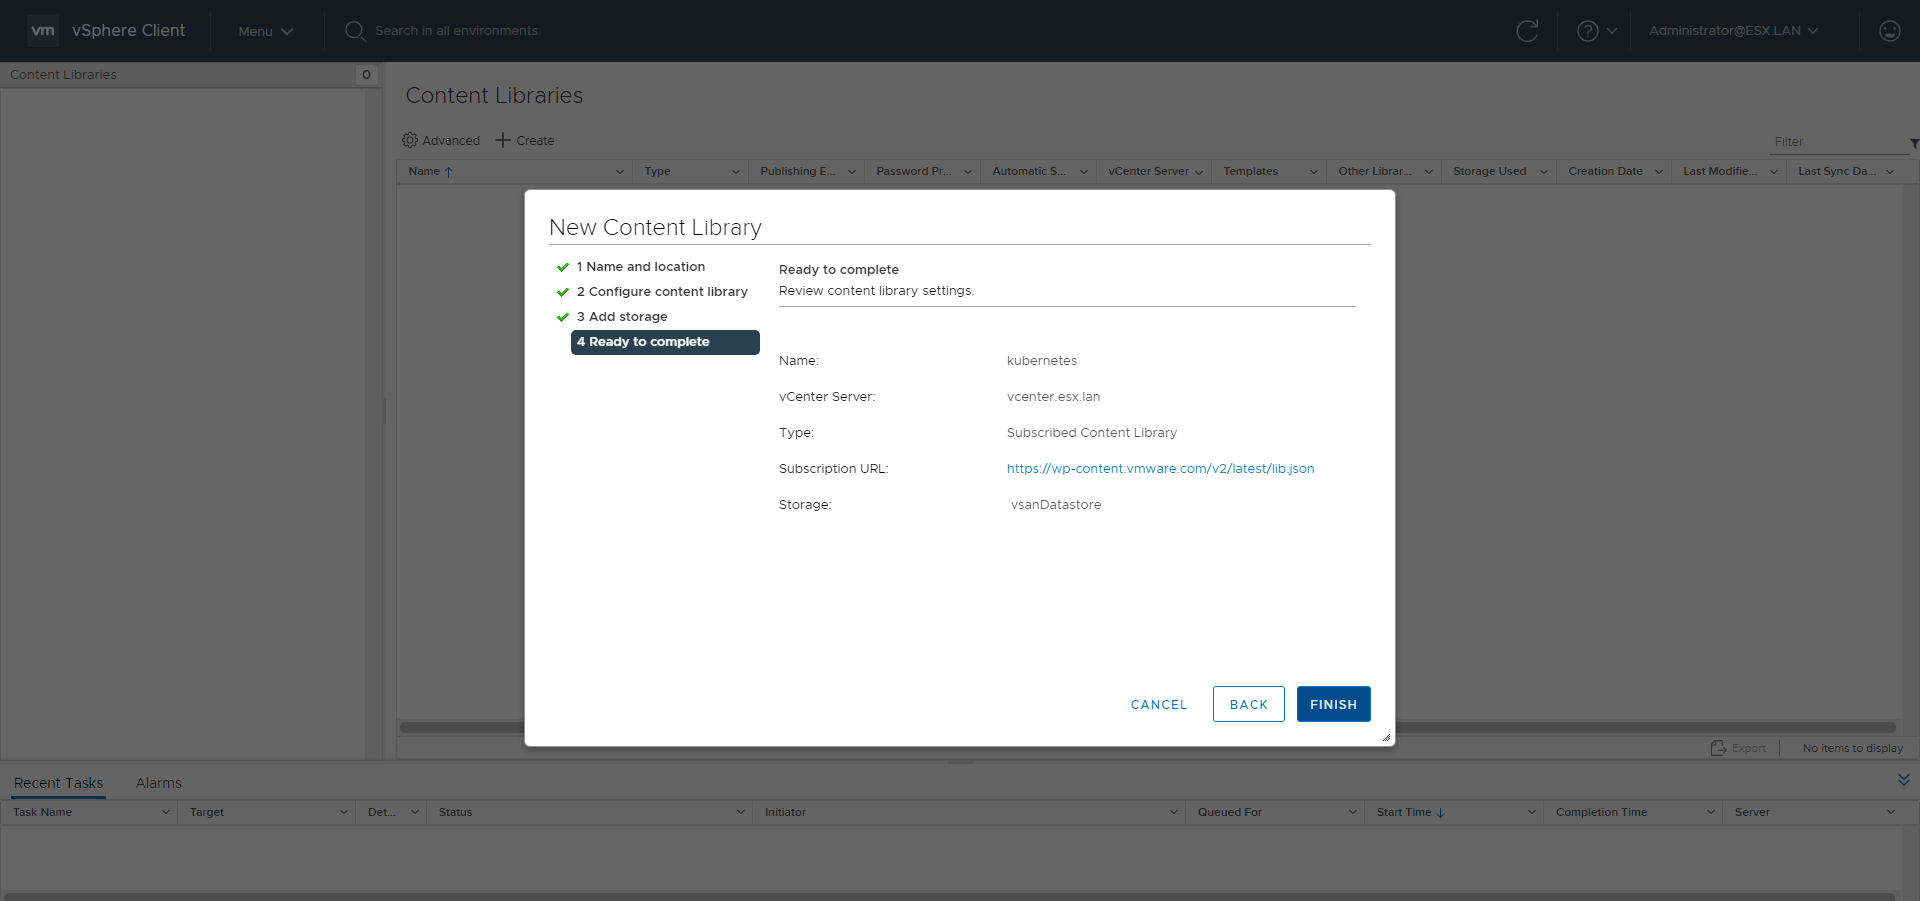
Go to the Content Libraries menu
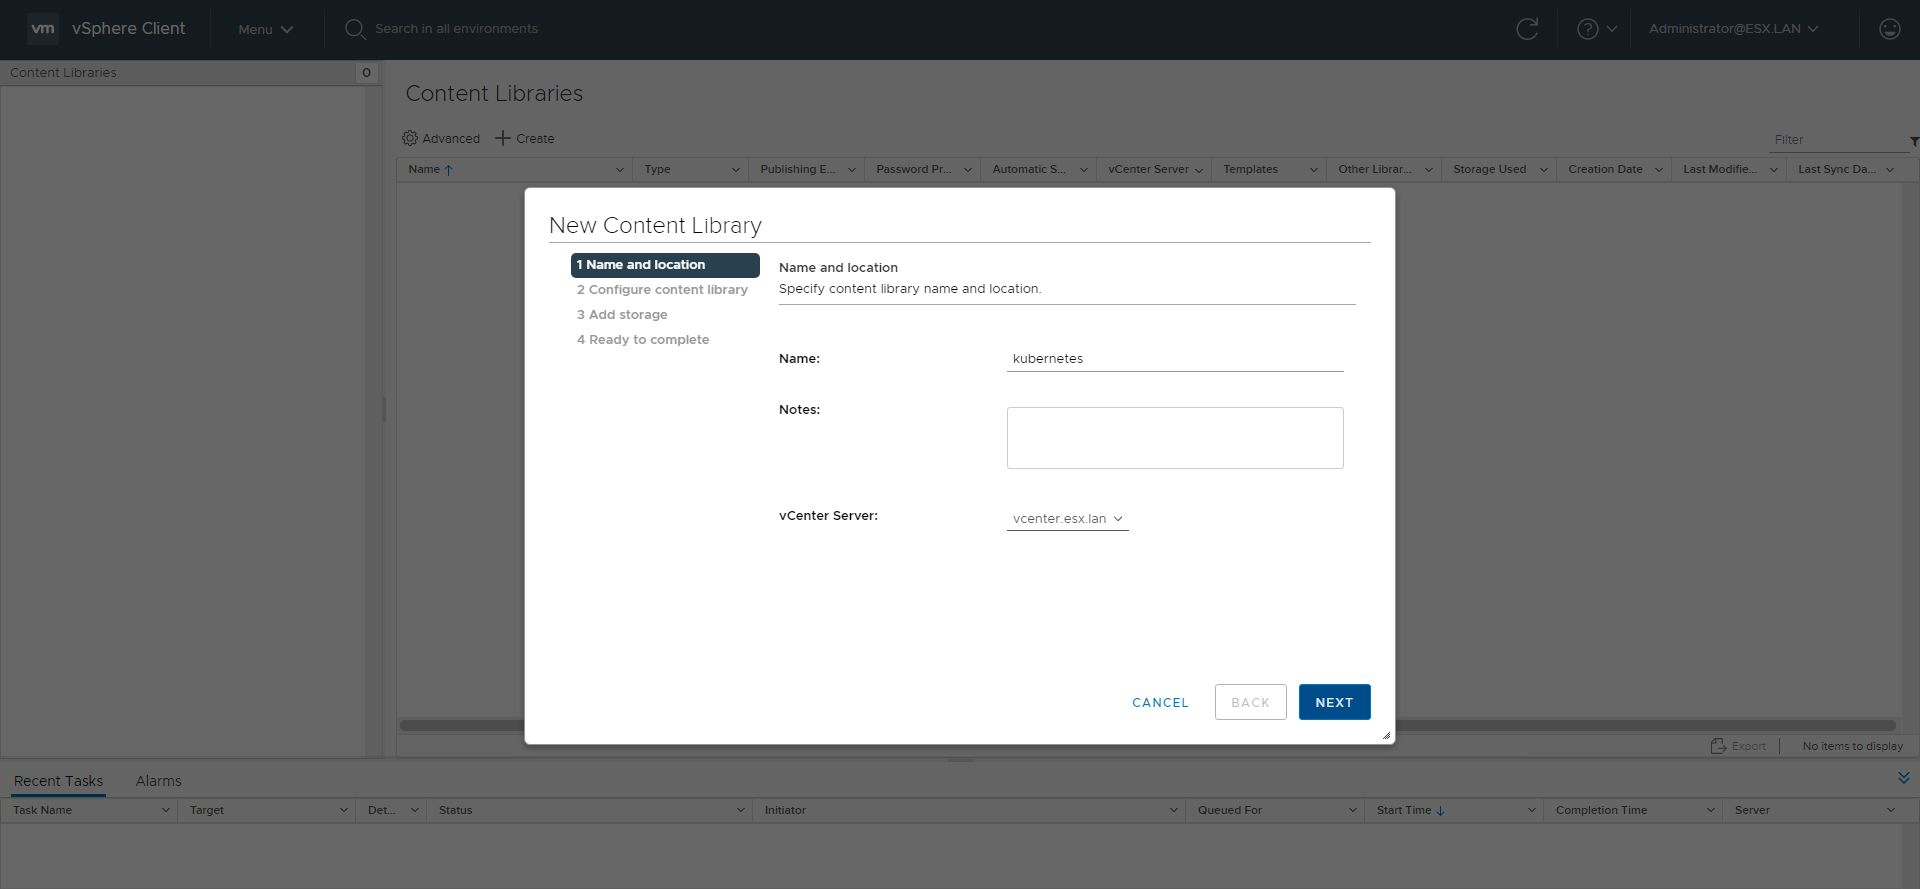
Use https://wp-content.vmware.com/v2/latest/lib.json as subscription url.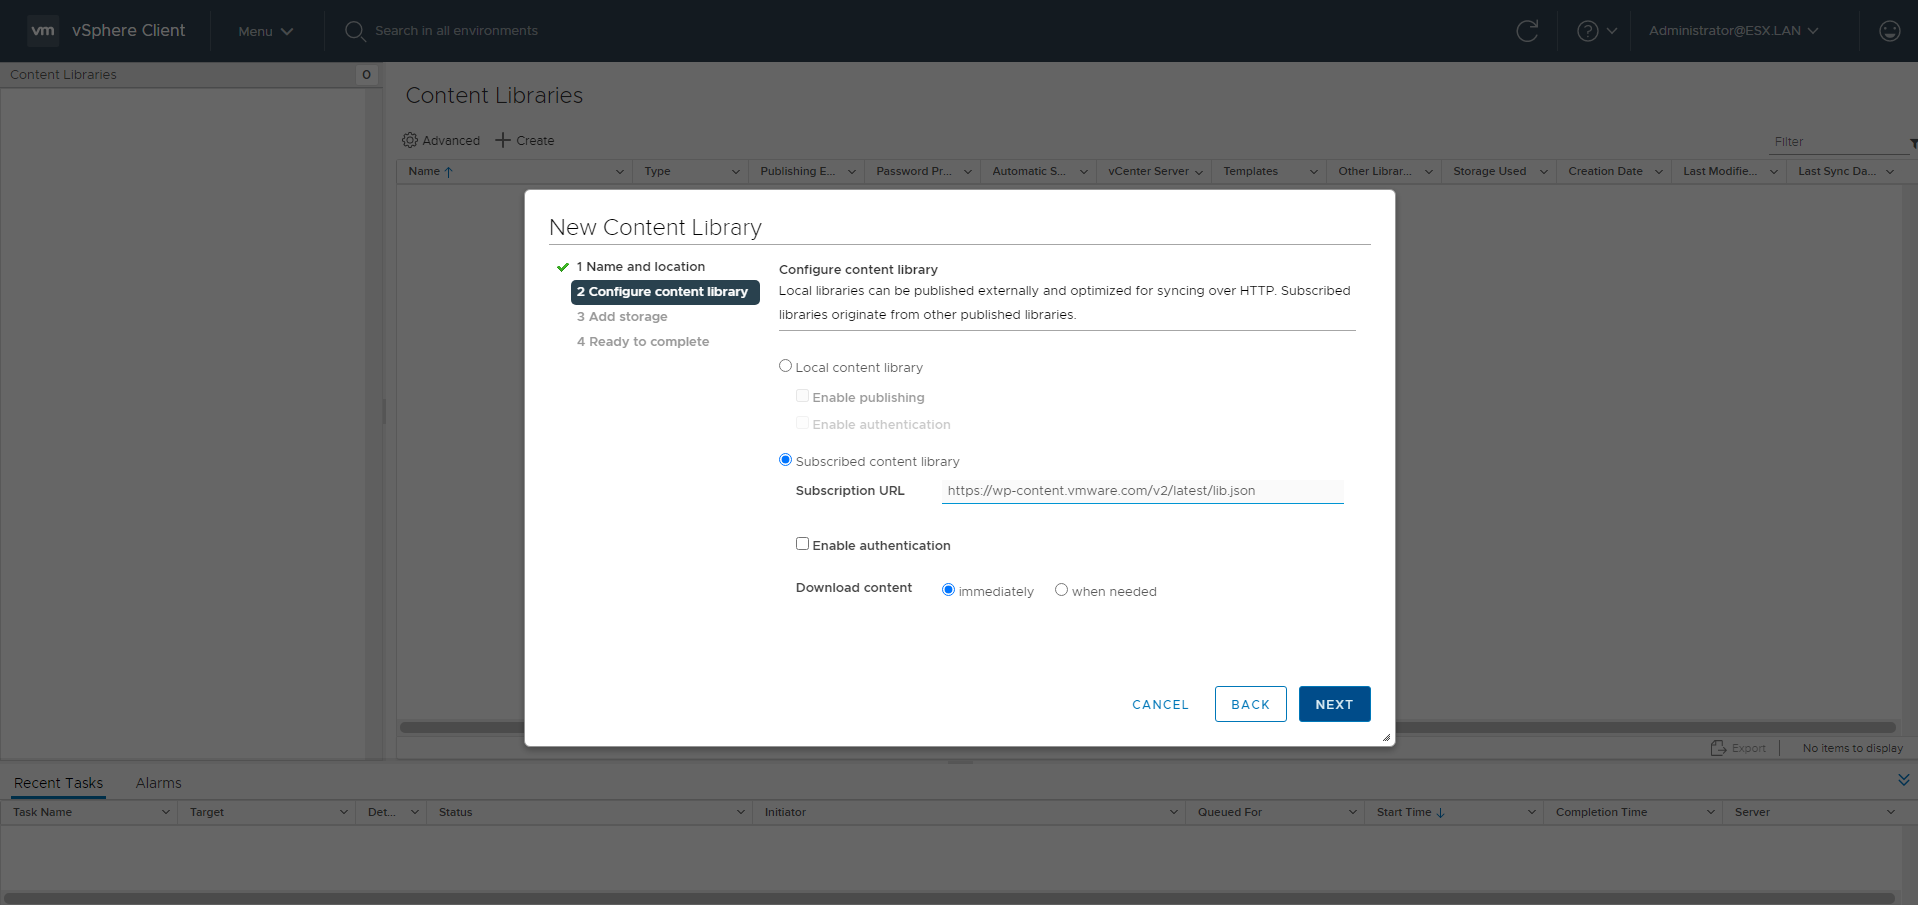
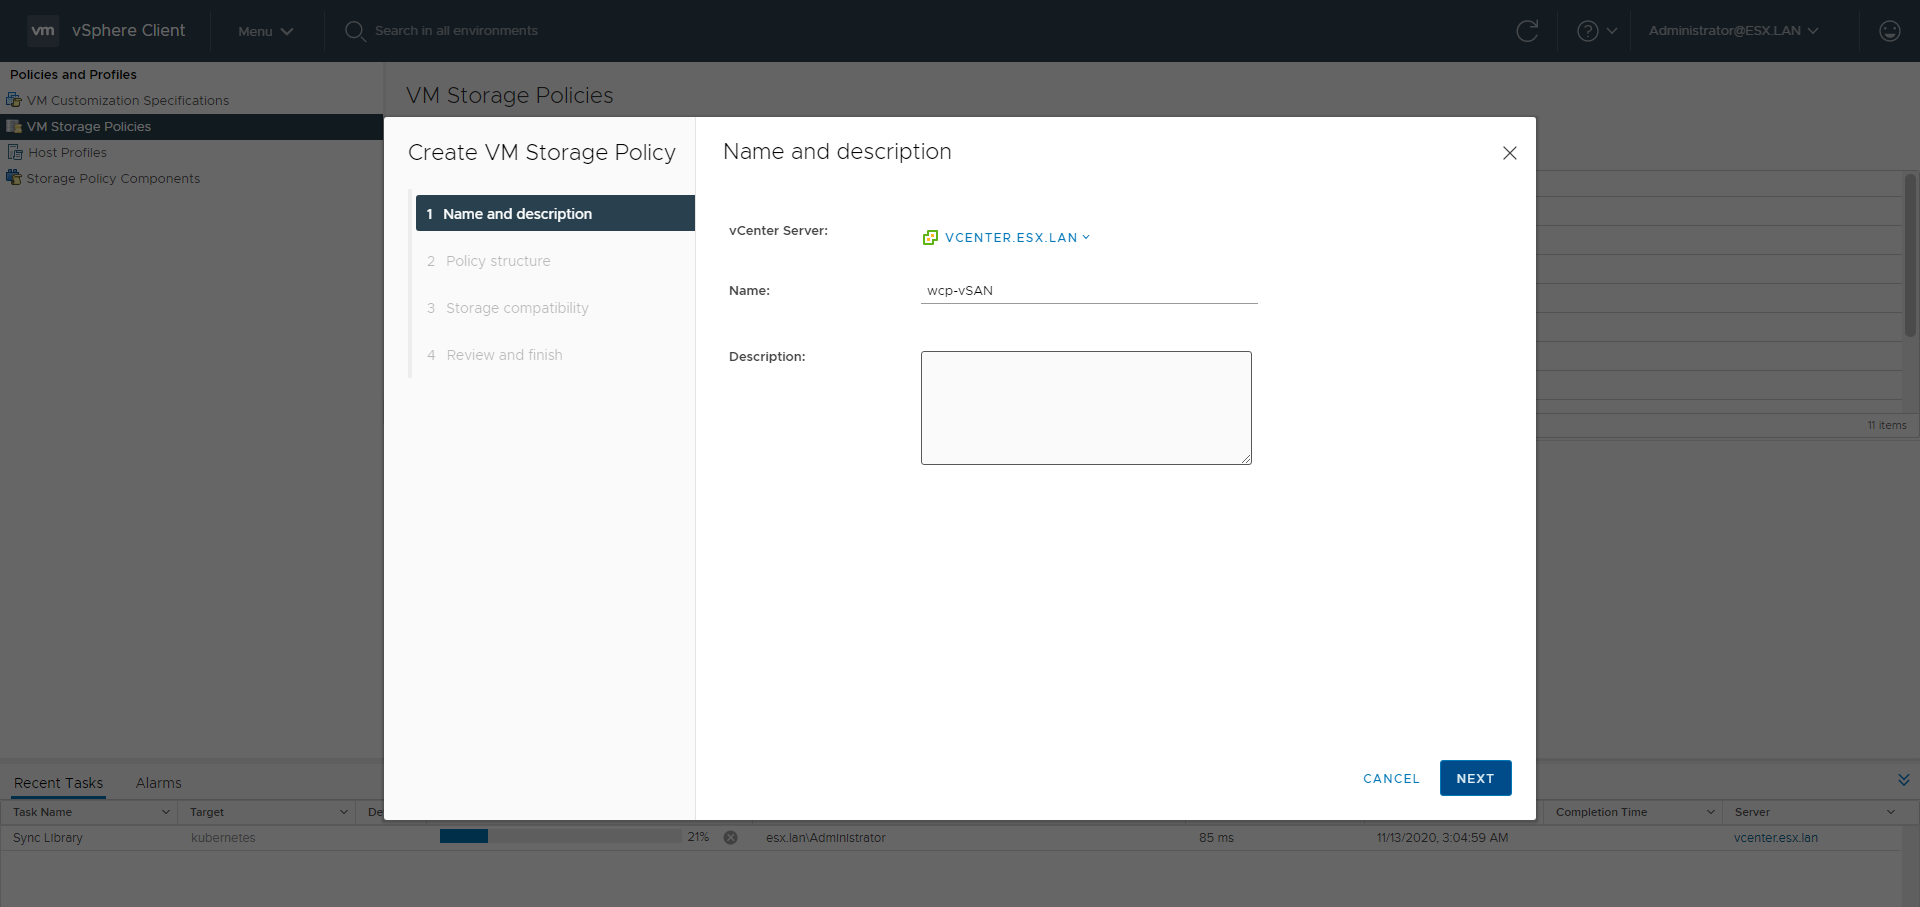
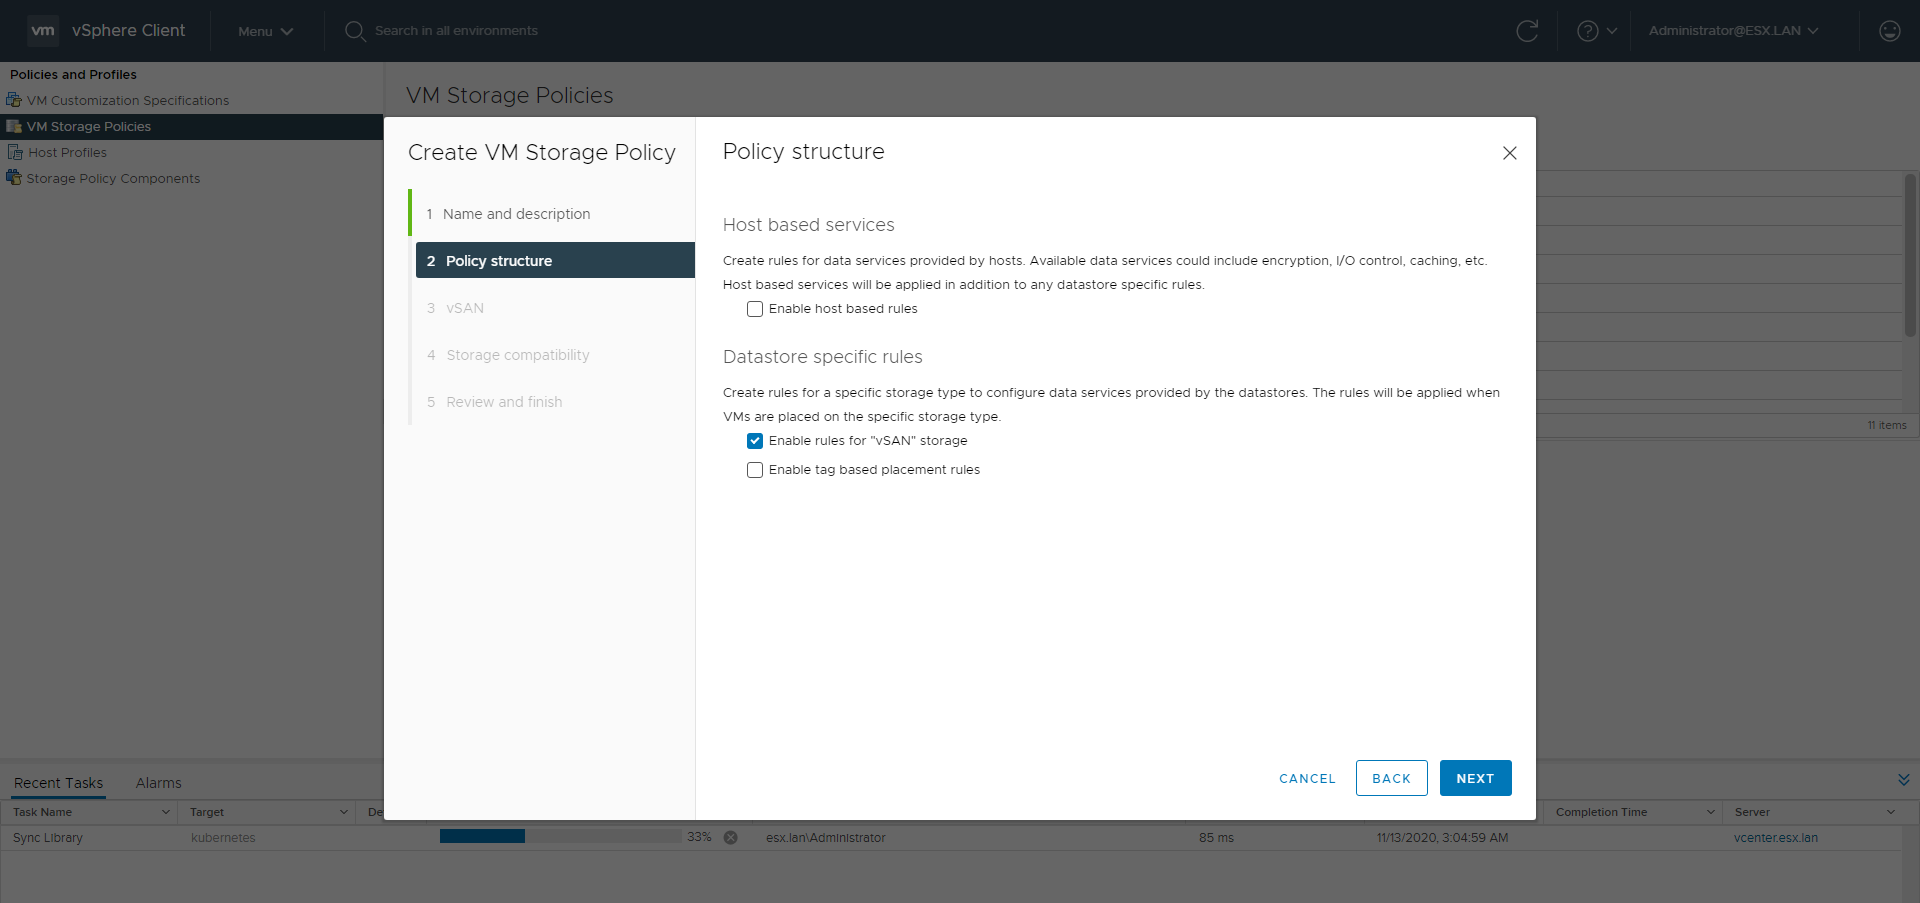
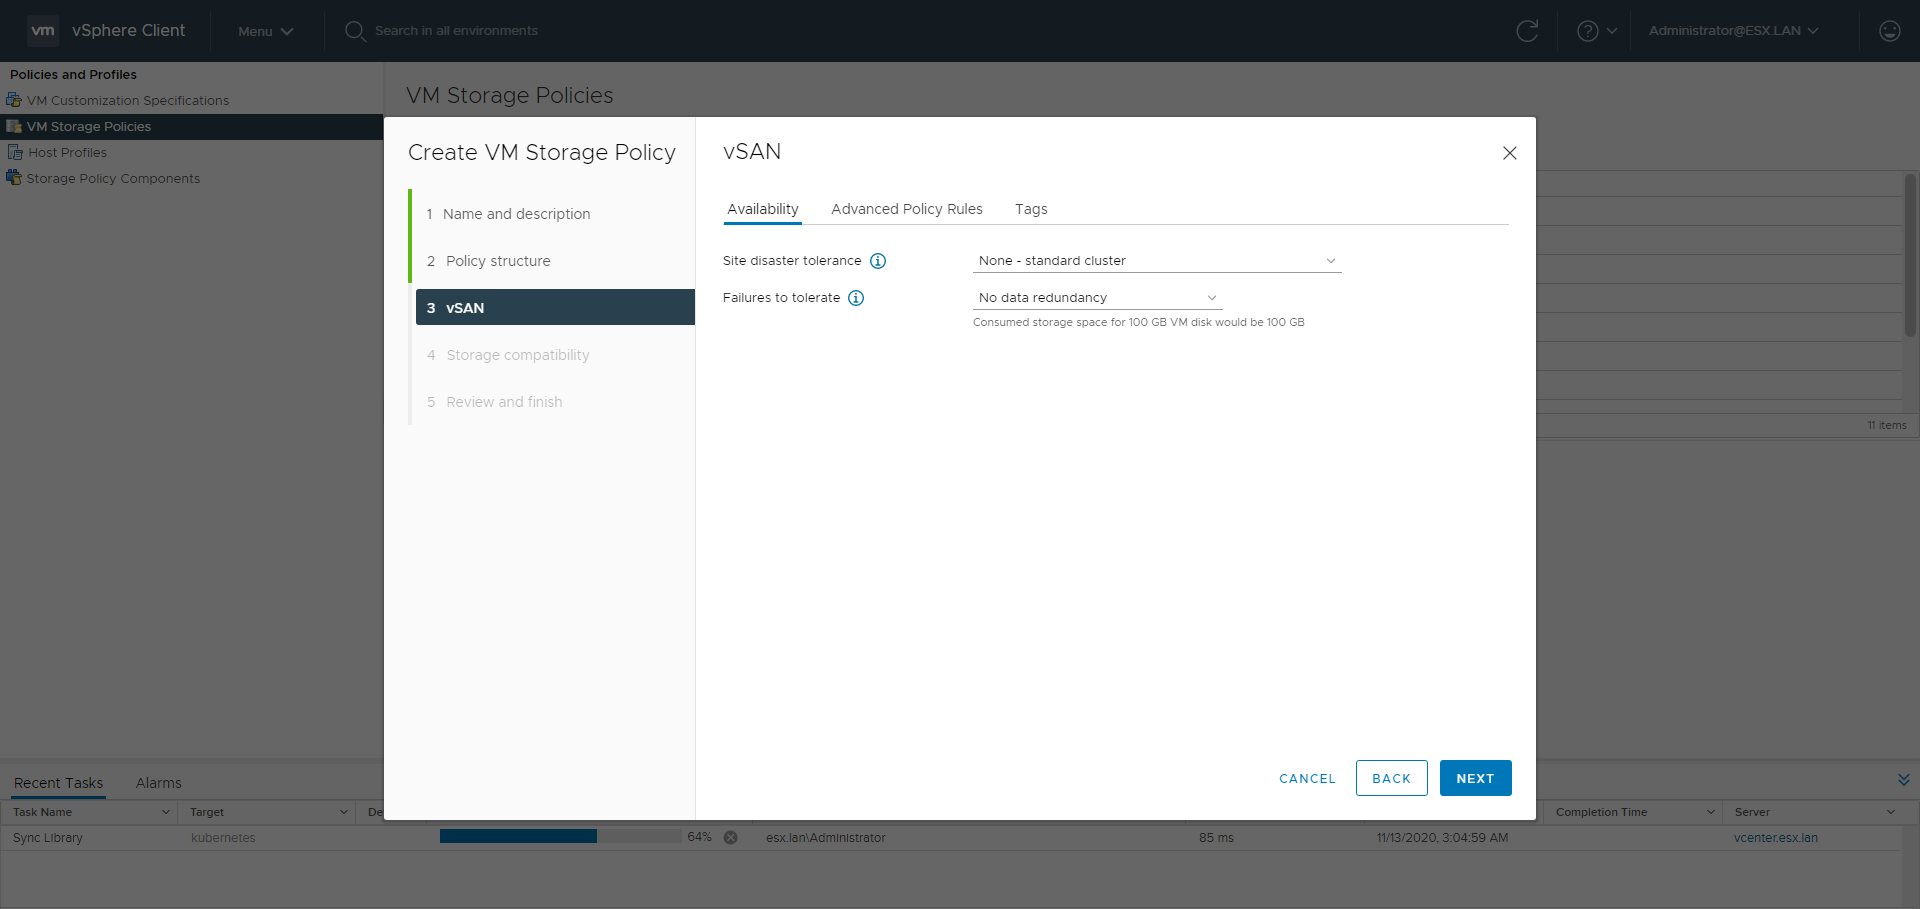
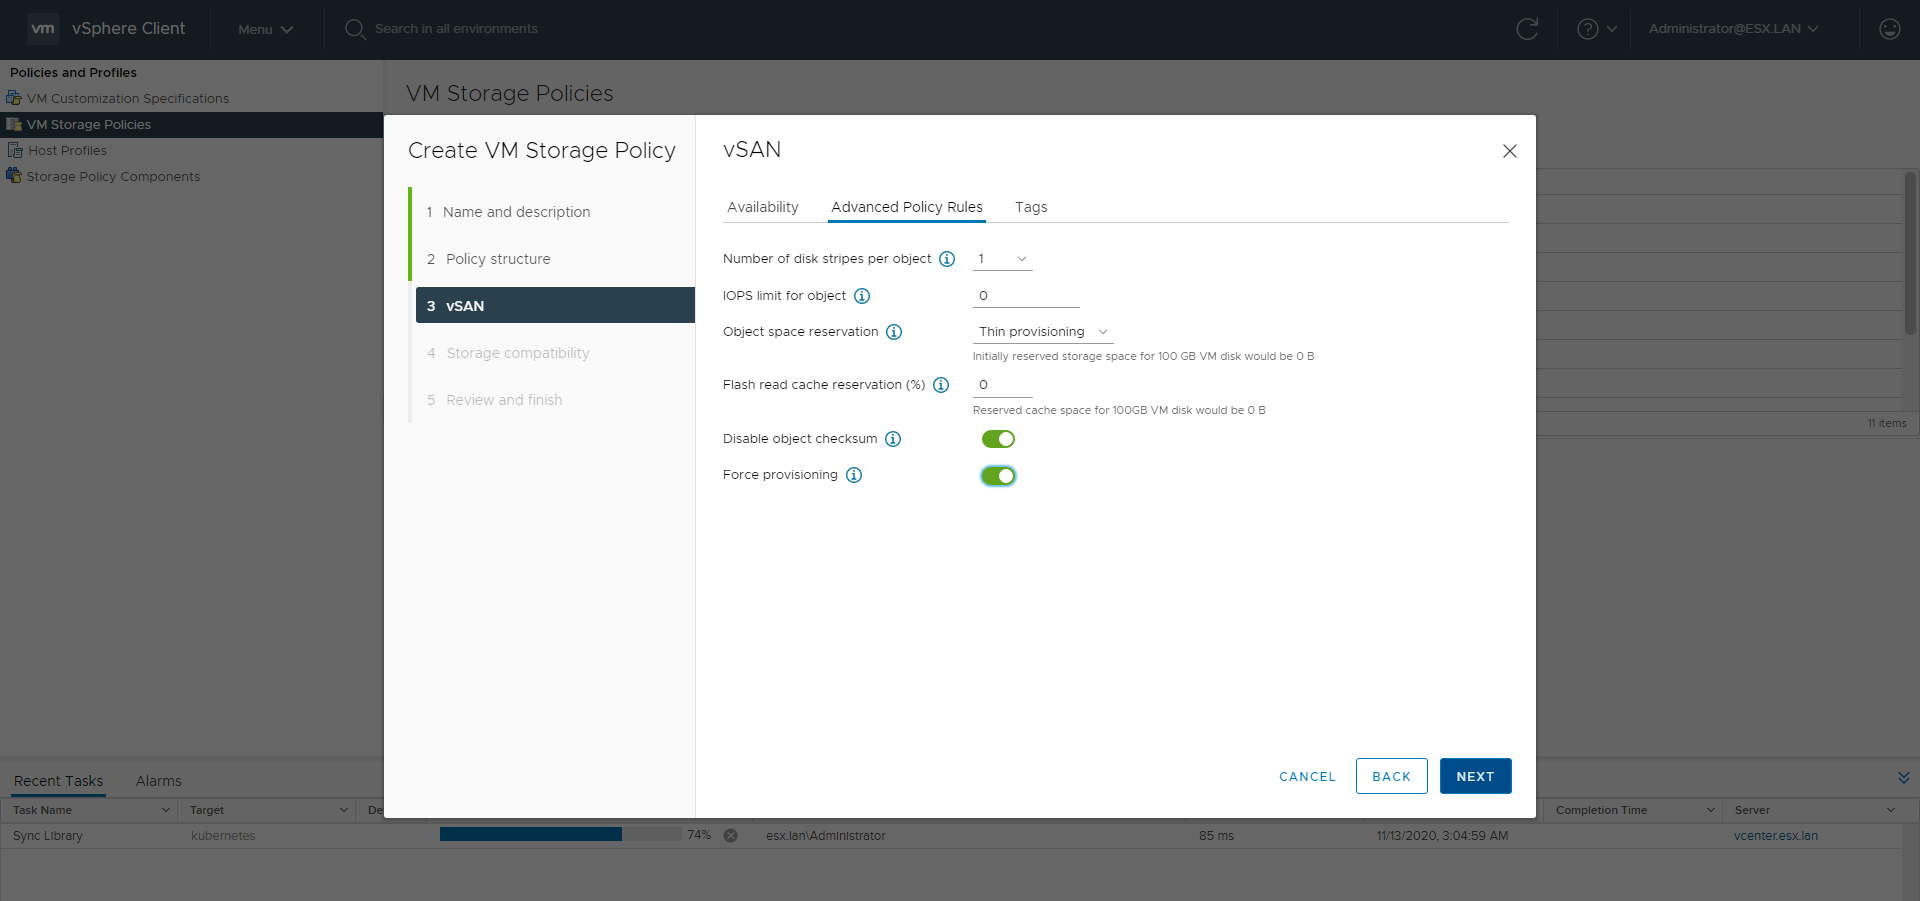
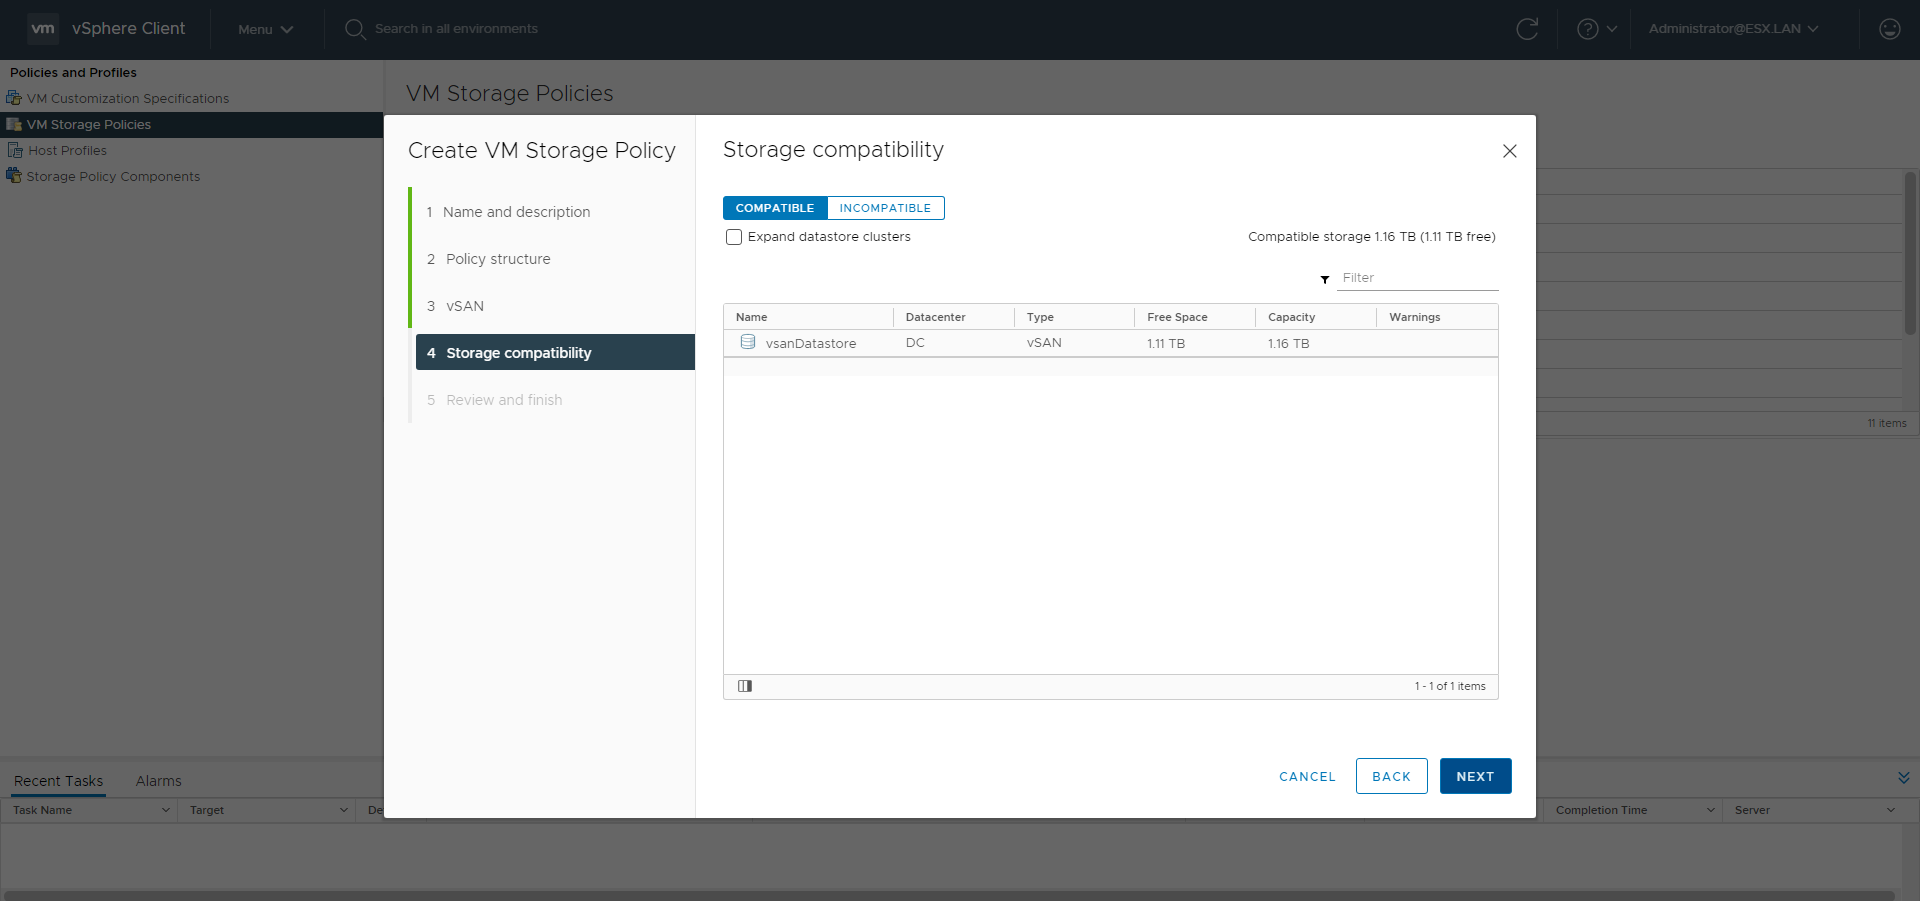
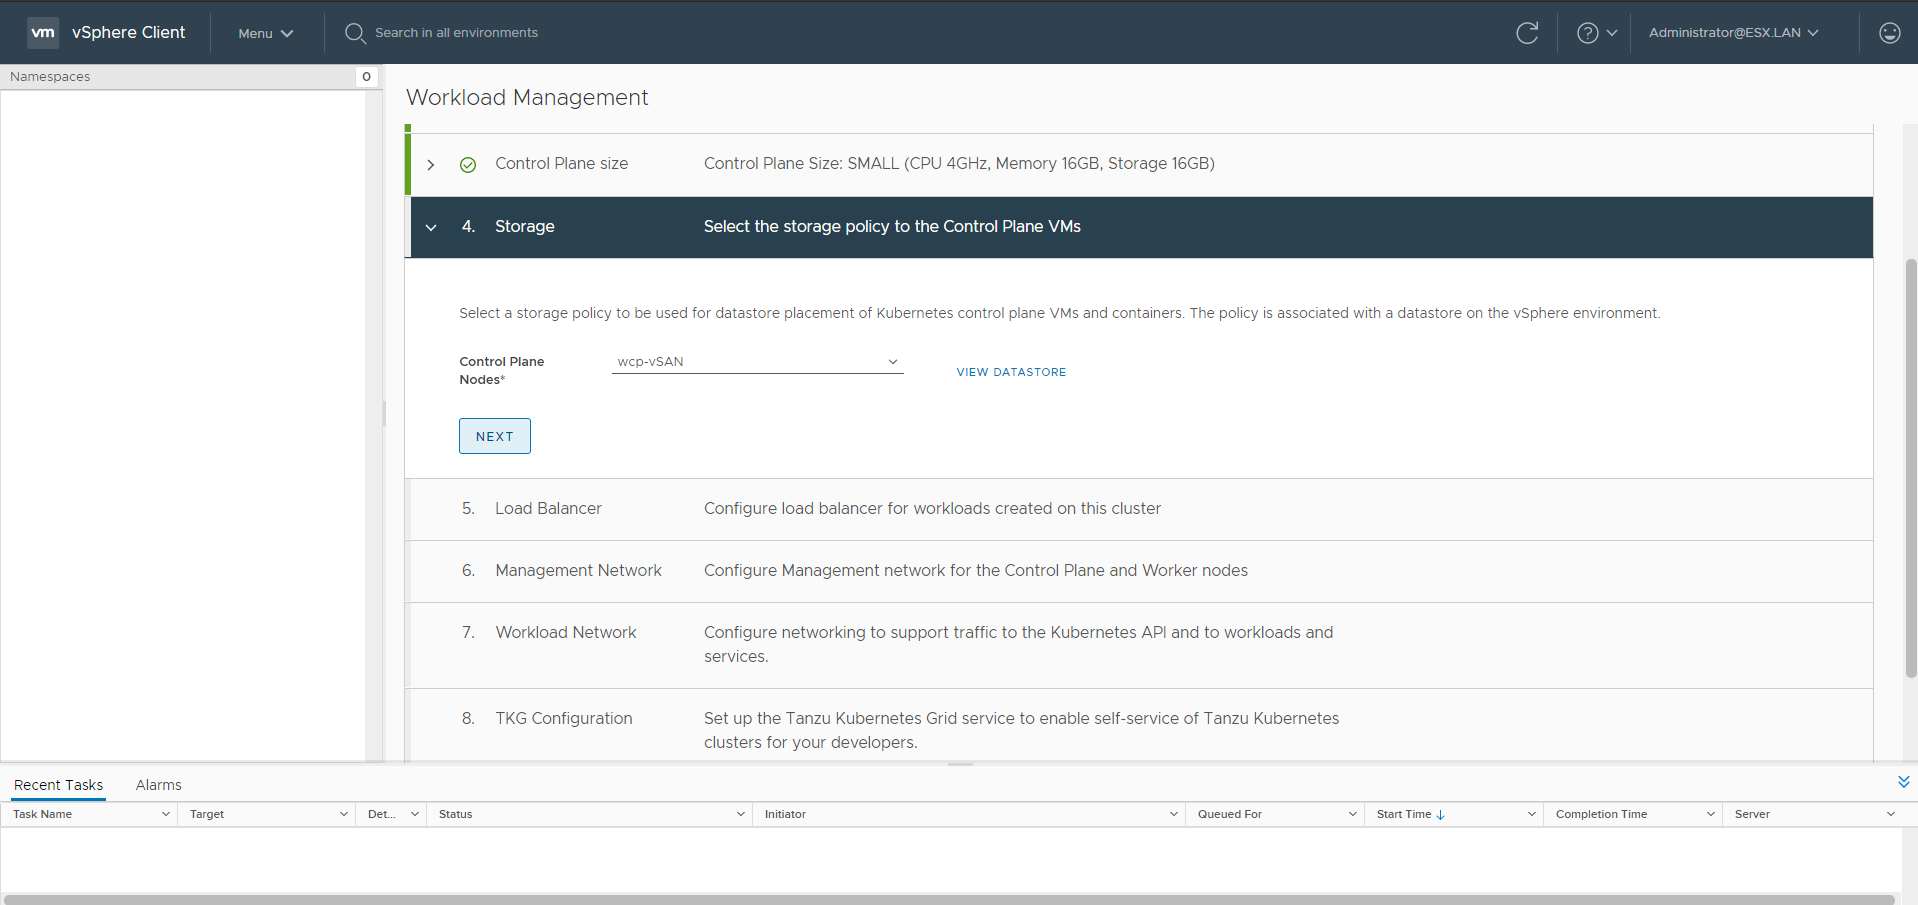
Storage Policy
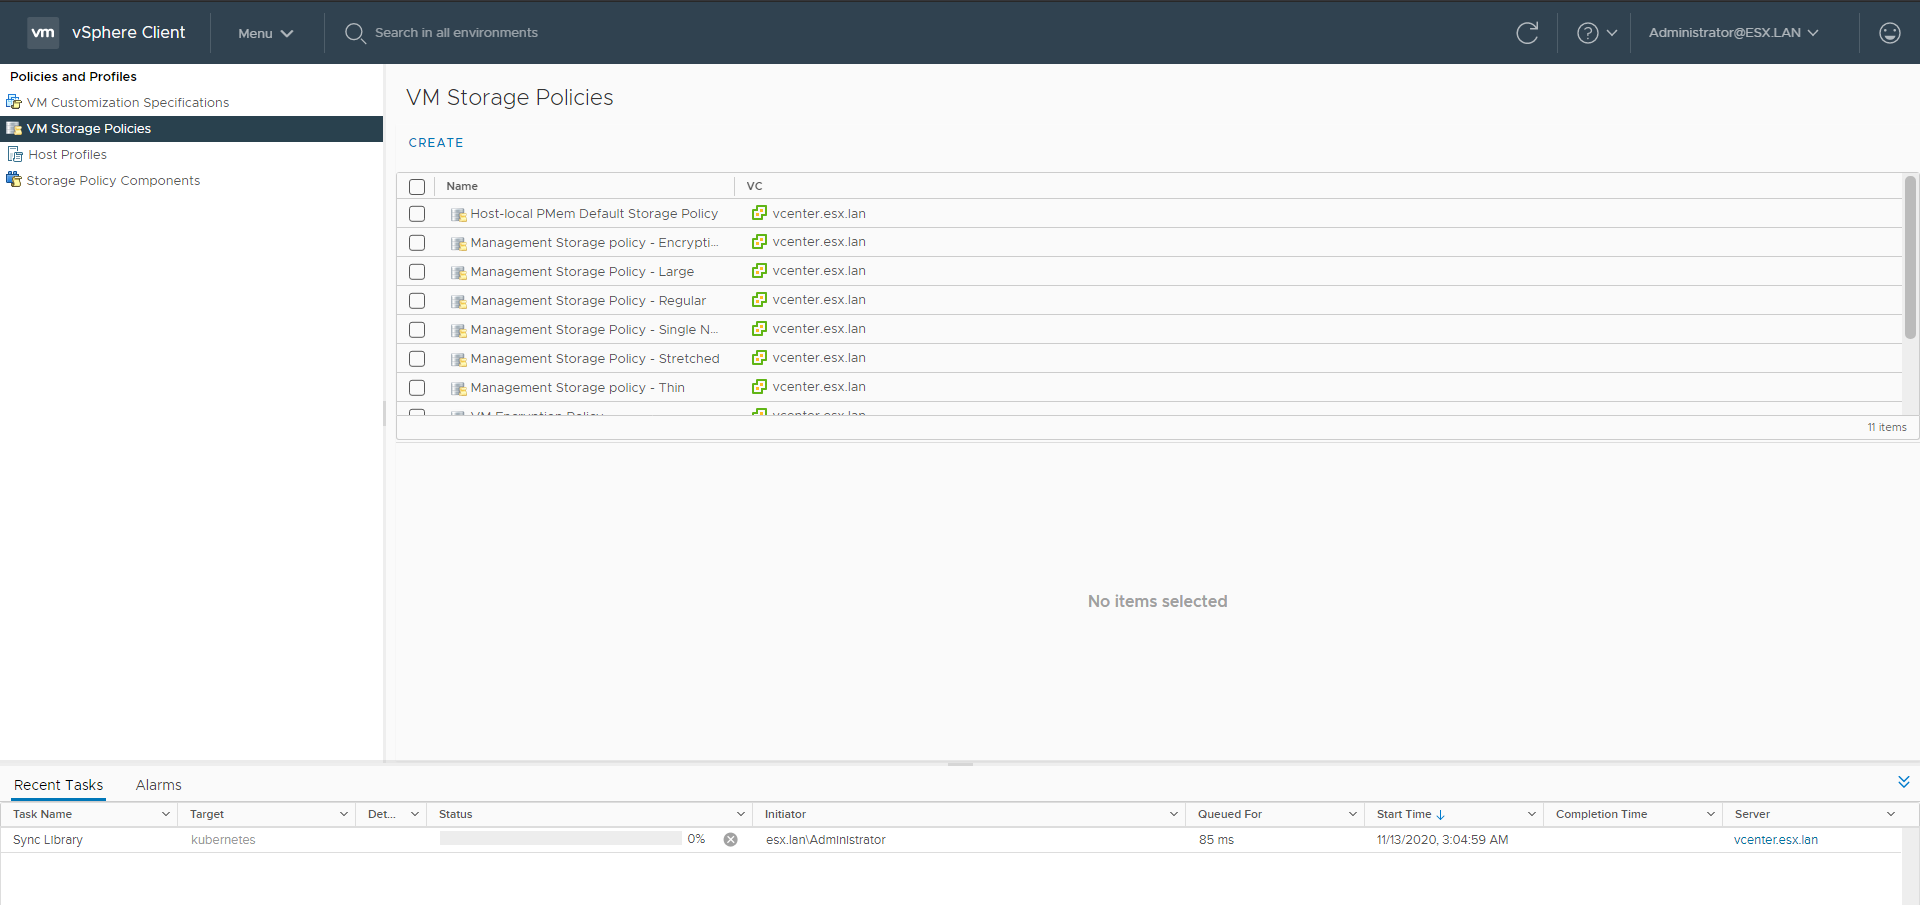
Go to the Policies and Profiles menu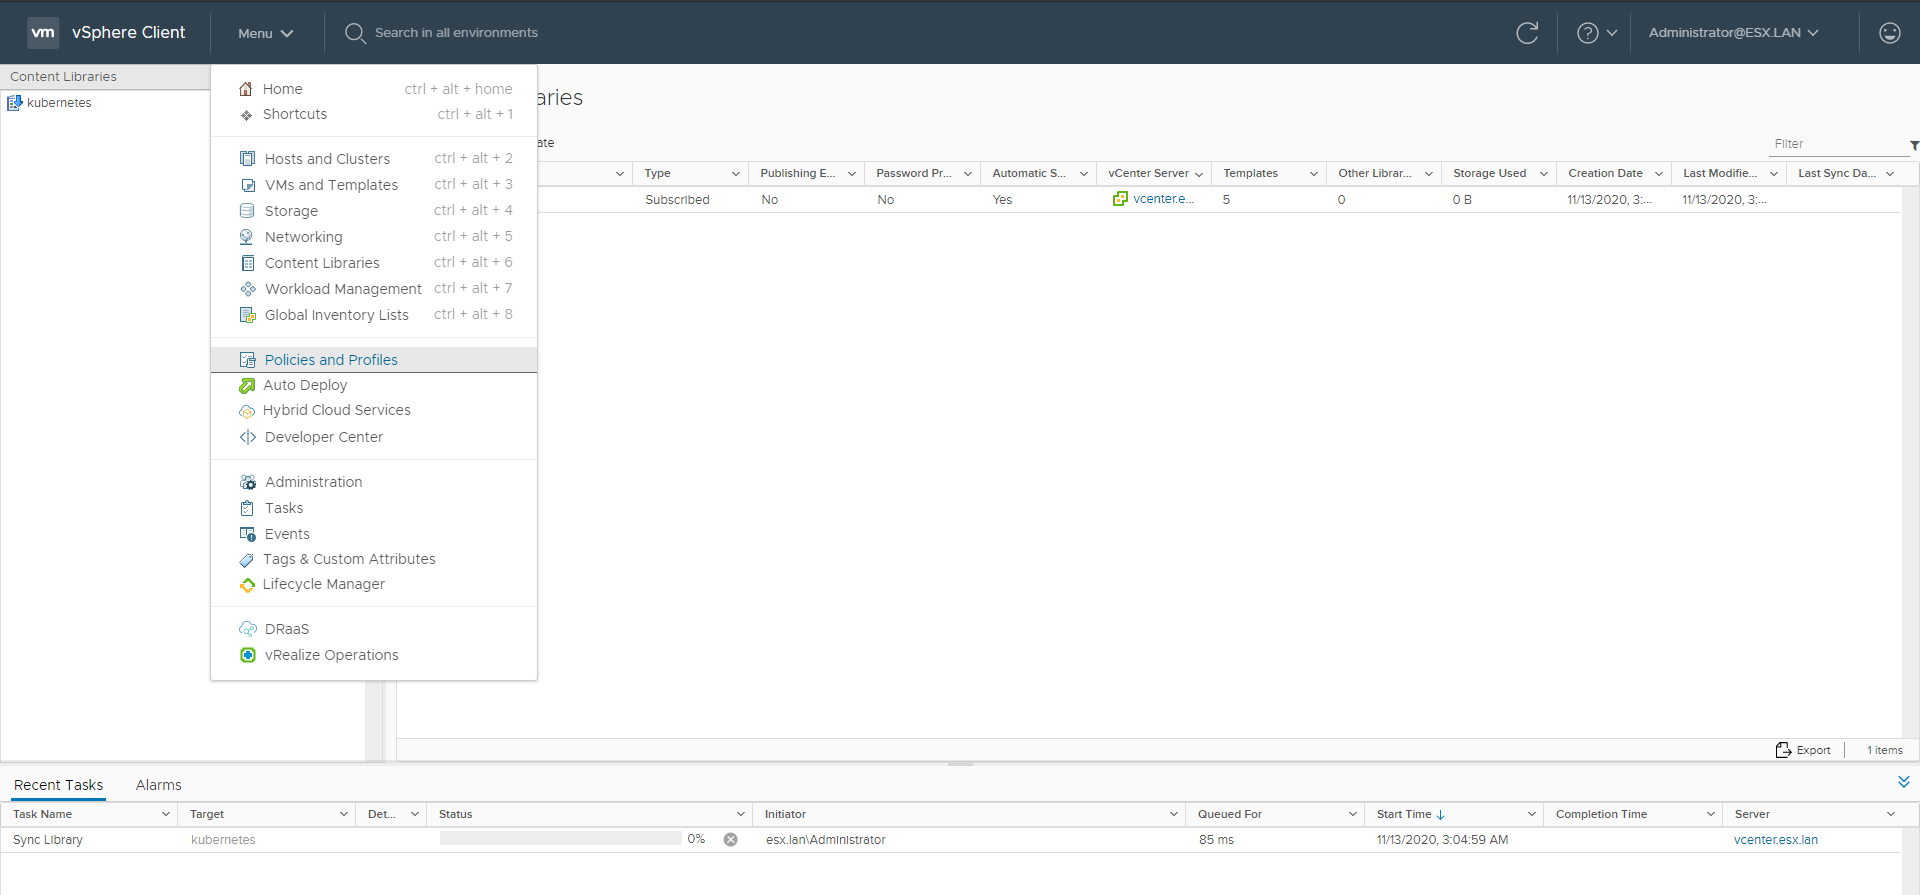

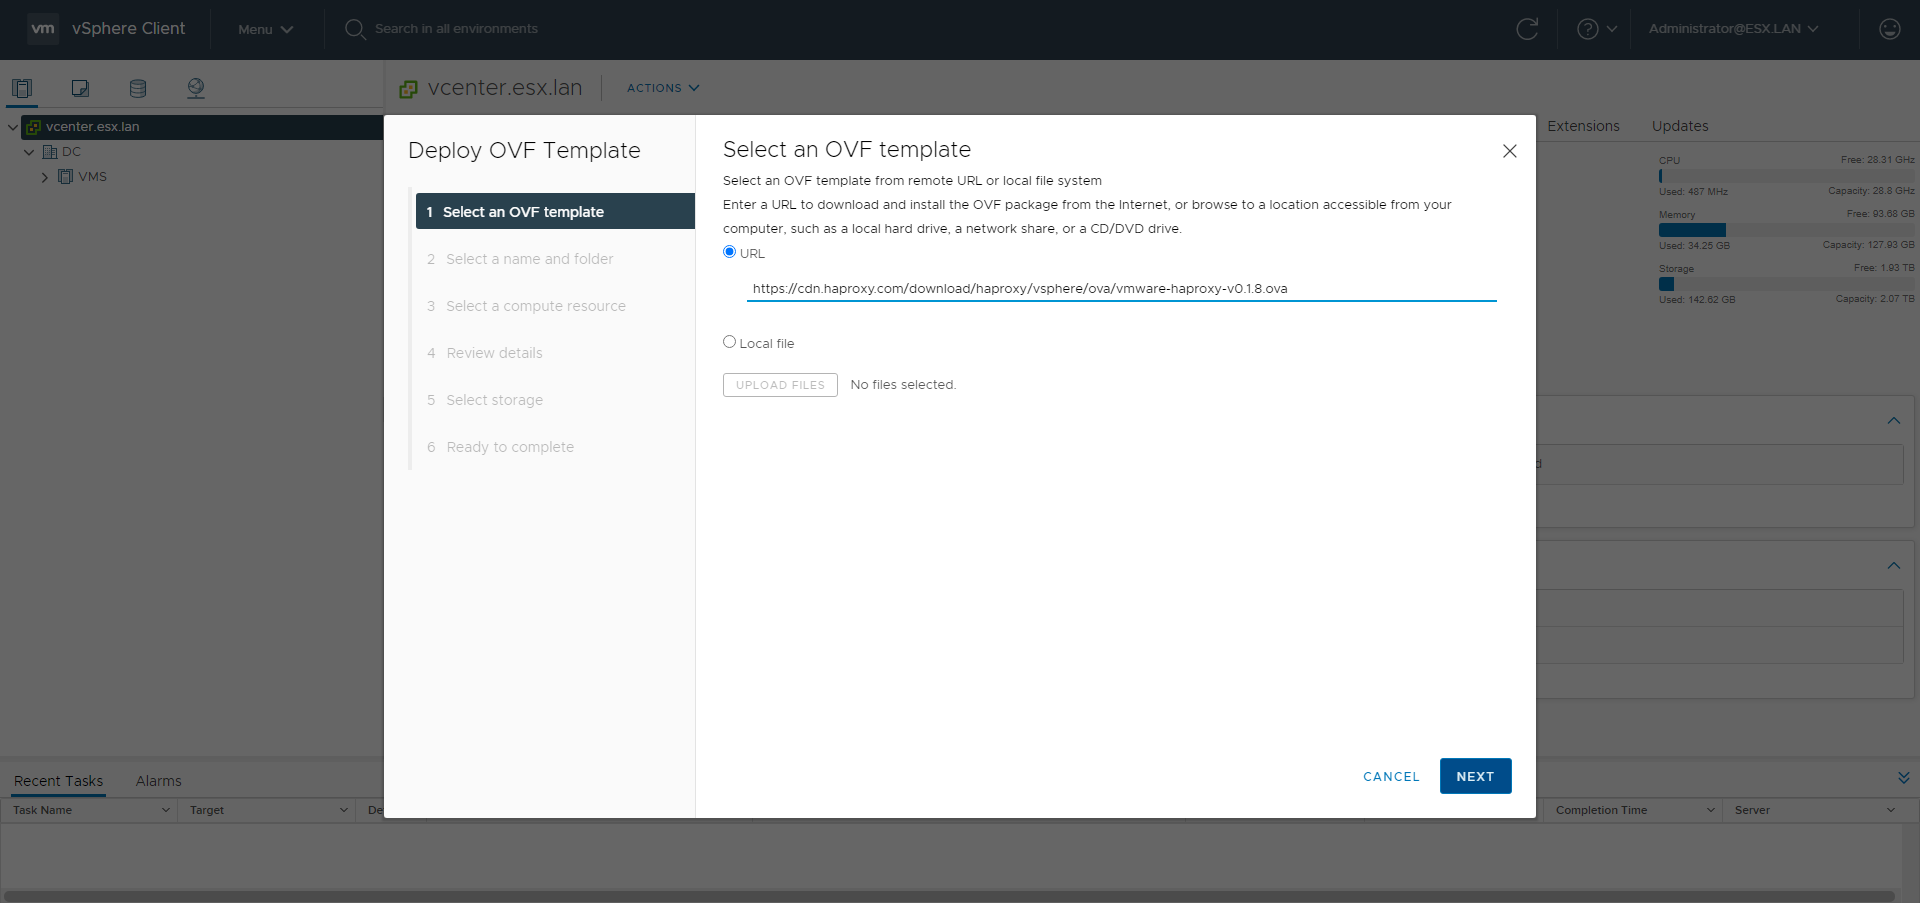
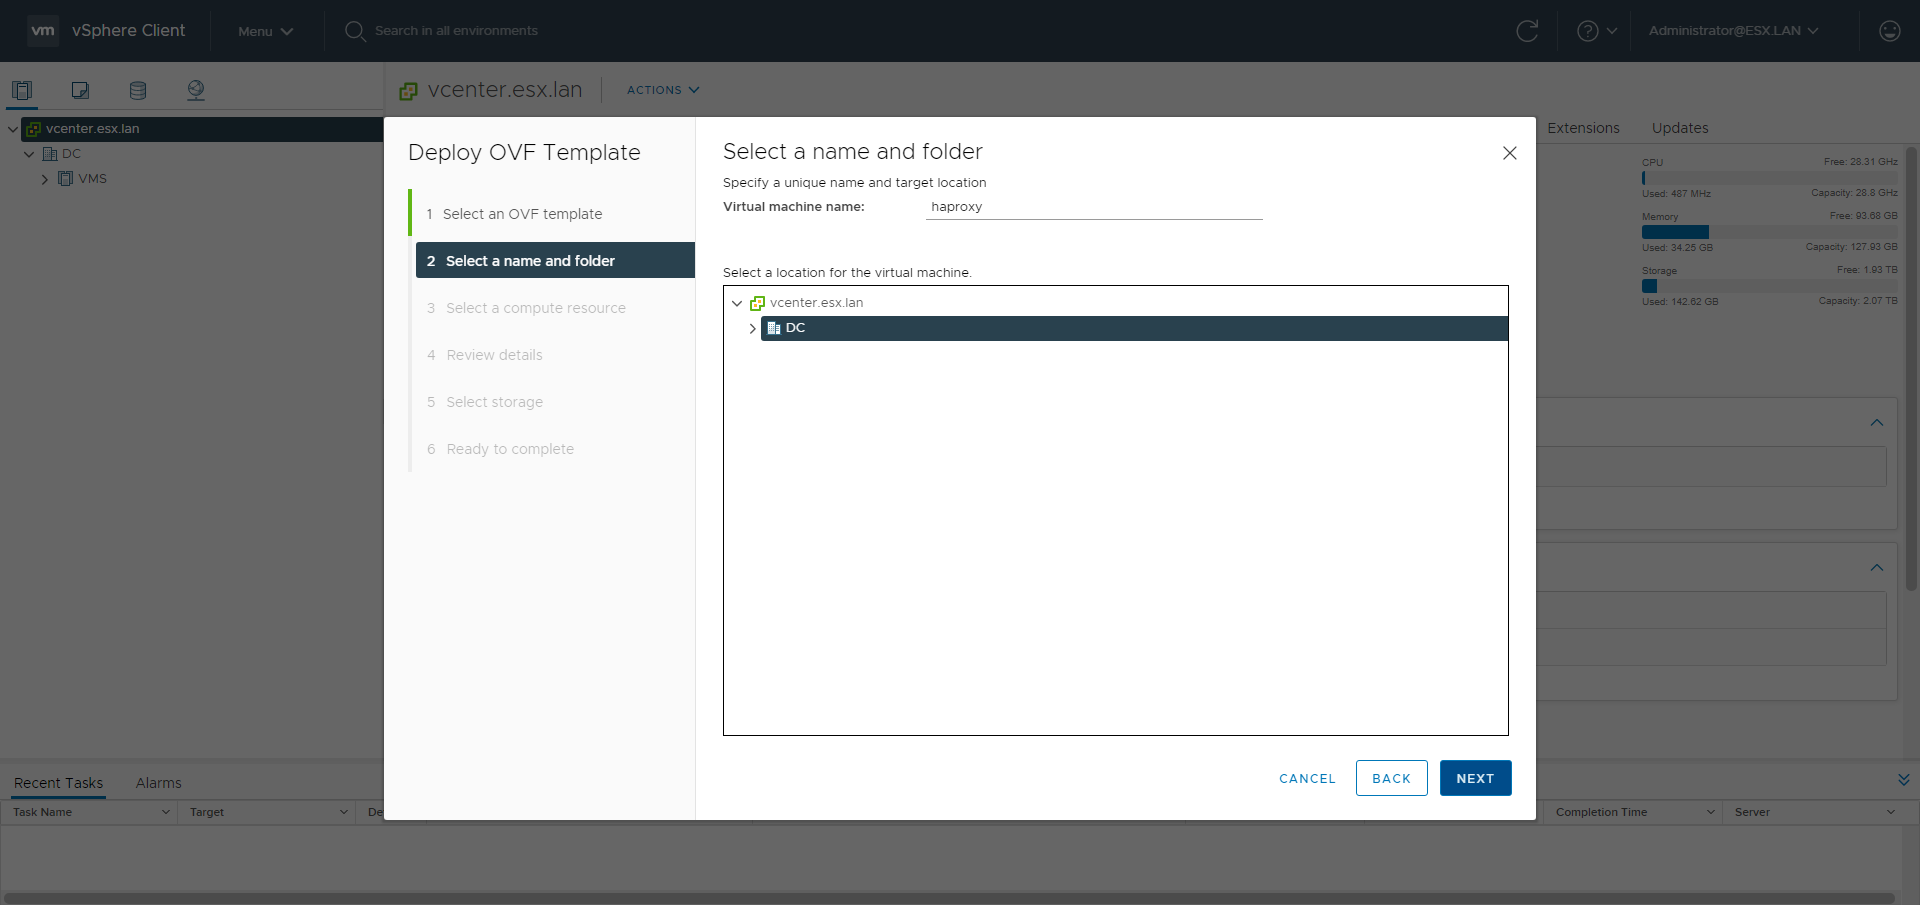
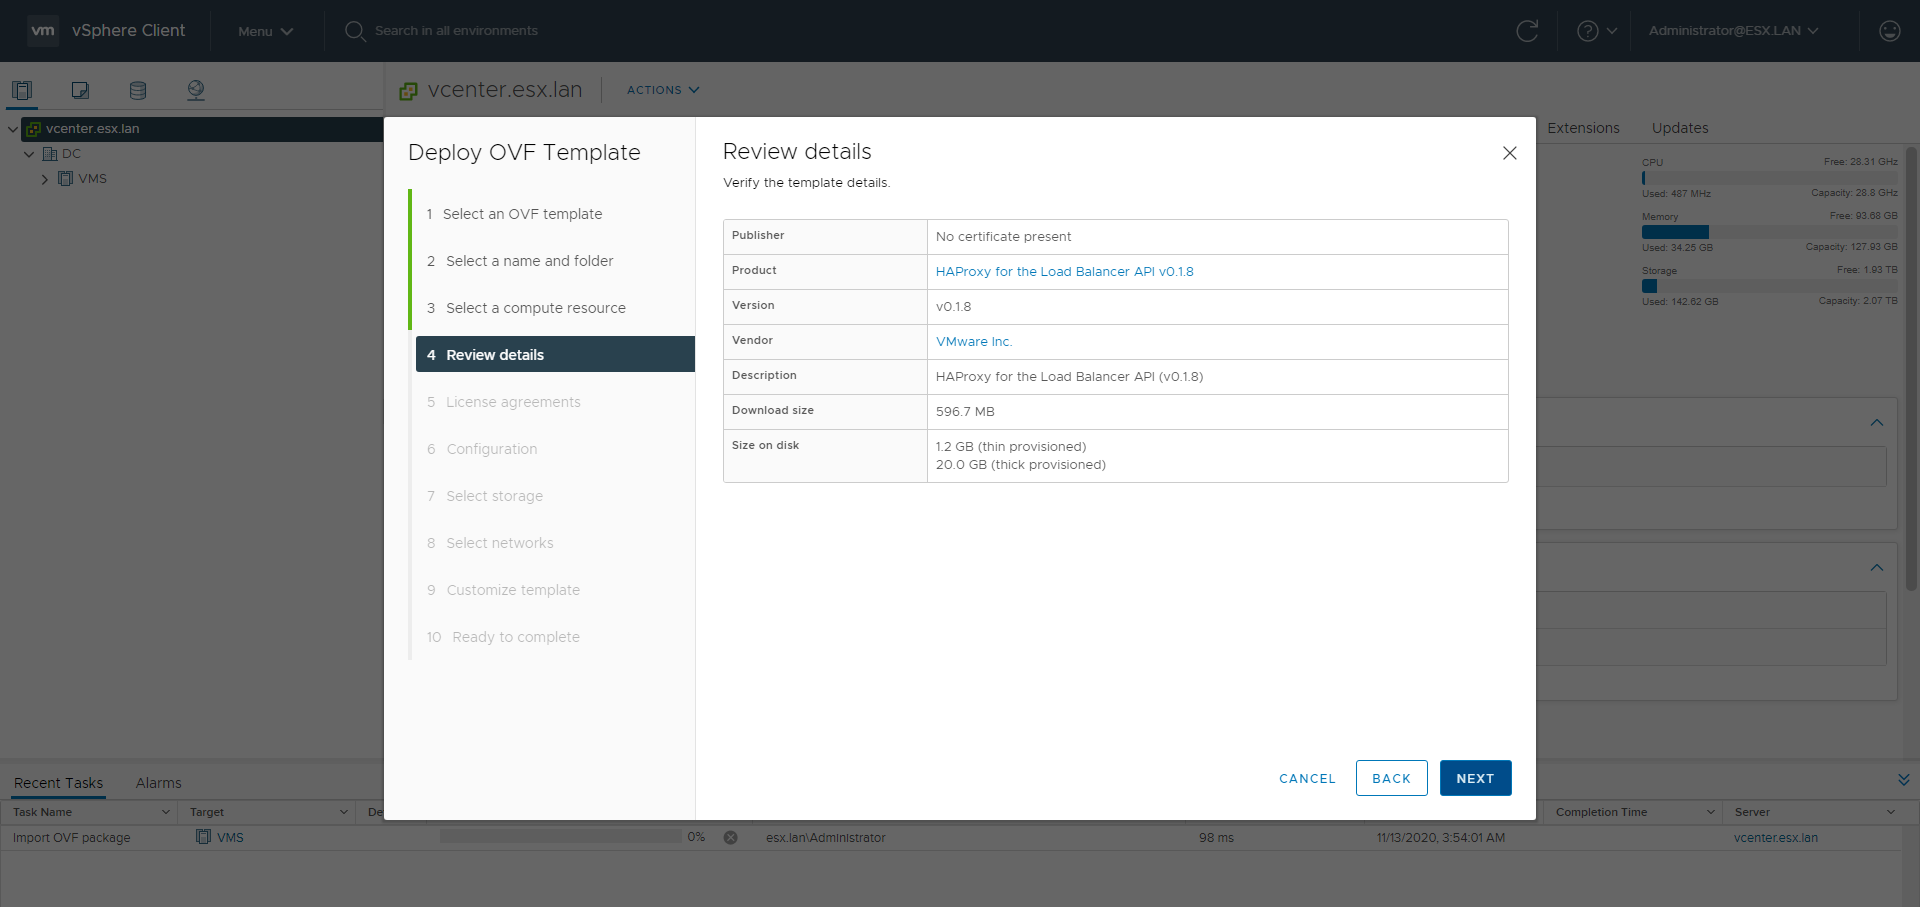
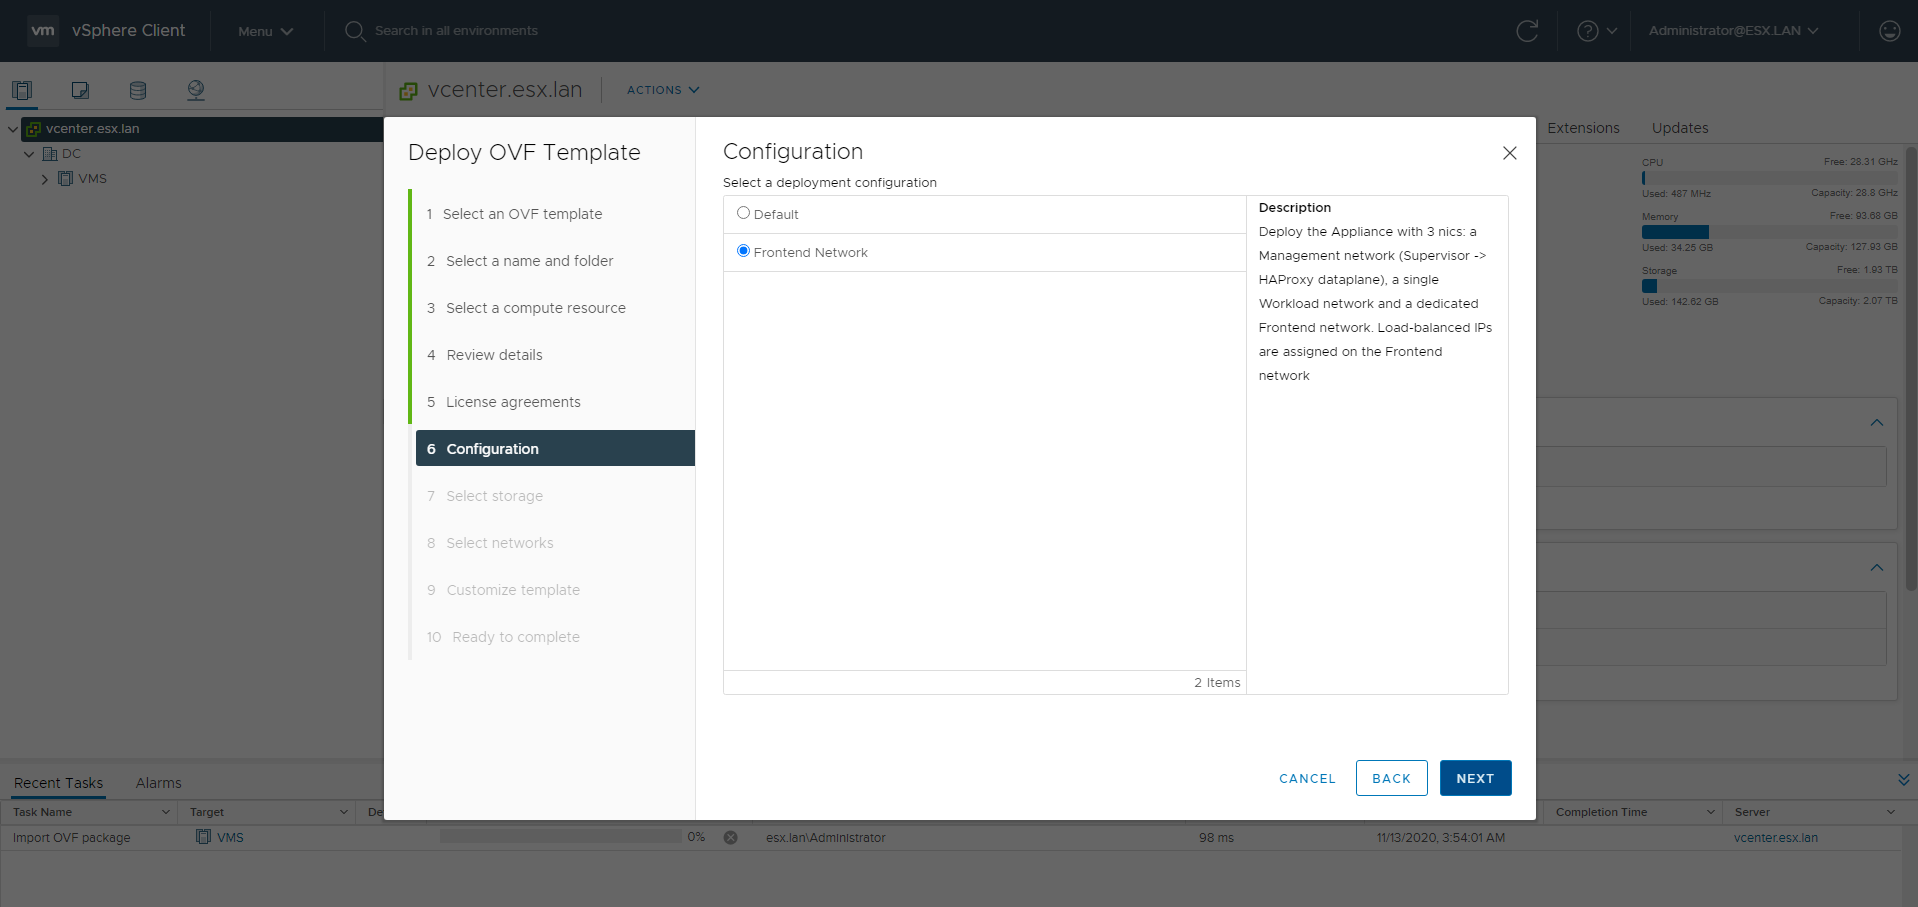
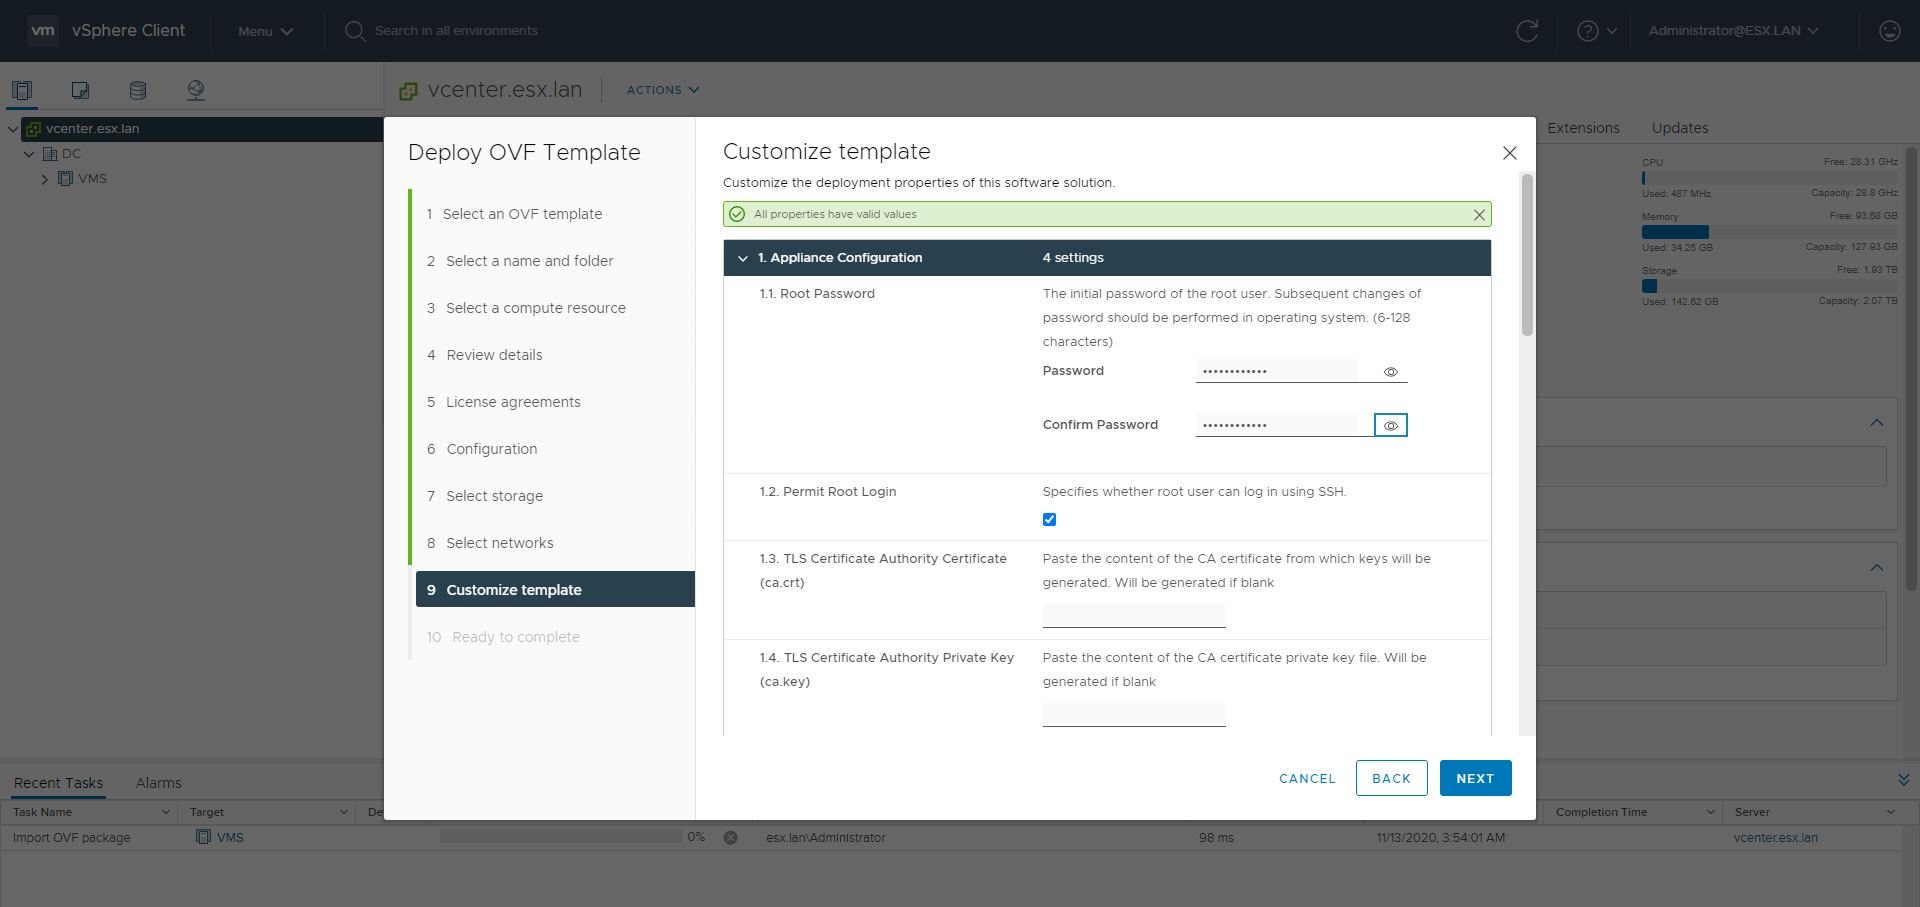
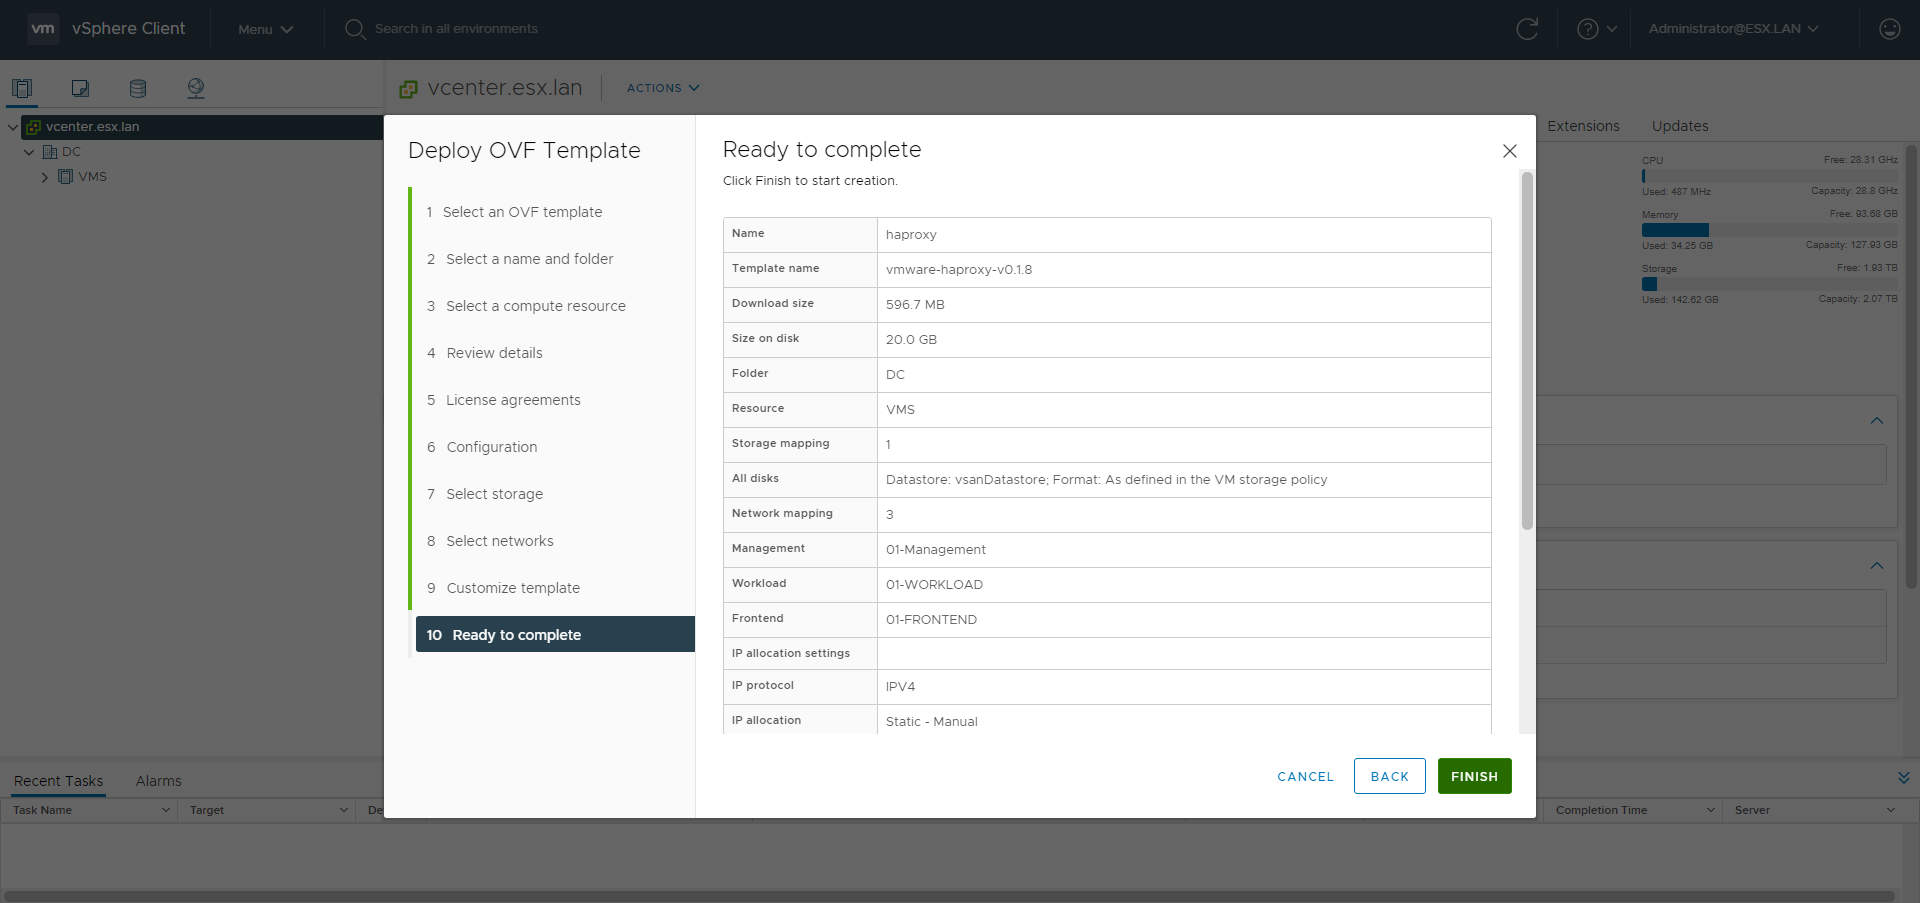
VMware-HAproxy OVA as LoadBalancer
Without NSX-T there is the need to use something which manages the LoadBalancing configuration. We’ll use HAproxy. The HAproxy OVA is going to be deployed with the 3 networks: the management network, the workload network which is used to let the SupervisorControlPlanes communicate with the nodes of the guest clusters and also be used as real server and the frontend network used for the VIPs created by the kubernetes service type LoadBalancer. The HAproxy istance is configured by its dataplane api using the management IP. The frontend IPs ranges with CIDR are used for the anyIP kernel feature. The HAproxy will respond to the ARP requests for any IP address in those subnets.
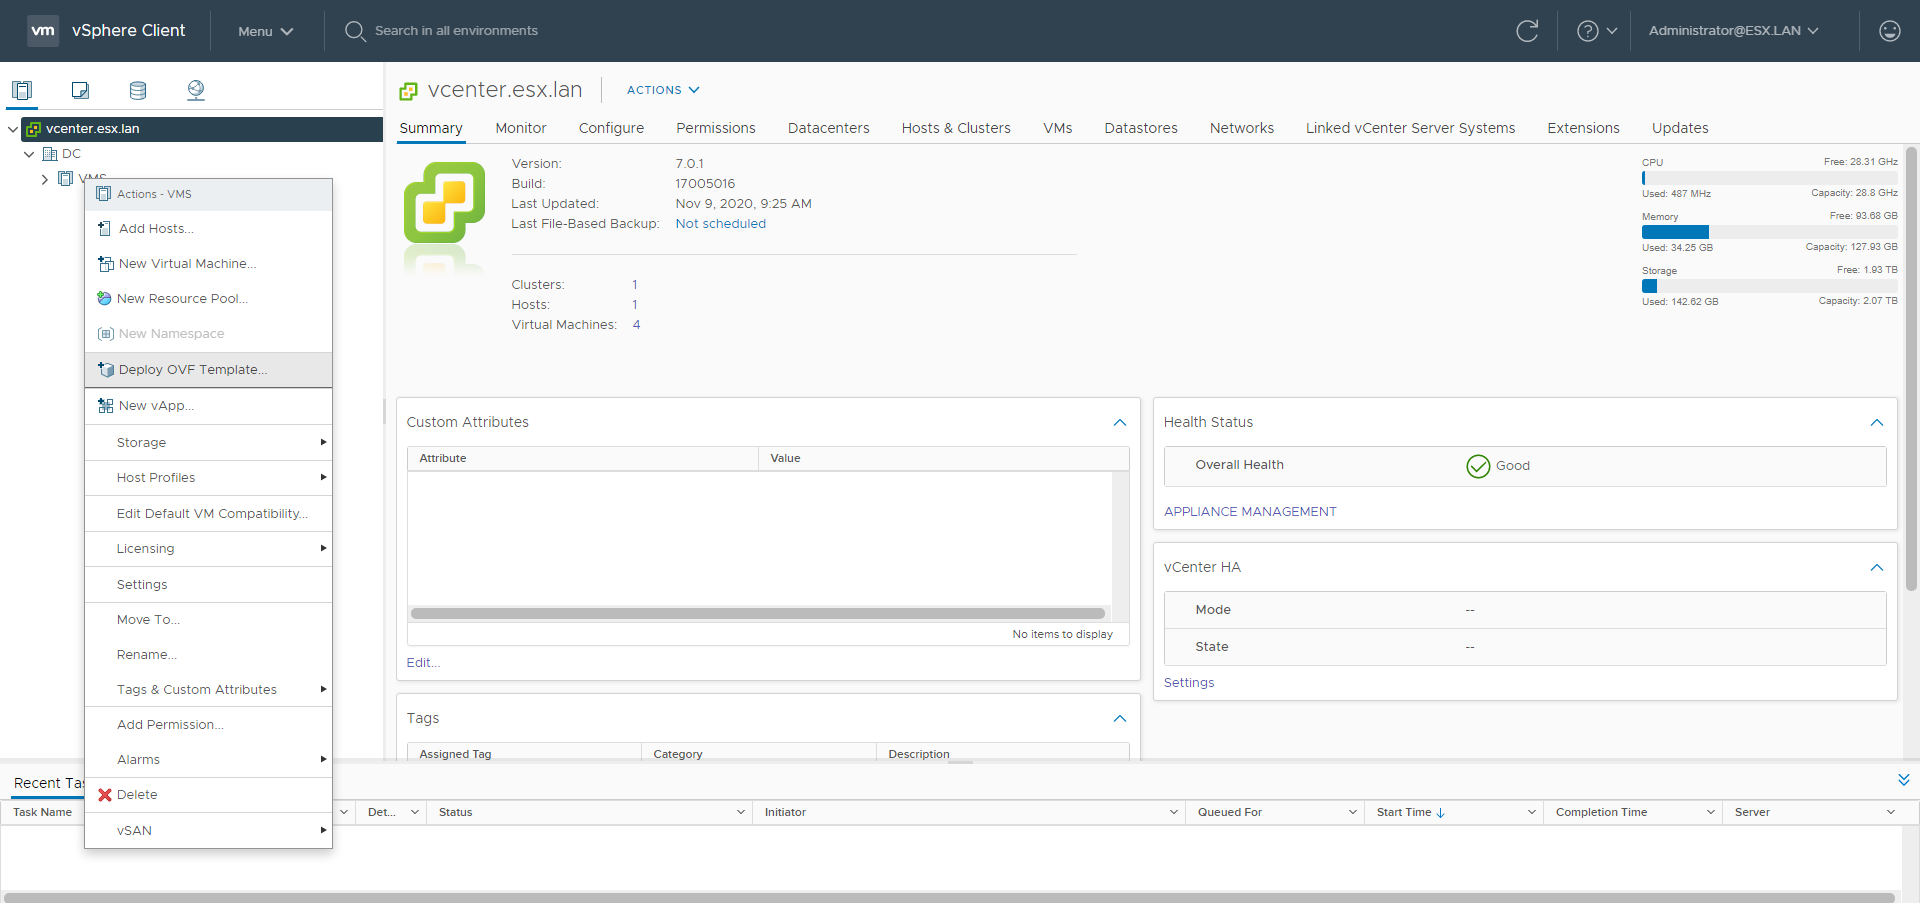
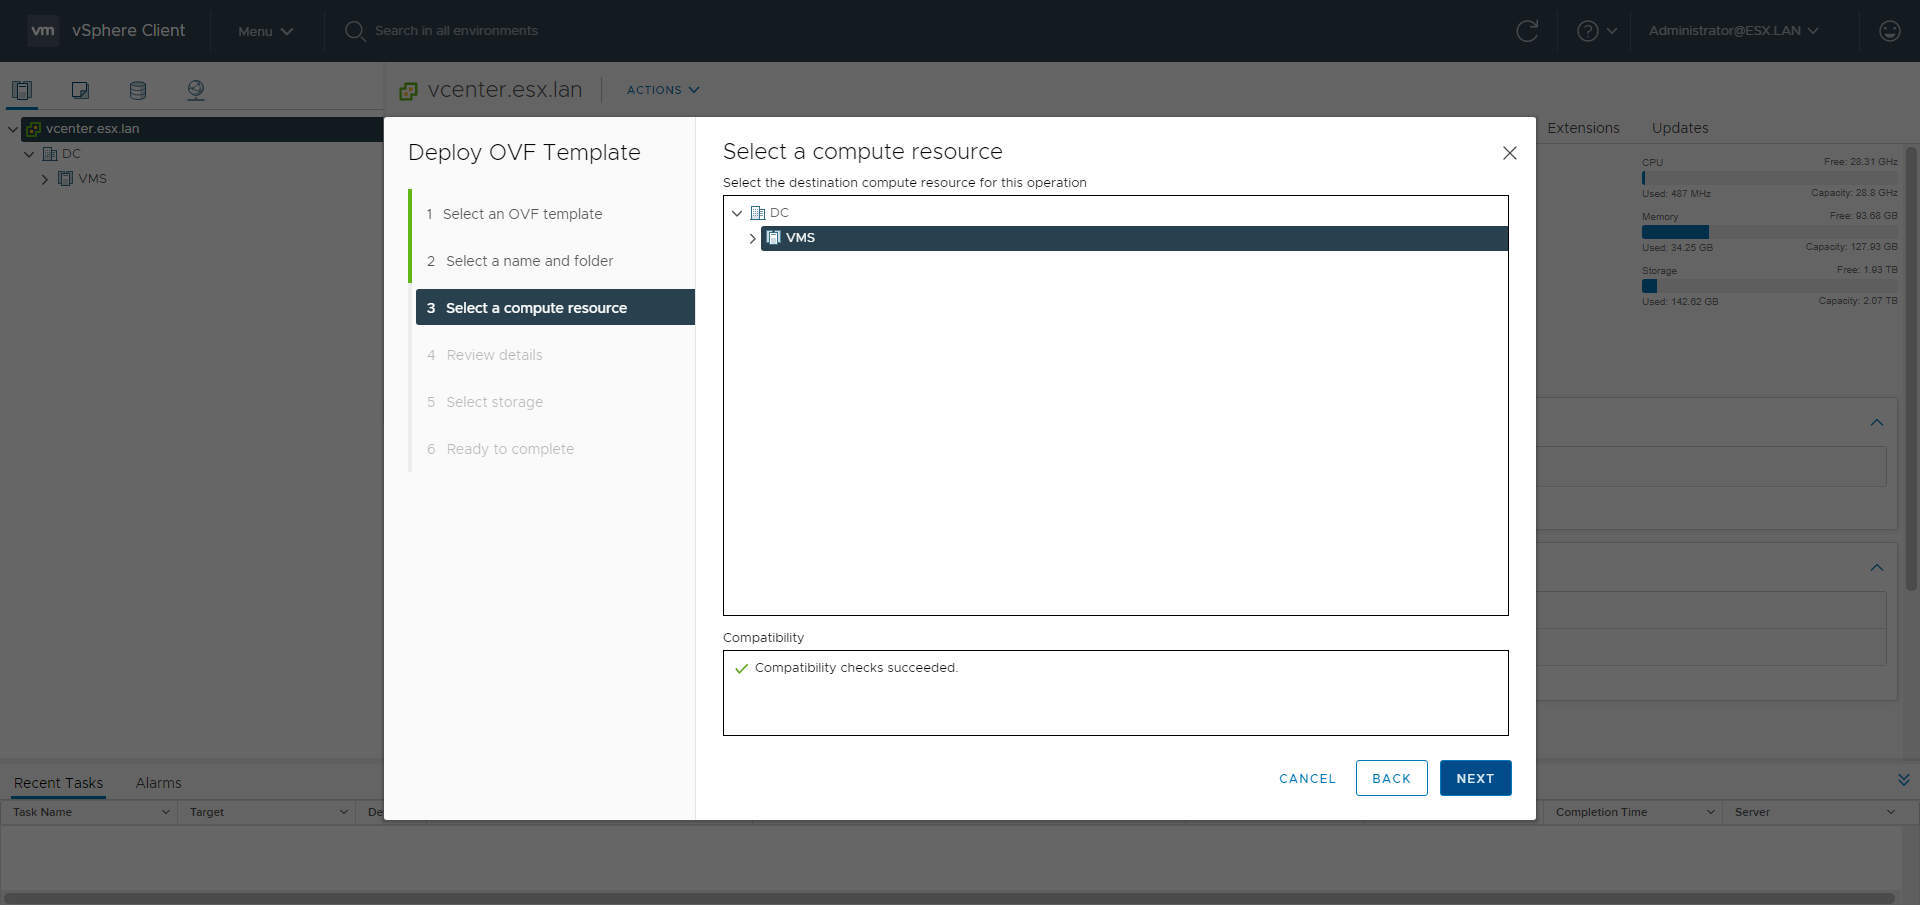
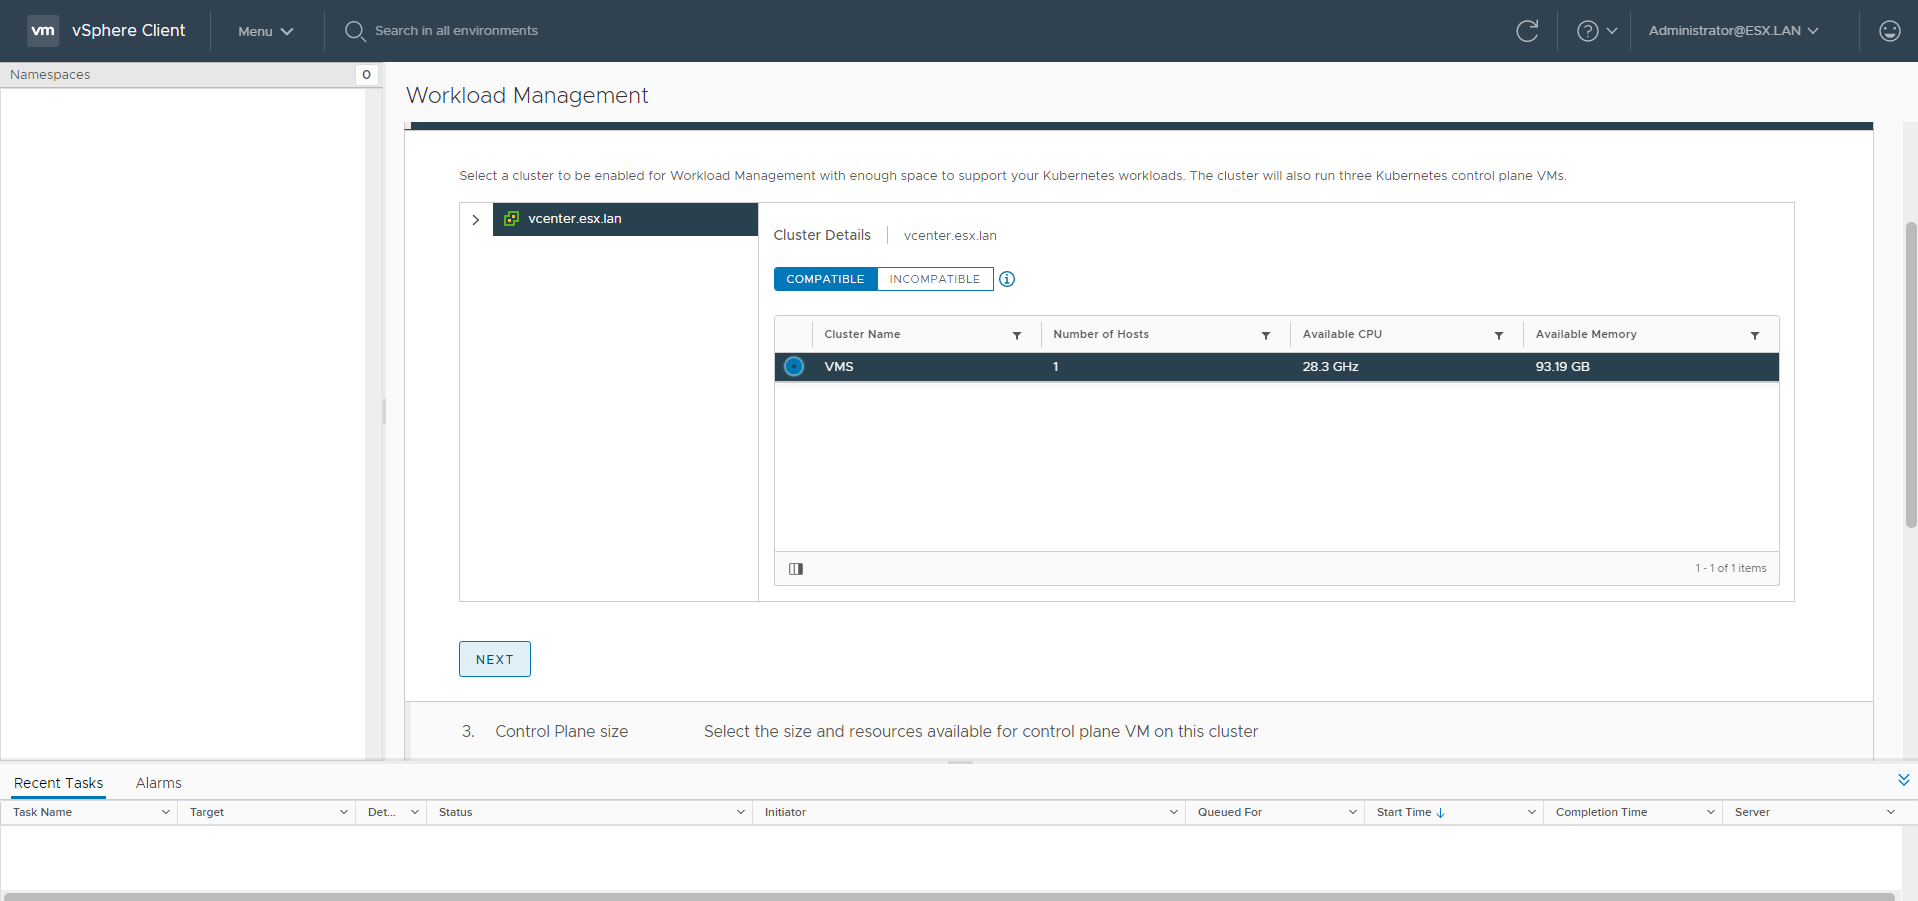
Go to the Hosts and Clusters menu.
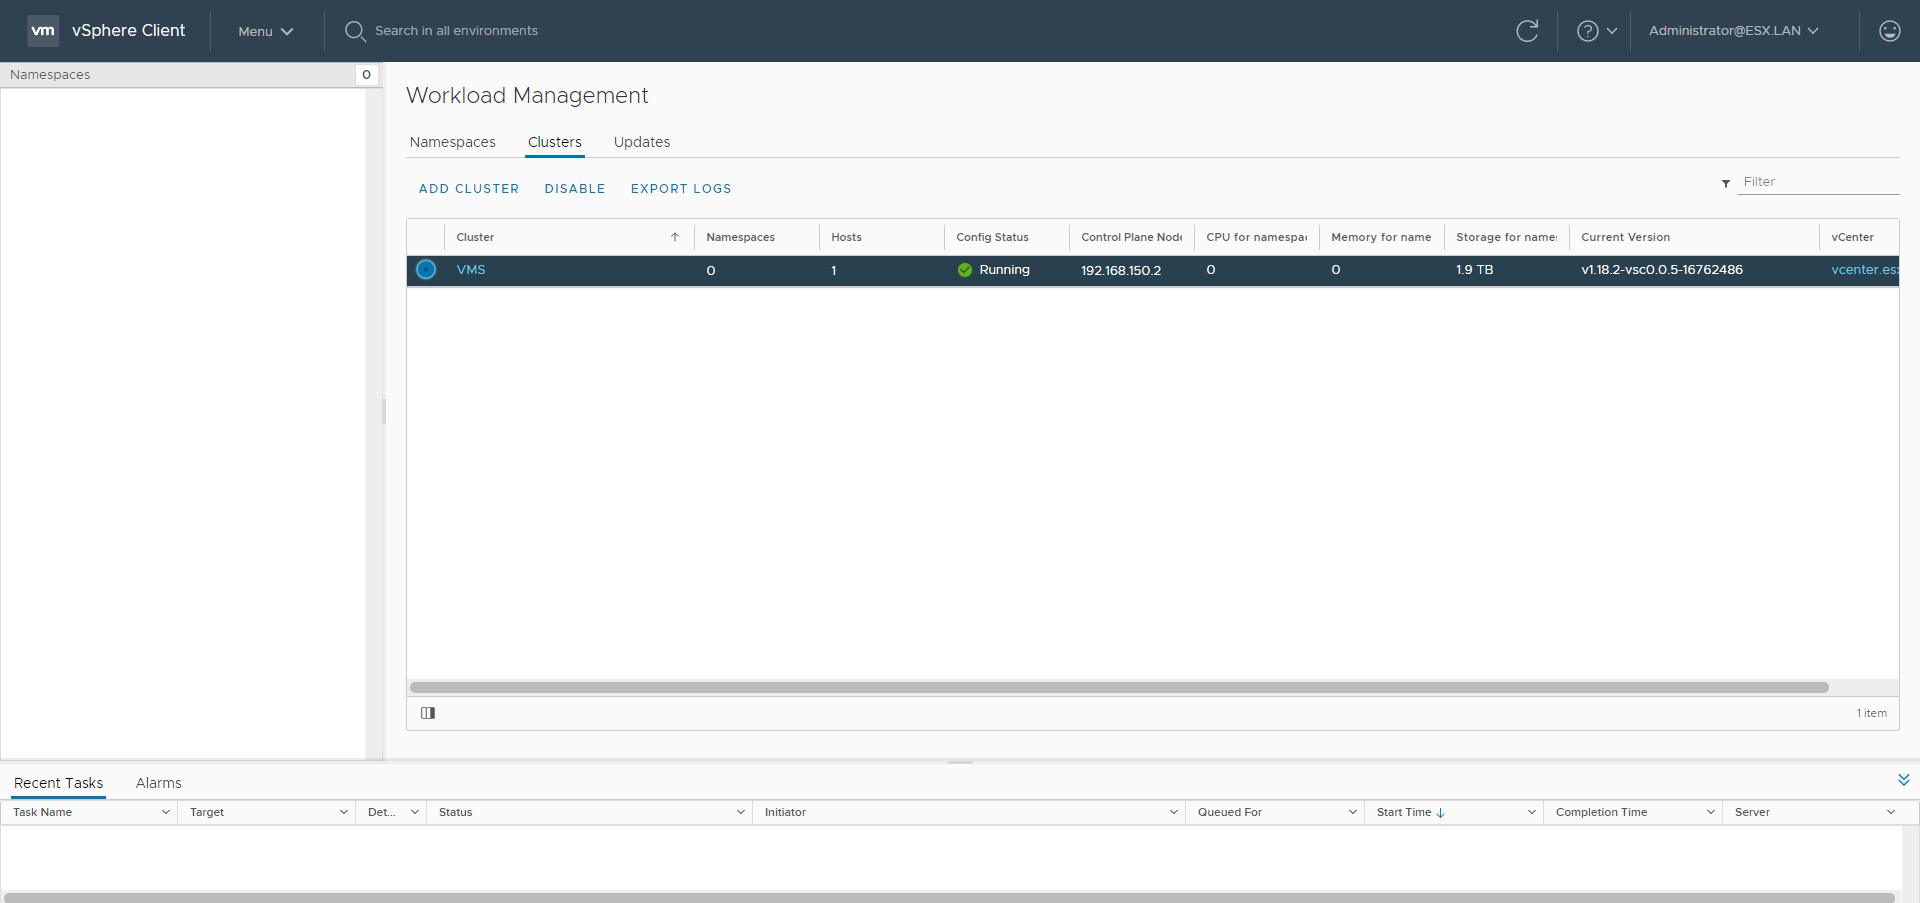
Workload Management
Go to the Workload Management menu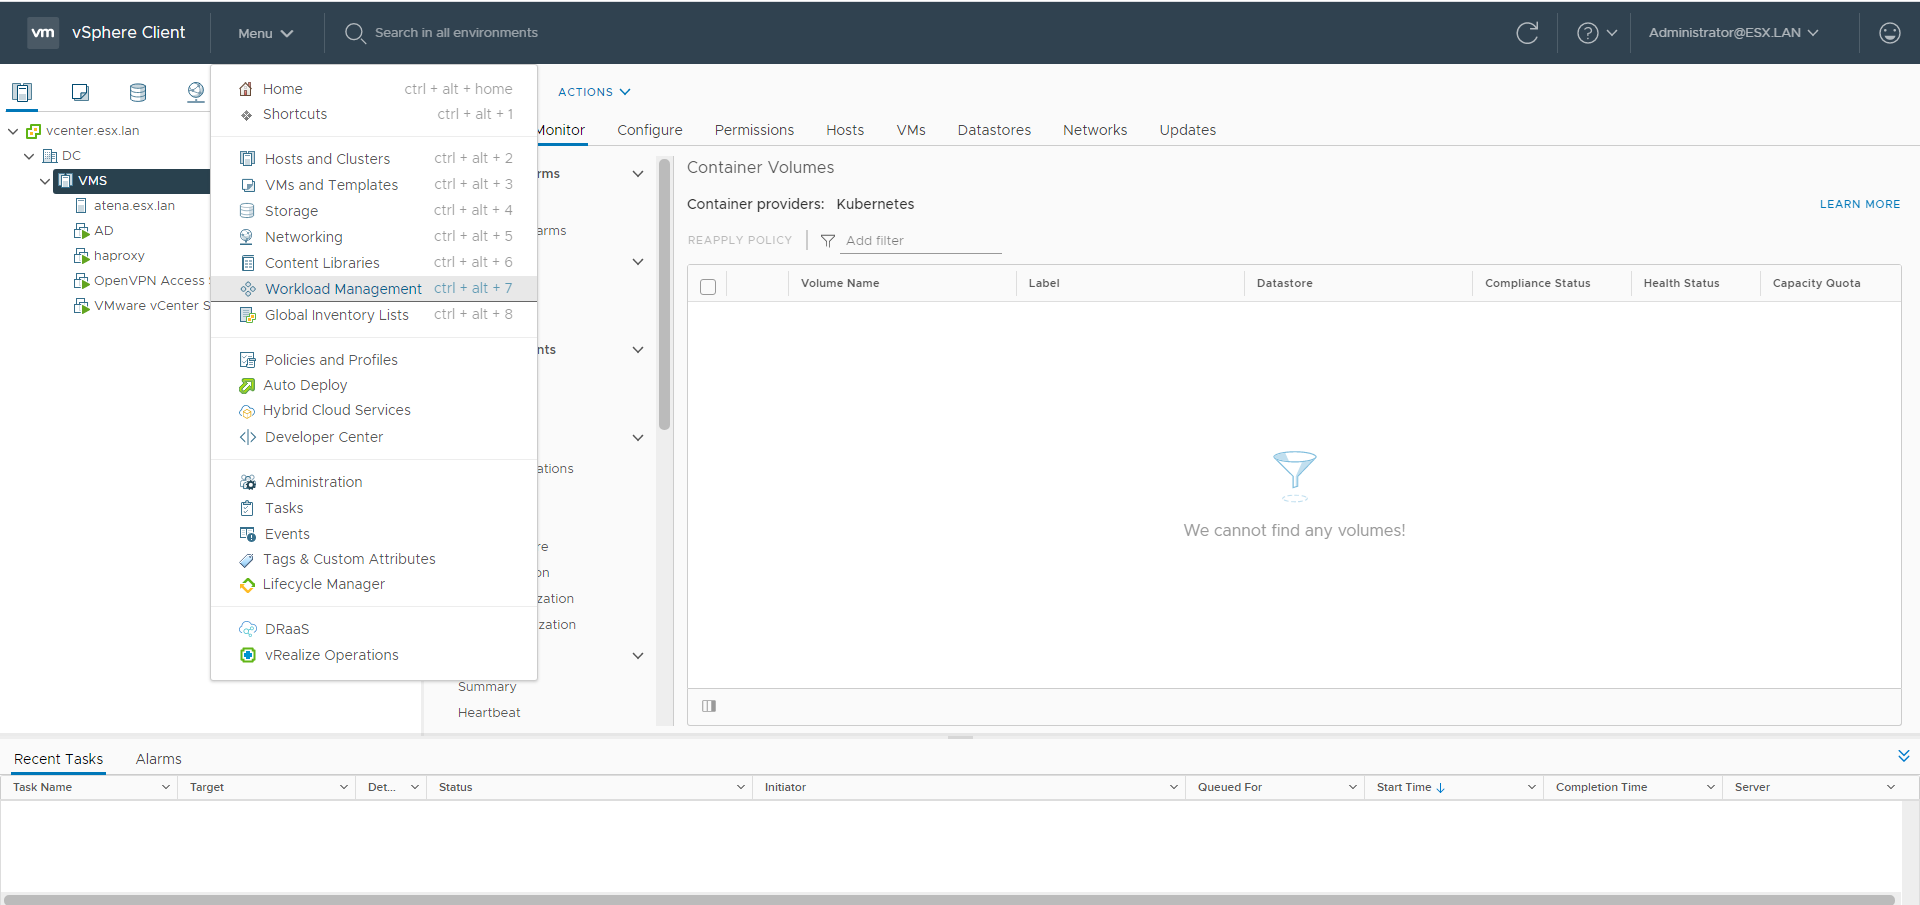

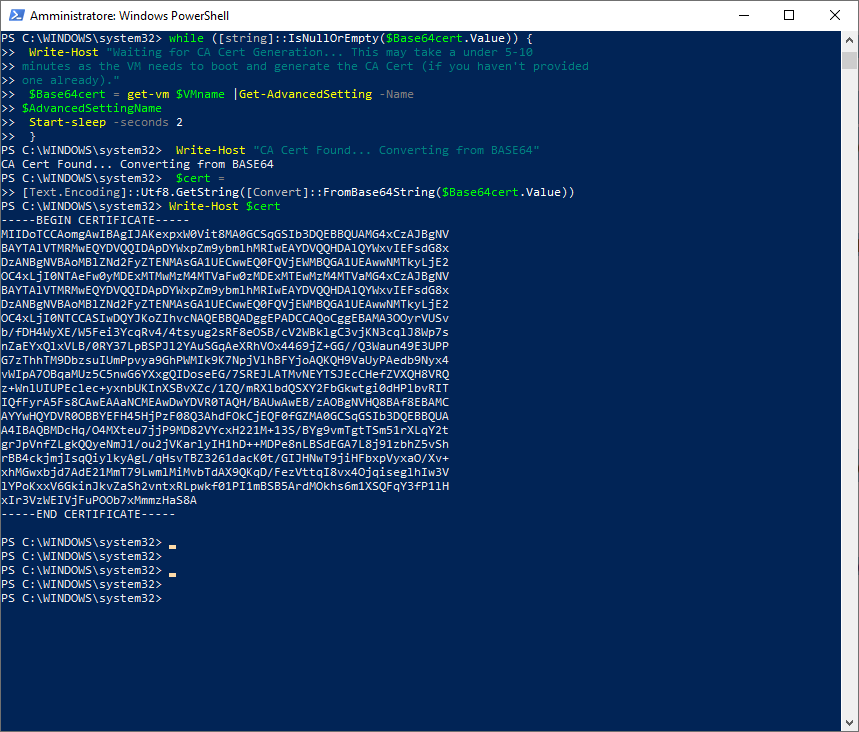
$vc = "10.174.71.163"
$vc_user = "[email protected]"
$vc_password = "Admin!23"
Connect-VIServer -User $vc_user -Password $vc_password -Server $vc
$VMname = "haproxy-demo"
$AdvancedSettingName = "guestinfo.dataplaneapi.cacert"
$Base64cert = get-vm $VMname |Get-AdvancedSetting -Name $AdvancedSettingName
while ([string]::IsNullOrEmpty($Base64cert.Value)) {
Write-Host "Waiting for CA Cert Generation... This may take a under 5-10
minutes as the VM needs to boot and generate the CA Cert (if you haven't provided one already)."
$Base64cert = get-vm $VMname |Get-AdvancedSetting -Name
$AdvancedSettingName
Start-sleep -seconds 2
}
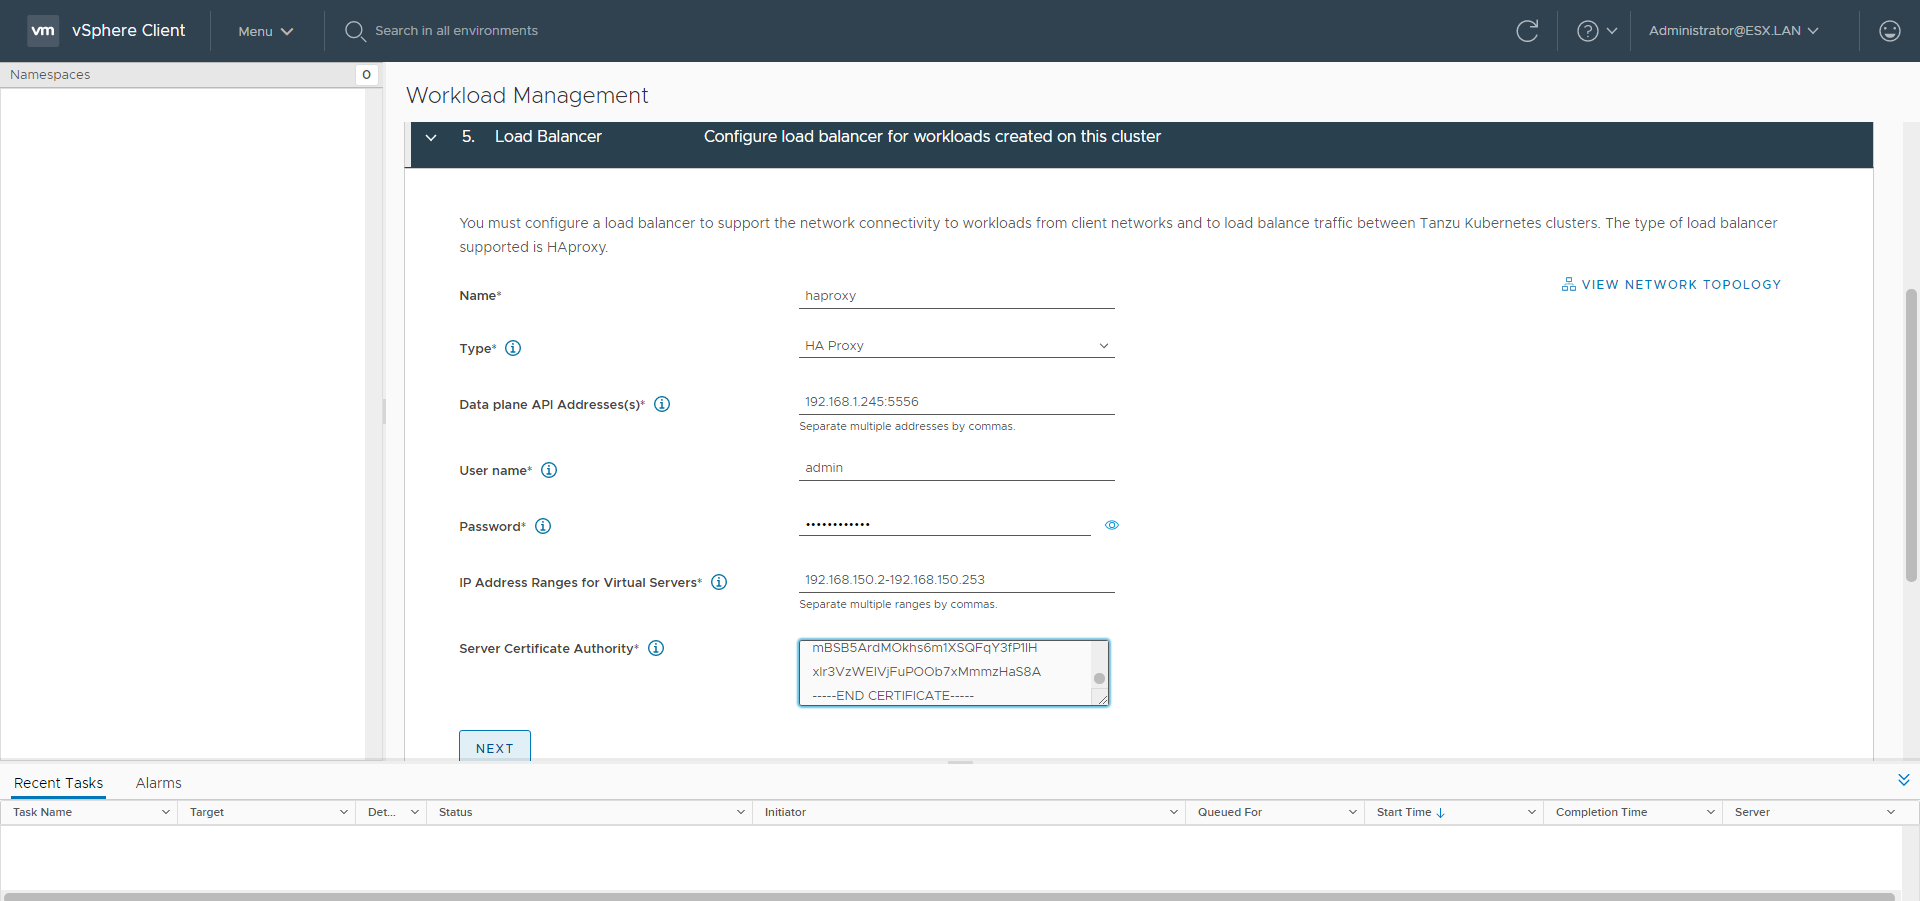
Write-Host "CA Cert Found... Converting from BASE64"
$cert = [Text.Encoding]::Utf8.GetString([Convert]::FromBase64String($Base64cert.Value))
Write-Host $cert
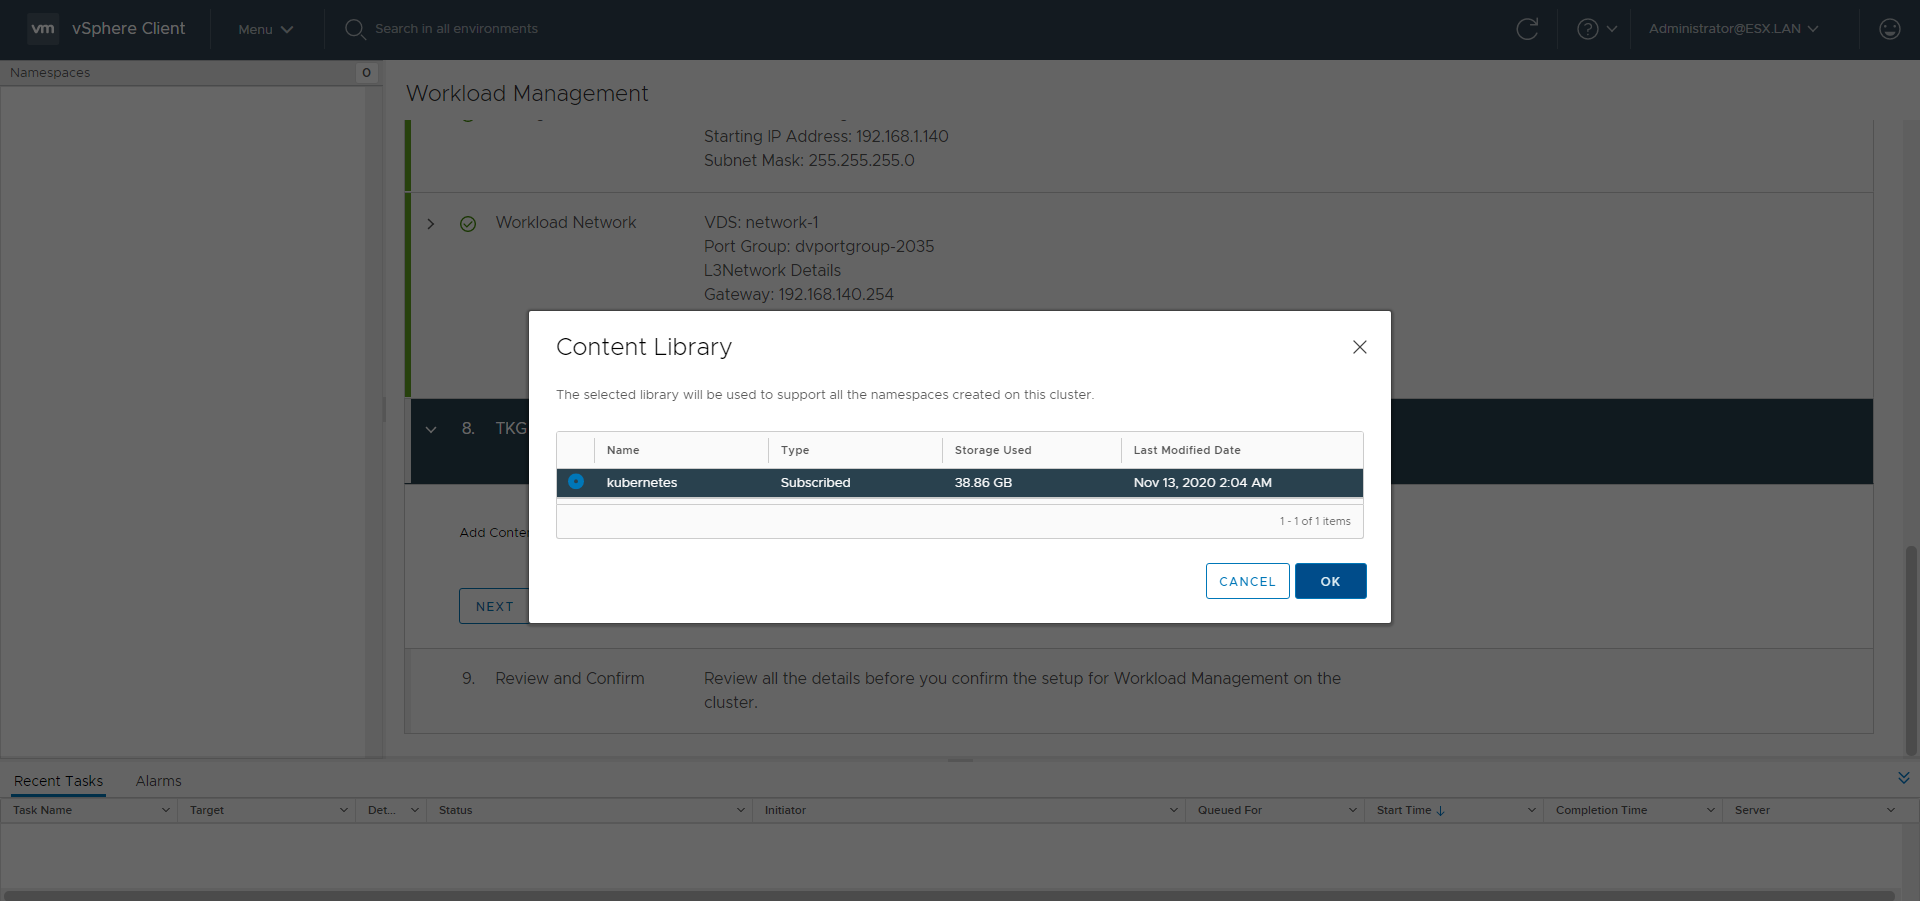
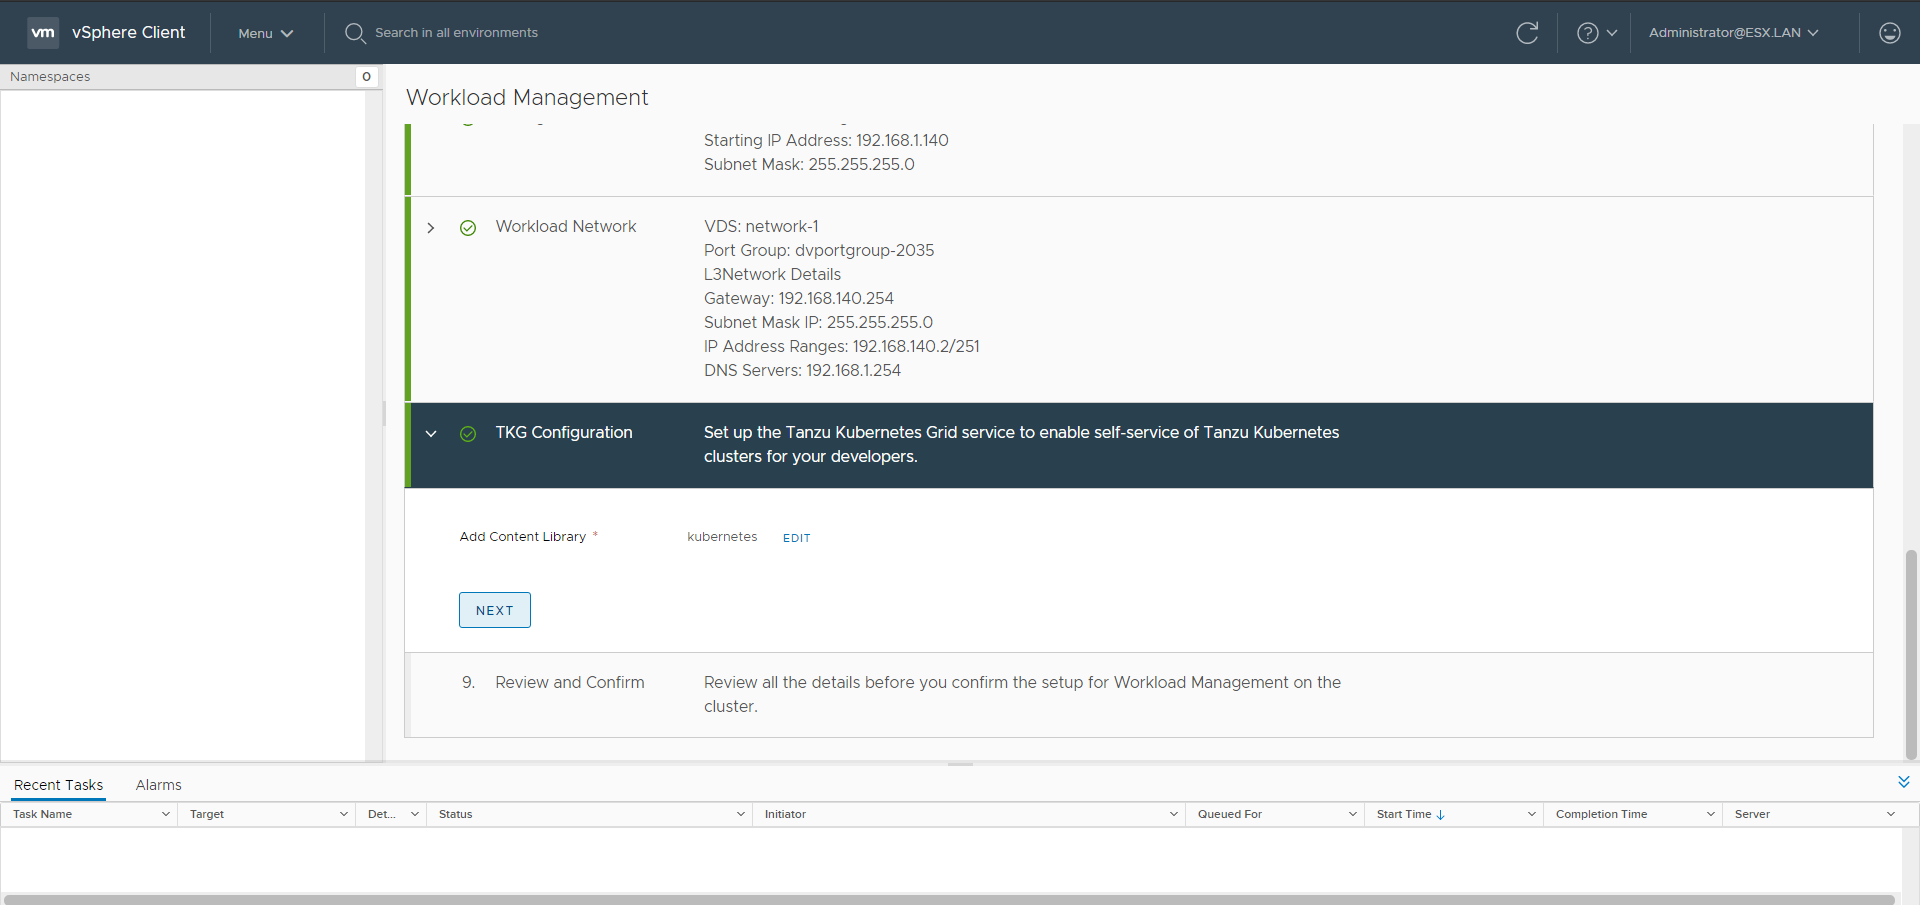
Add the Content Library clicking ADD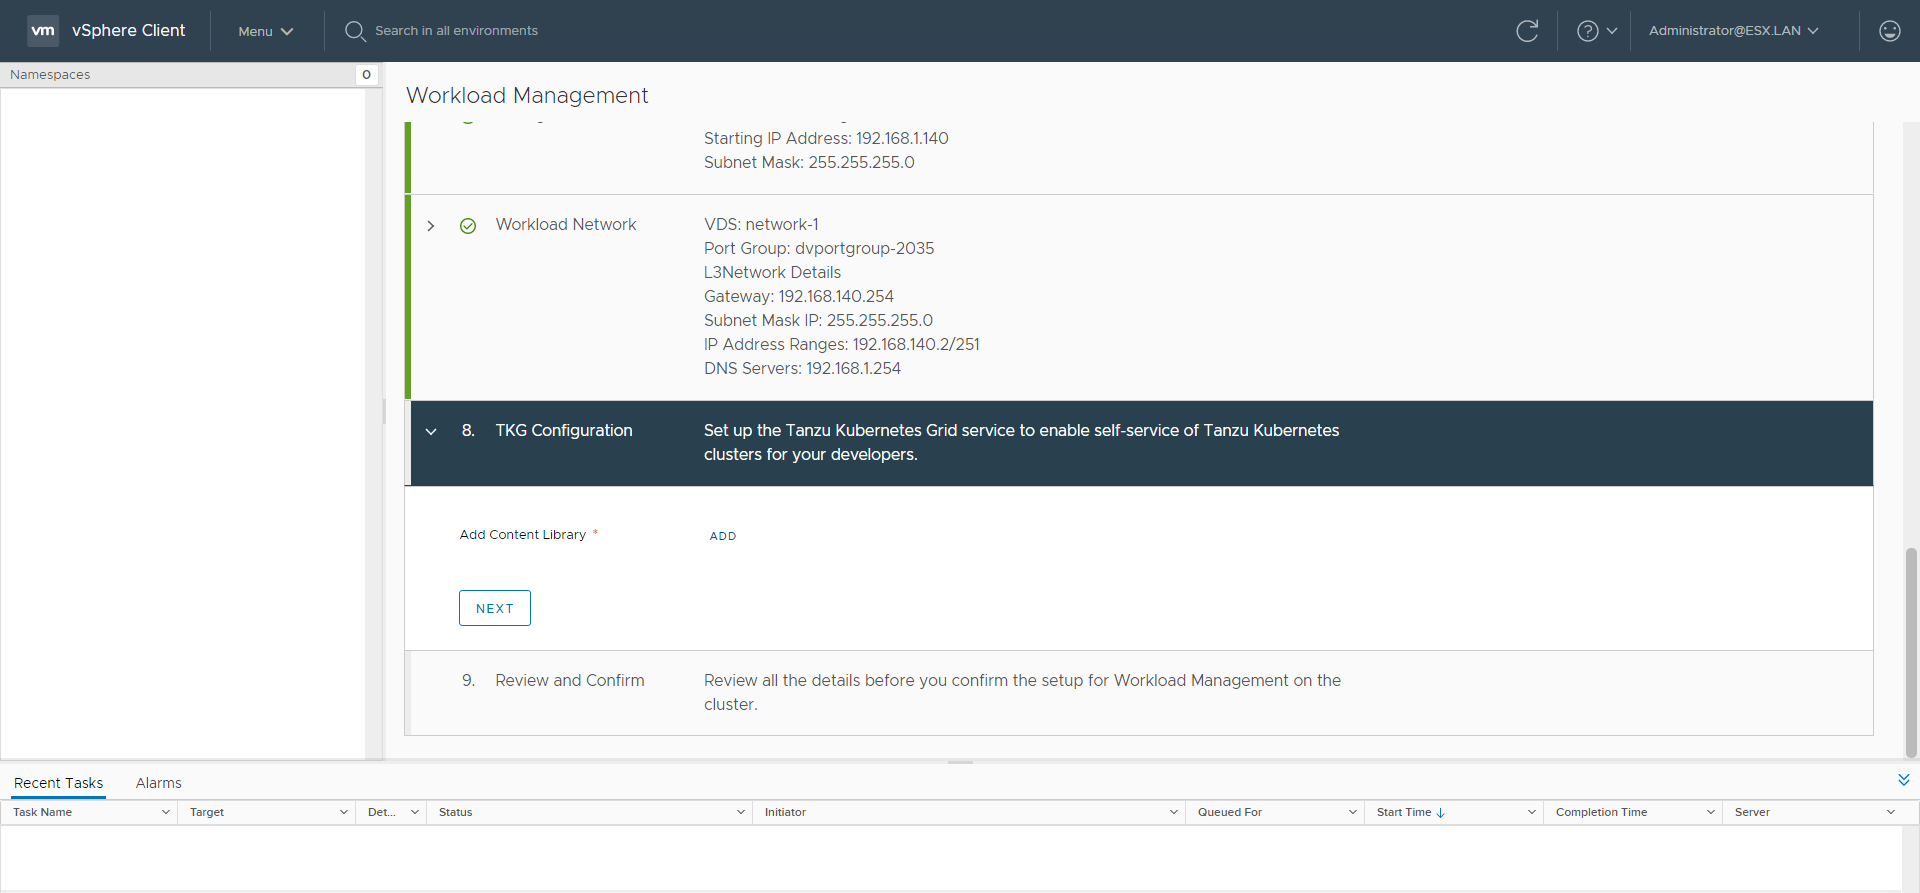
The creation of Namespace and Guest Clusters will be covered in the second part