Google OAuth as Identity Provider with Red Hat login in OCP 3.11
When I was in Red Hat, I needed to grant access to my lab to some of my colleagues.
The lab uses httpasswd IdentityProvider and It was really painful to add new users to the file each time.
So, an idea popped up: could I use the google oauth Identity Provider with our Red Hat login?
Well, it can be done! This is a detailed how-to
I logged in https://console.developers.google.com/apis/dashboard with my Red Hat credentials.
At the top of the page, click the select box next to the google APIs logo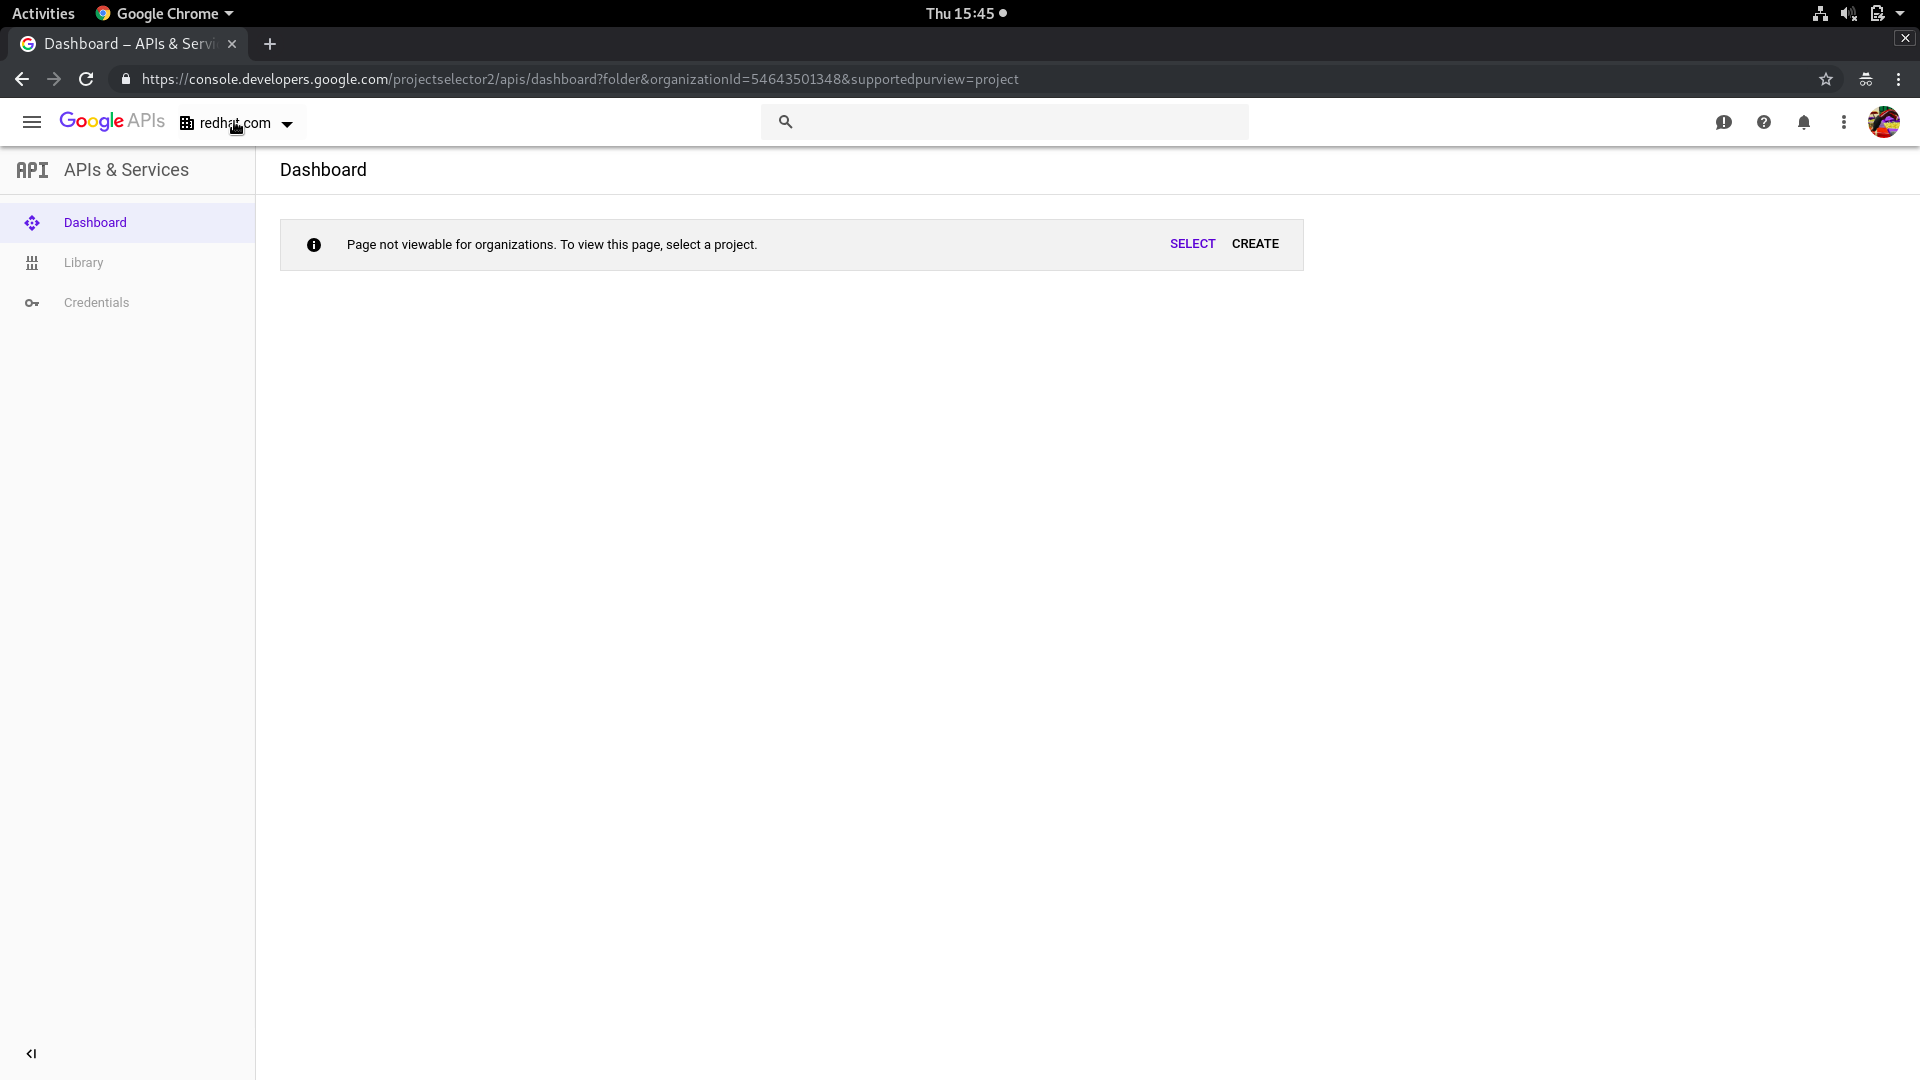
Choose REDHAT.COM in the Select from box and then click NEW PROJECT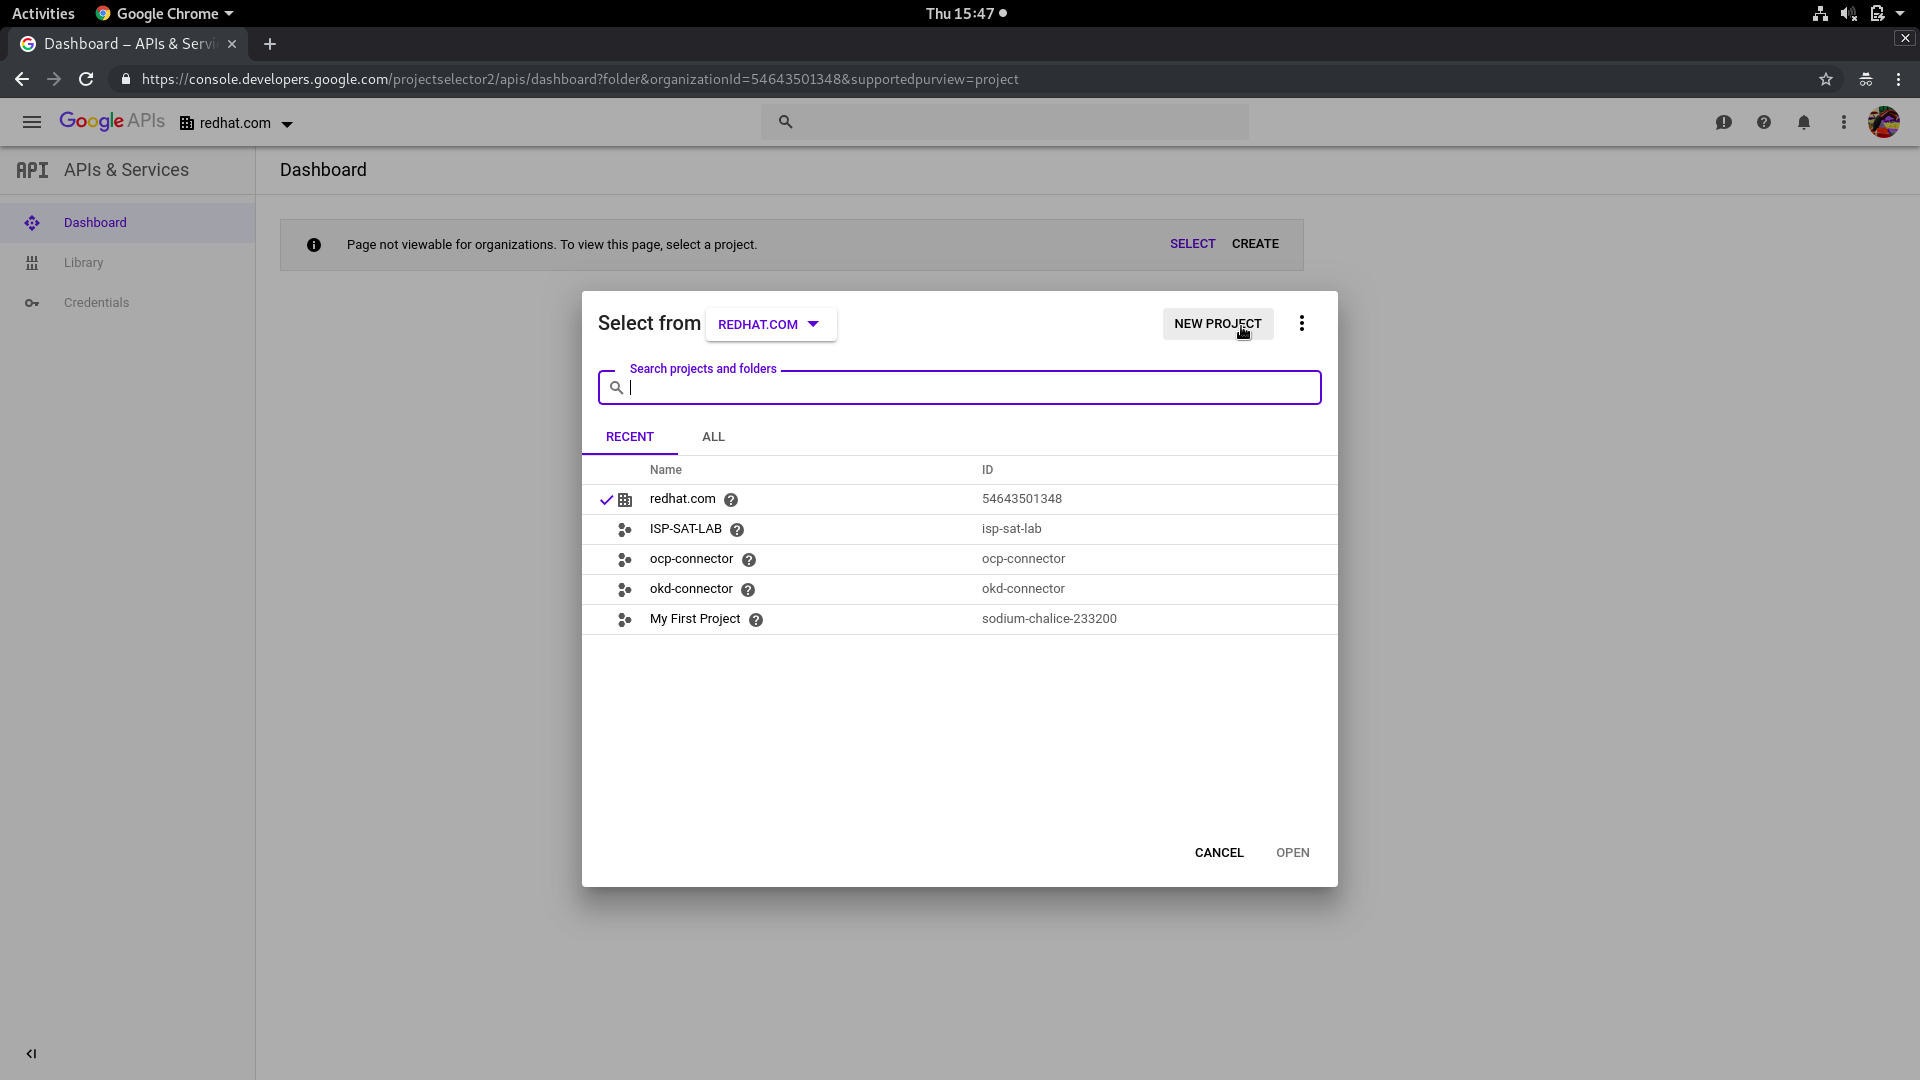
Choose your Project Name and be sure that the Location is redhat.com. Then click CREATE
On the left, you’ll find the credentials section: click on it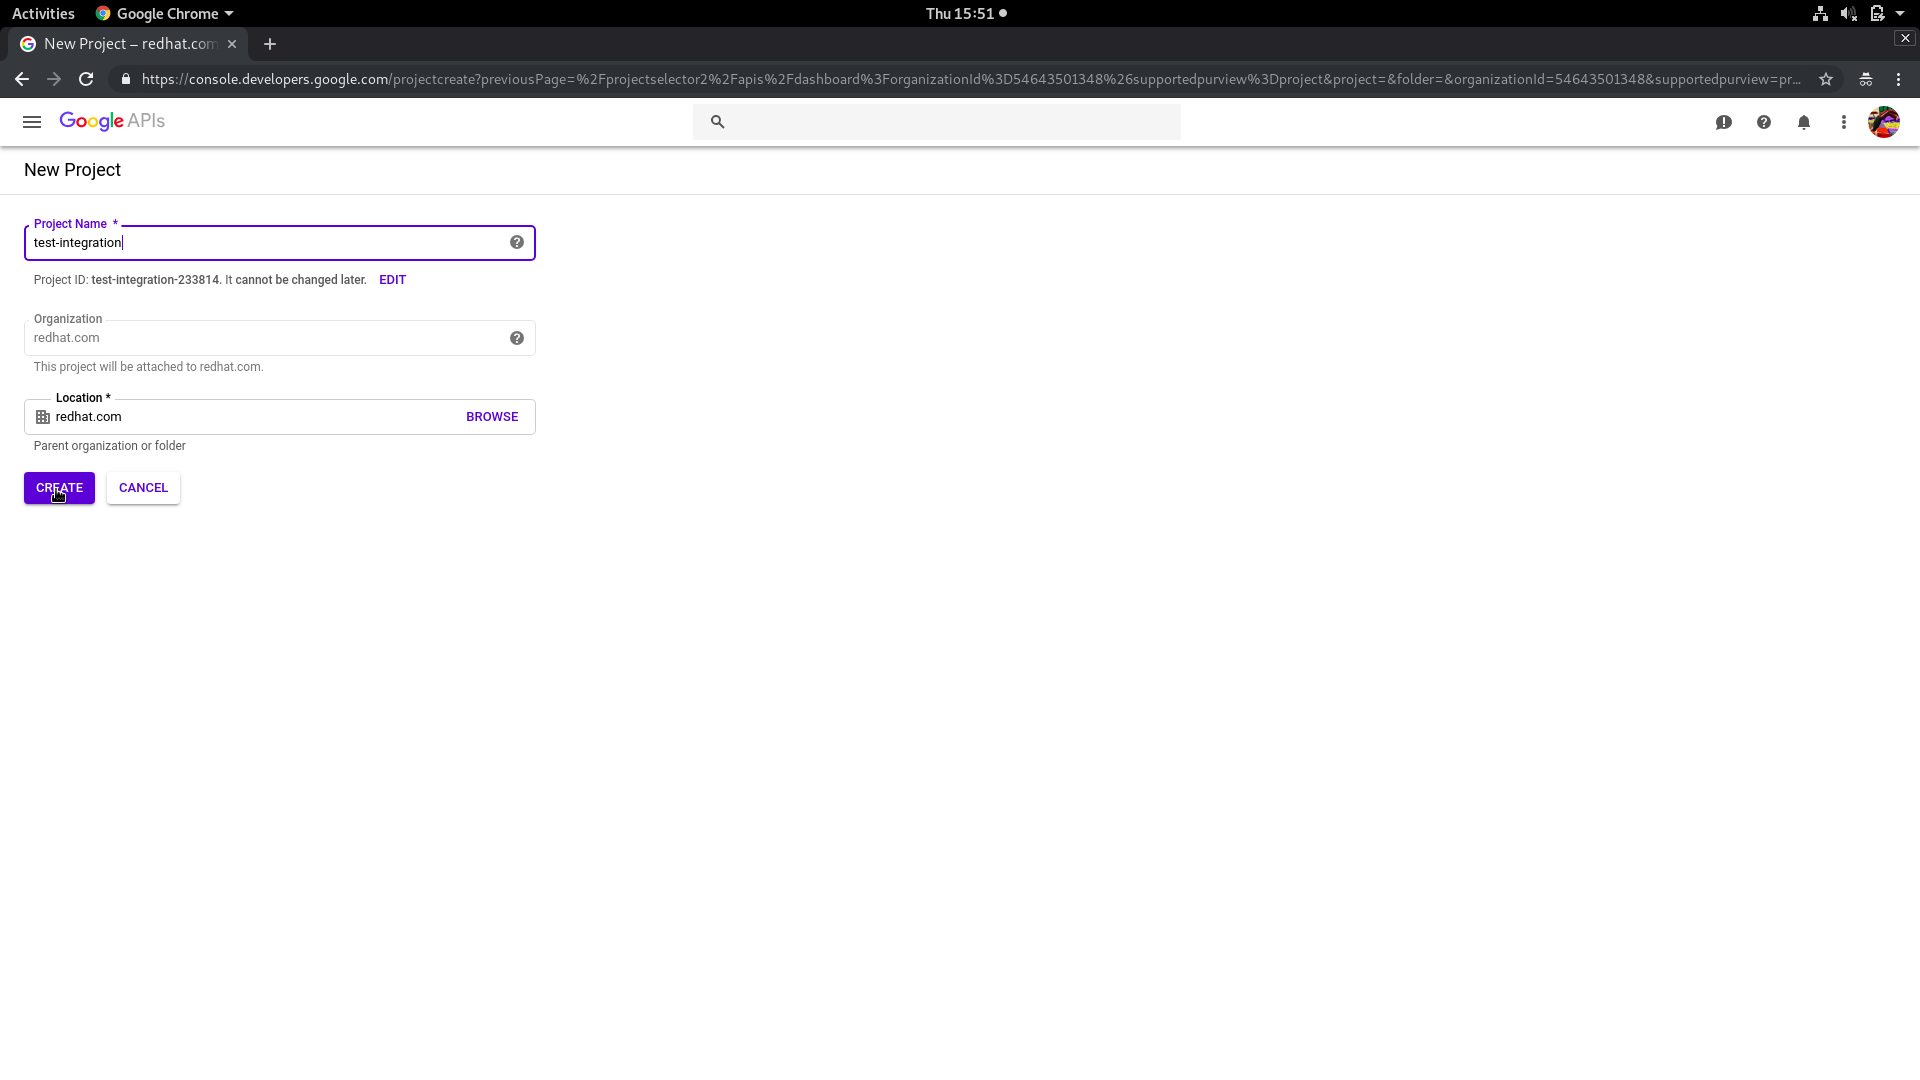
Under credentials, click on the tab OAuth Consent Screen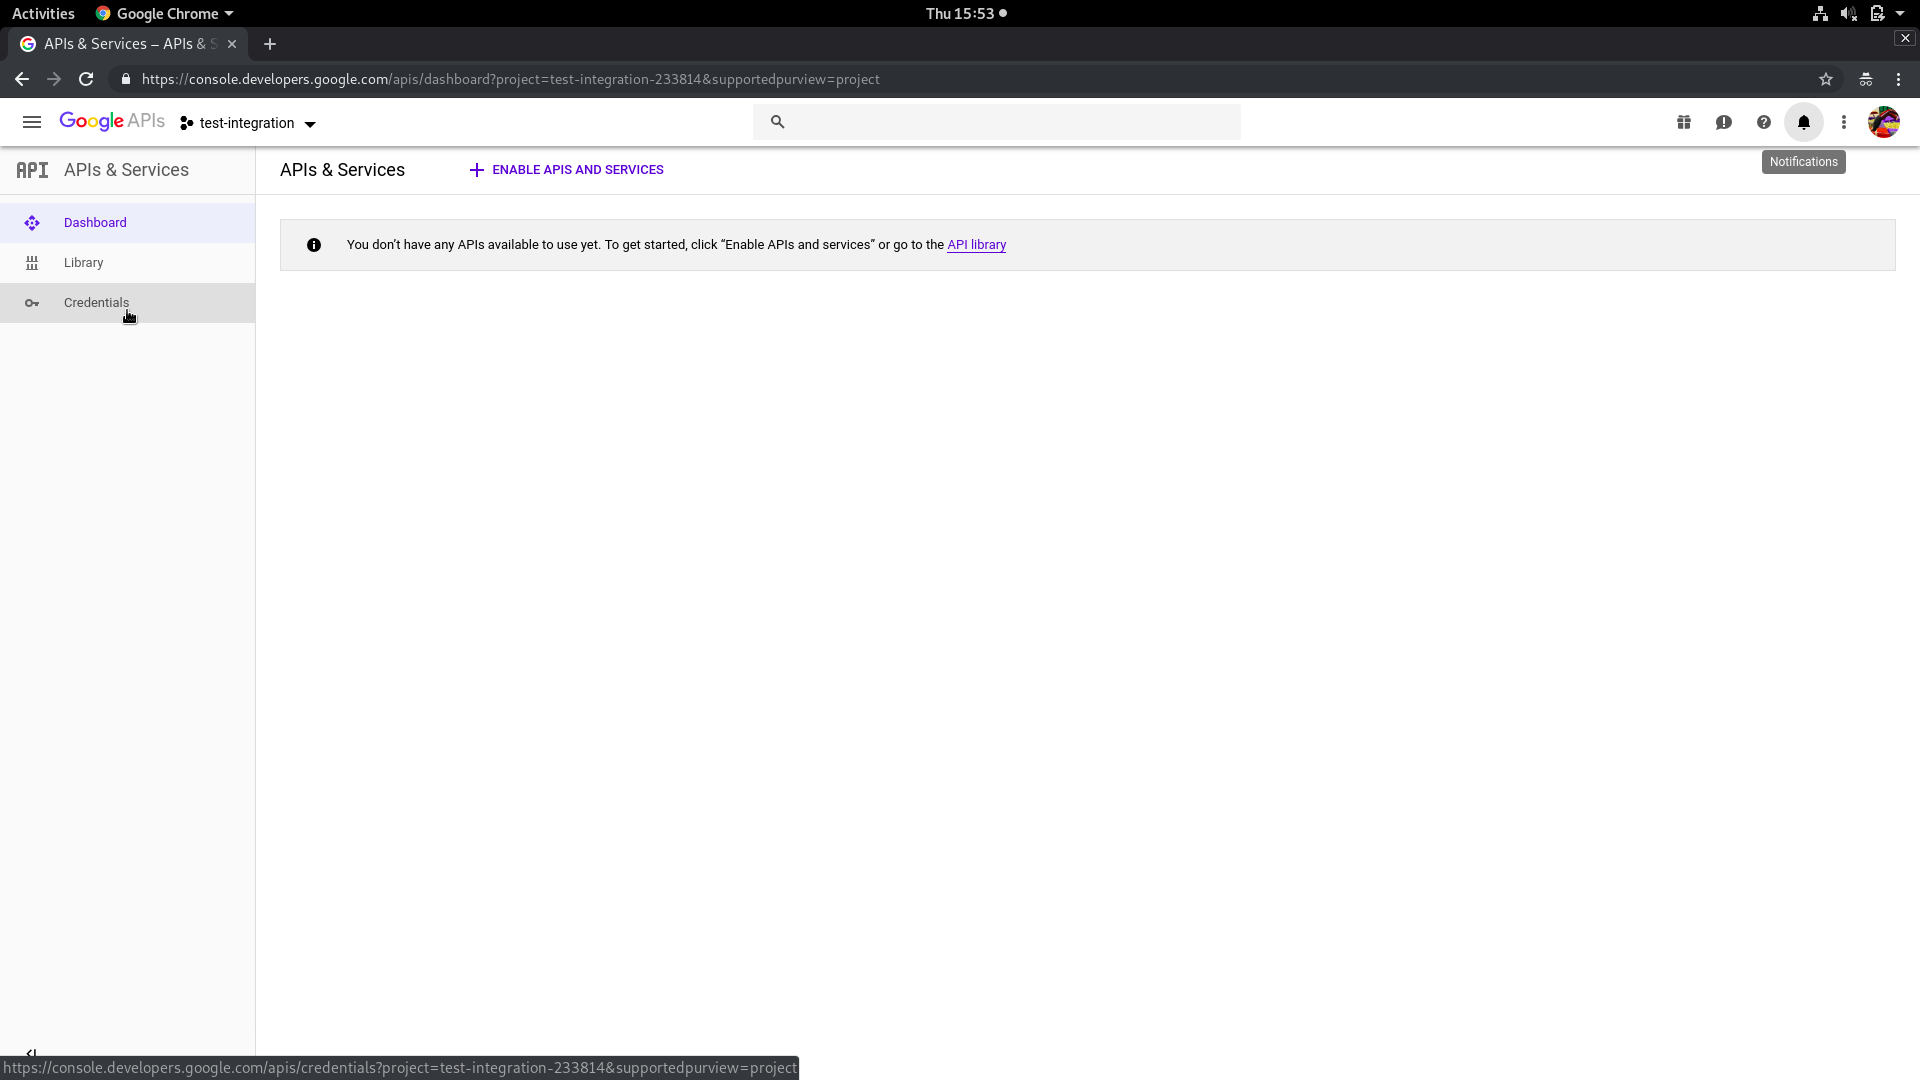
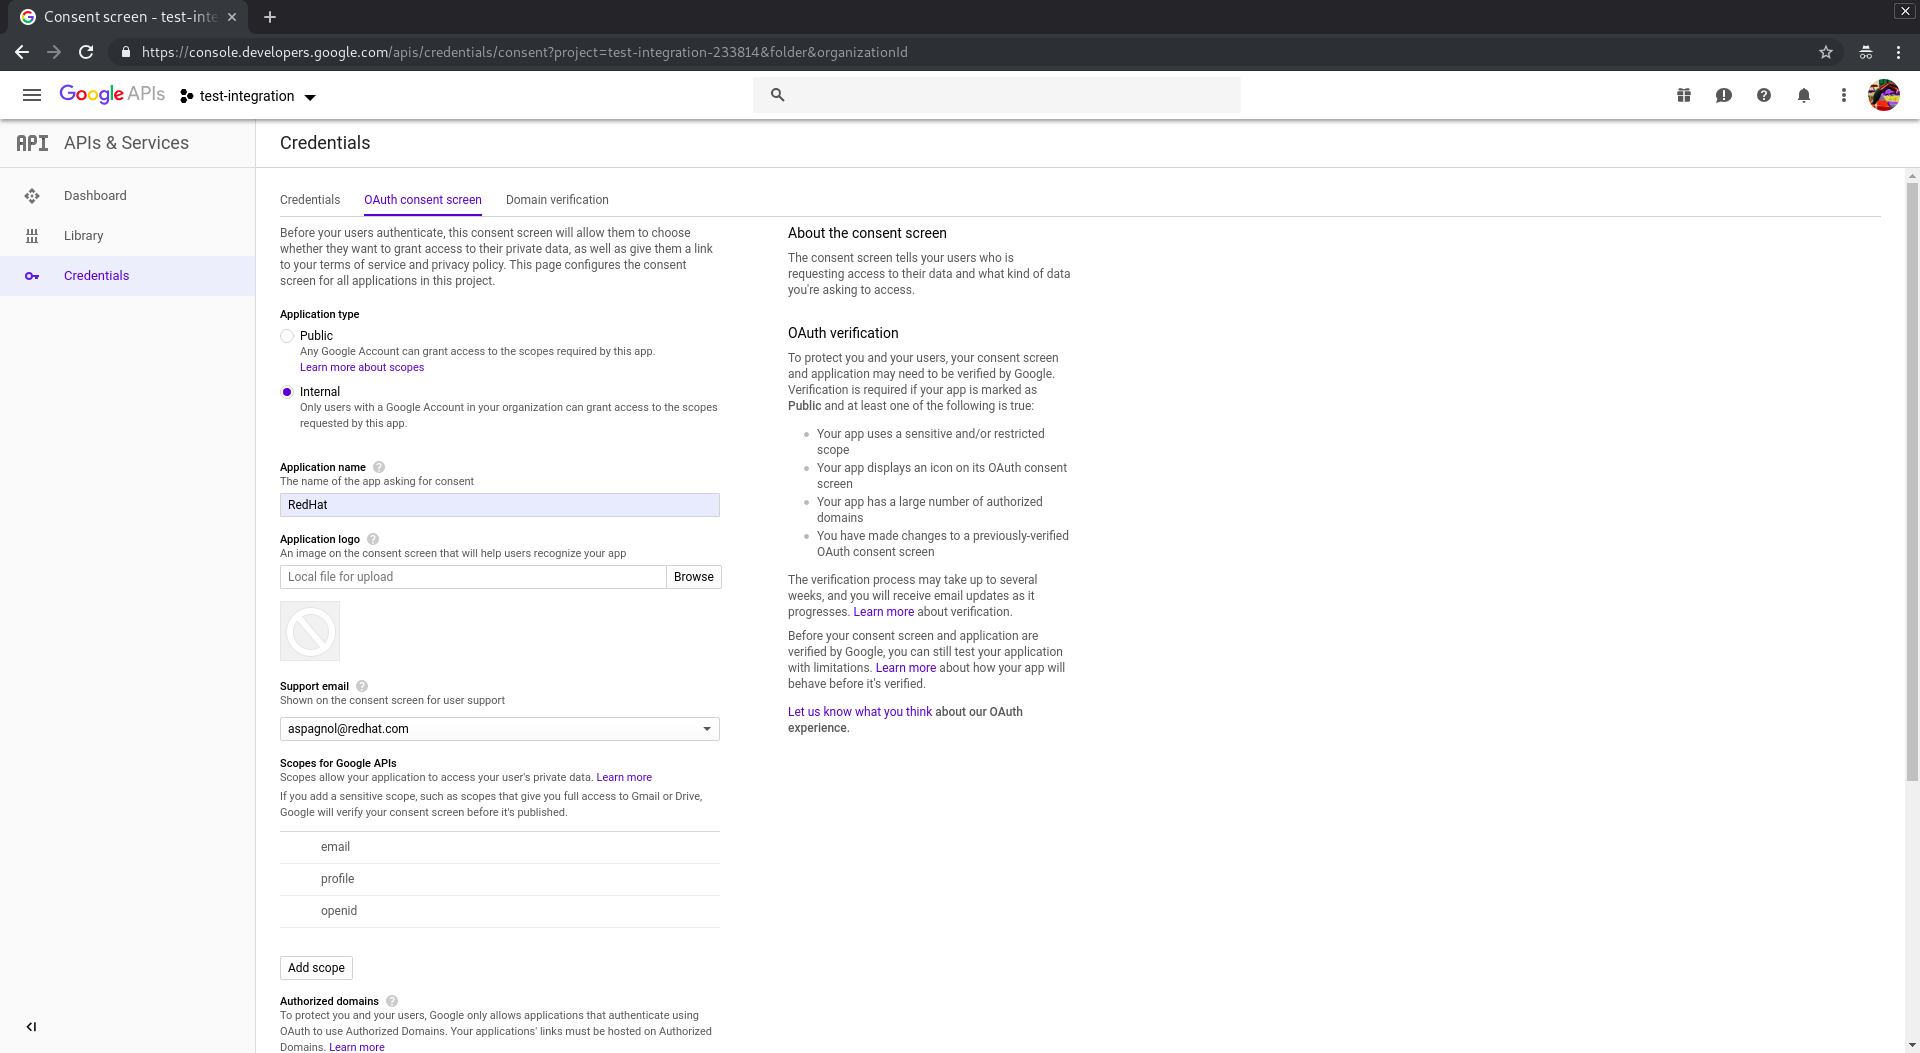
Now we have to configure the Application type as internal and add your ocp domain in Authorized Domain and your Application Name. Then click save and you’ll be redirected in the credentials configuration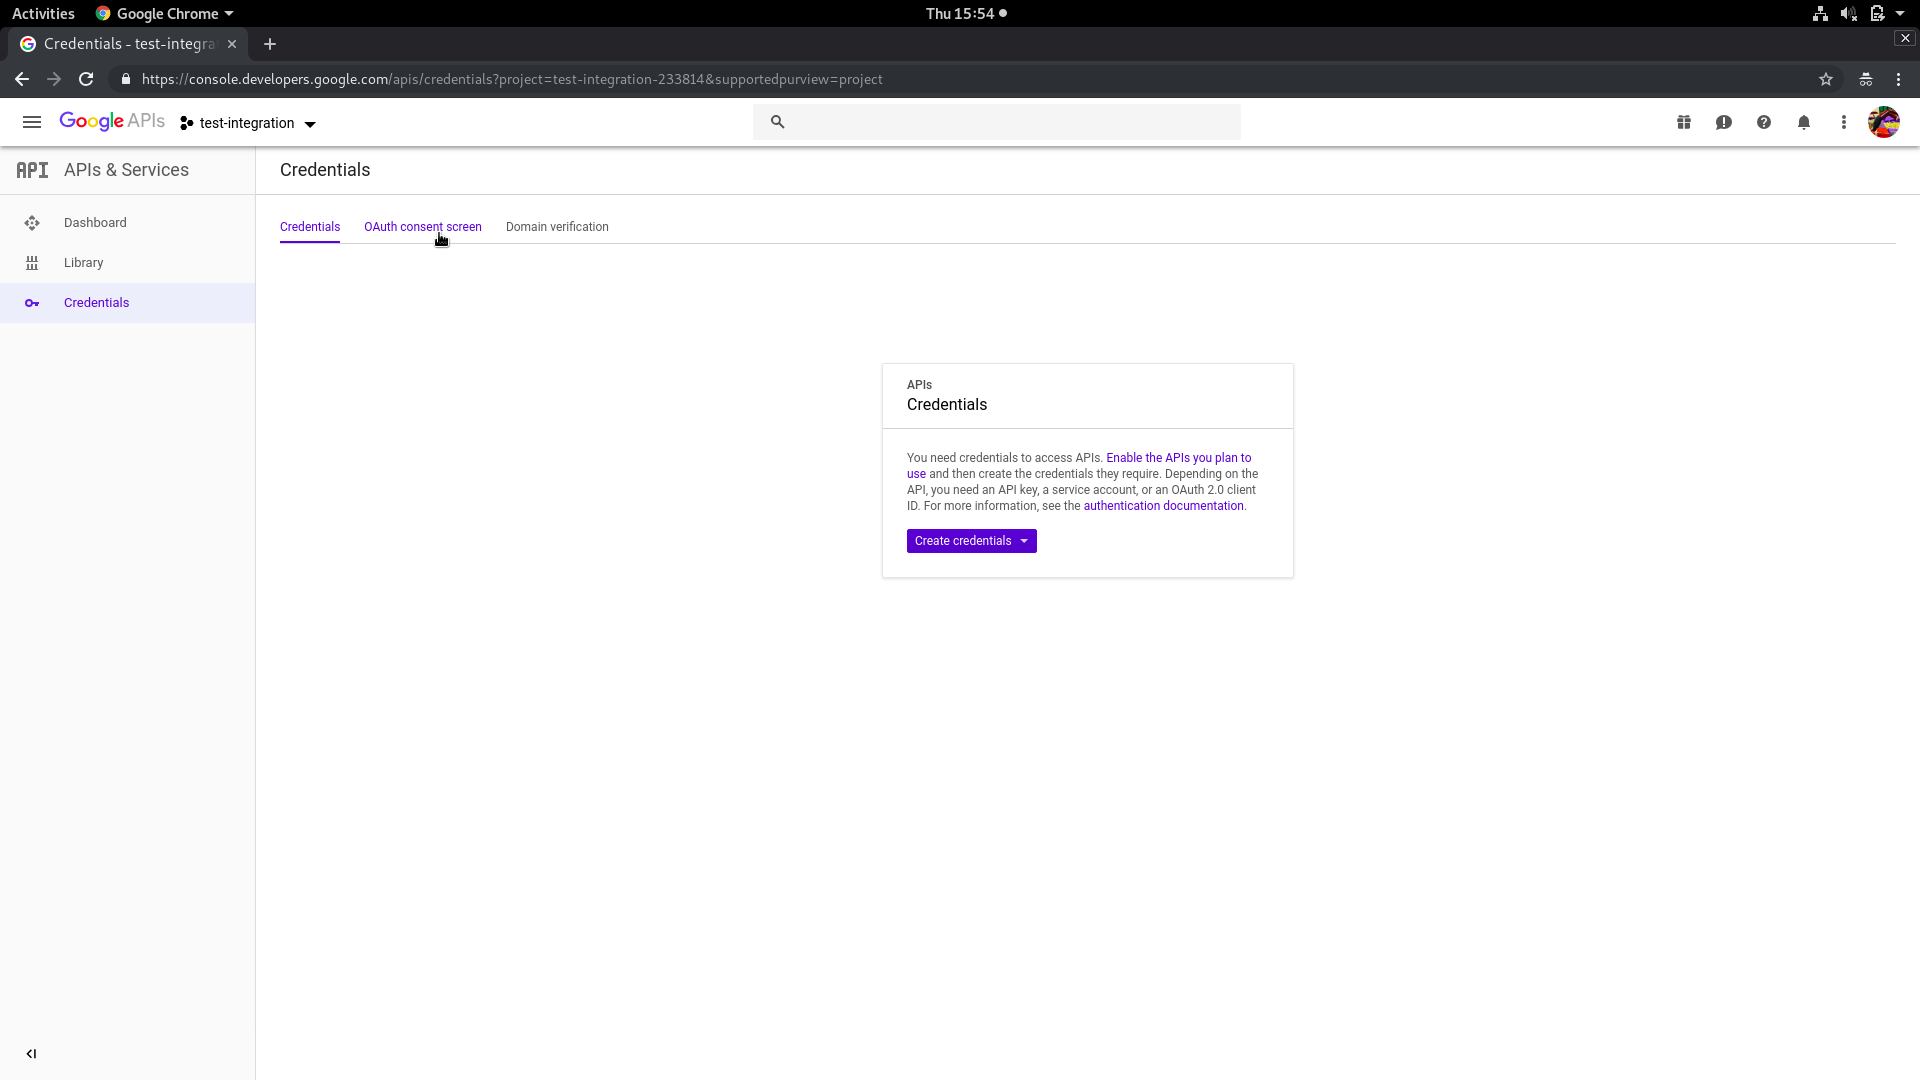
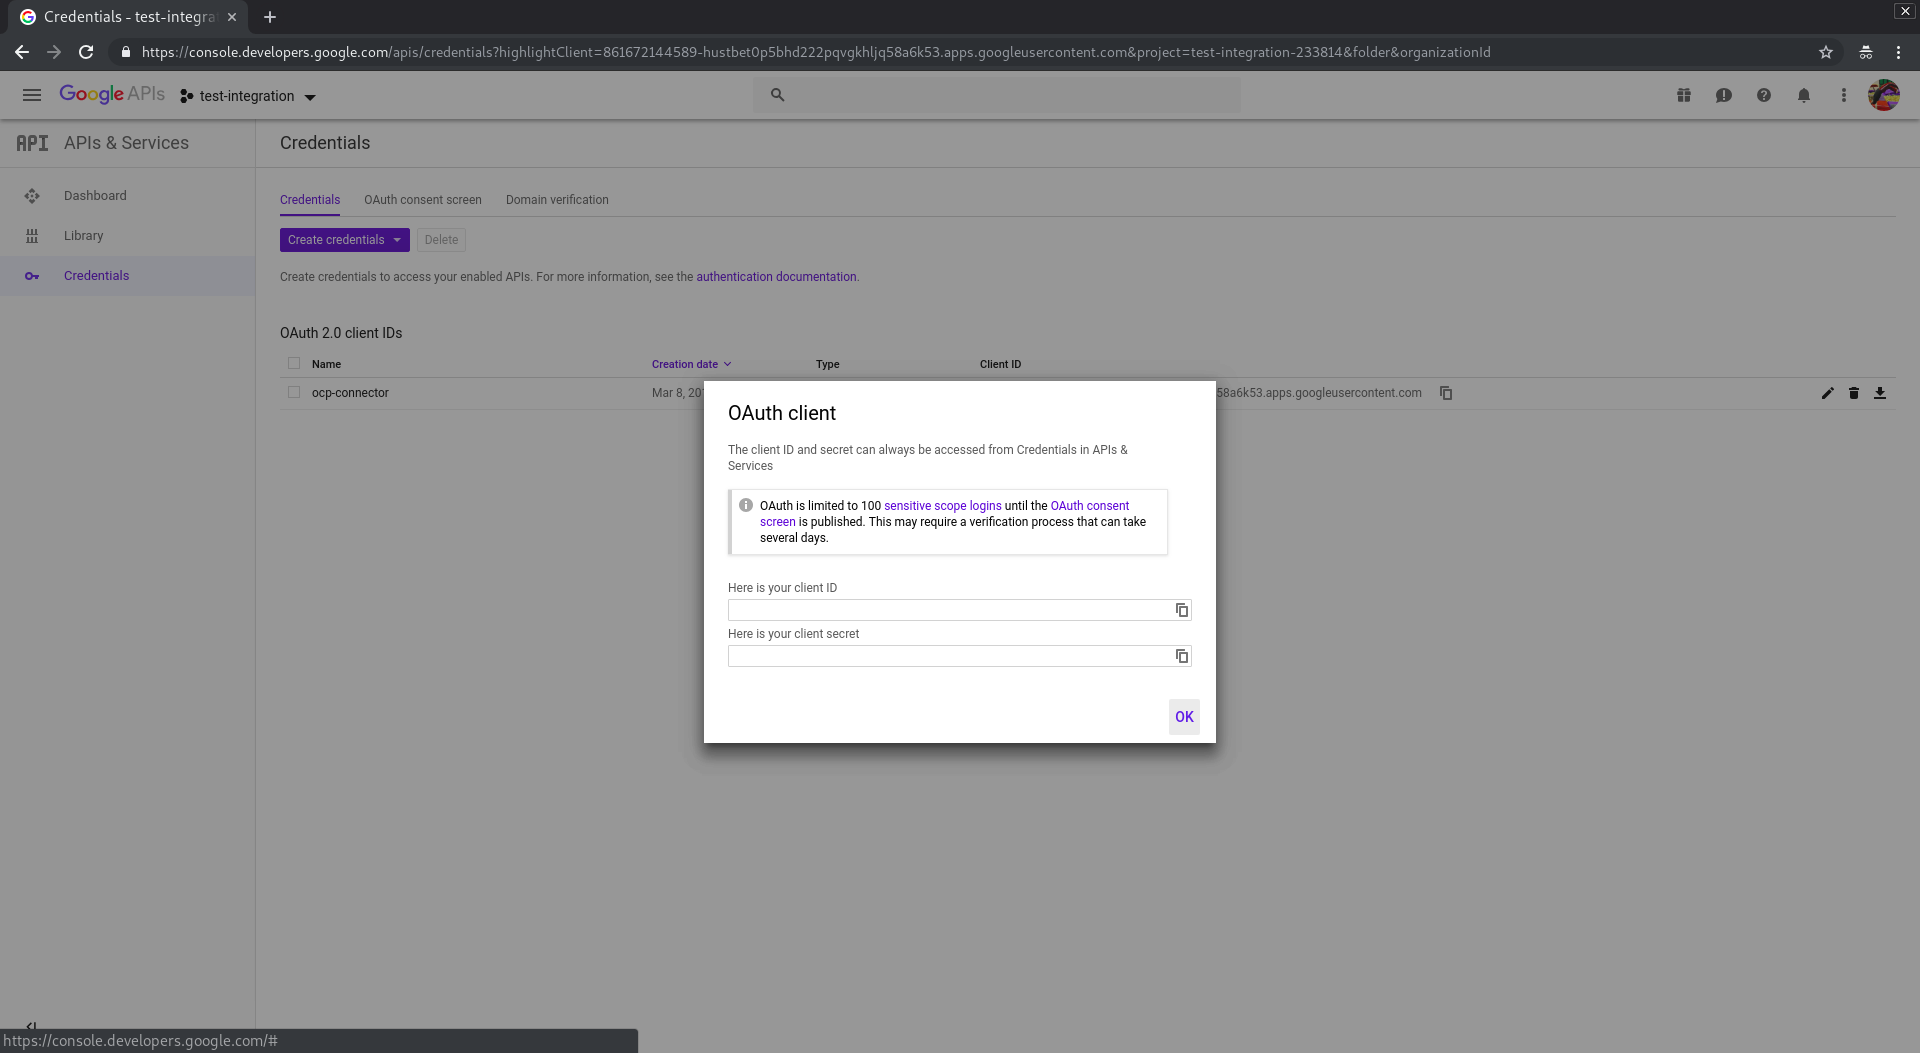
Click Create credentials and select Oauth Client ID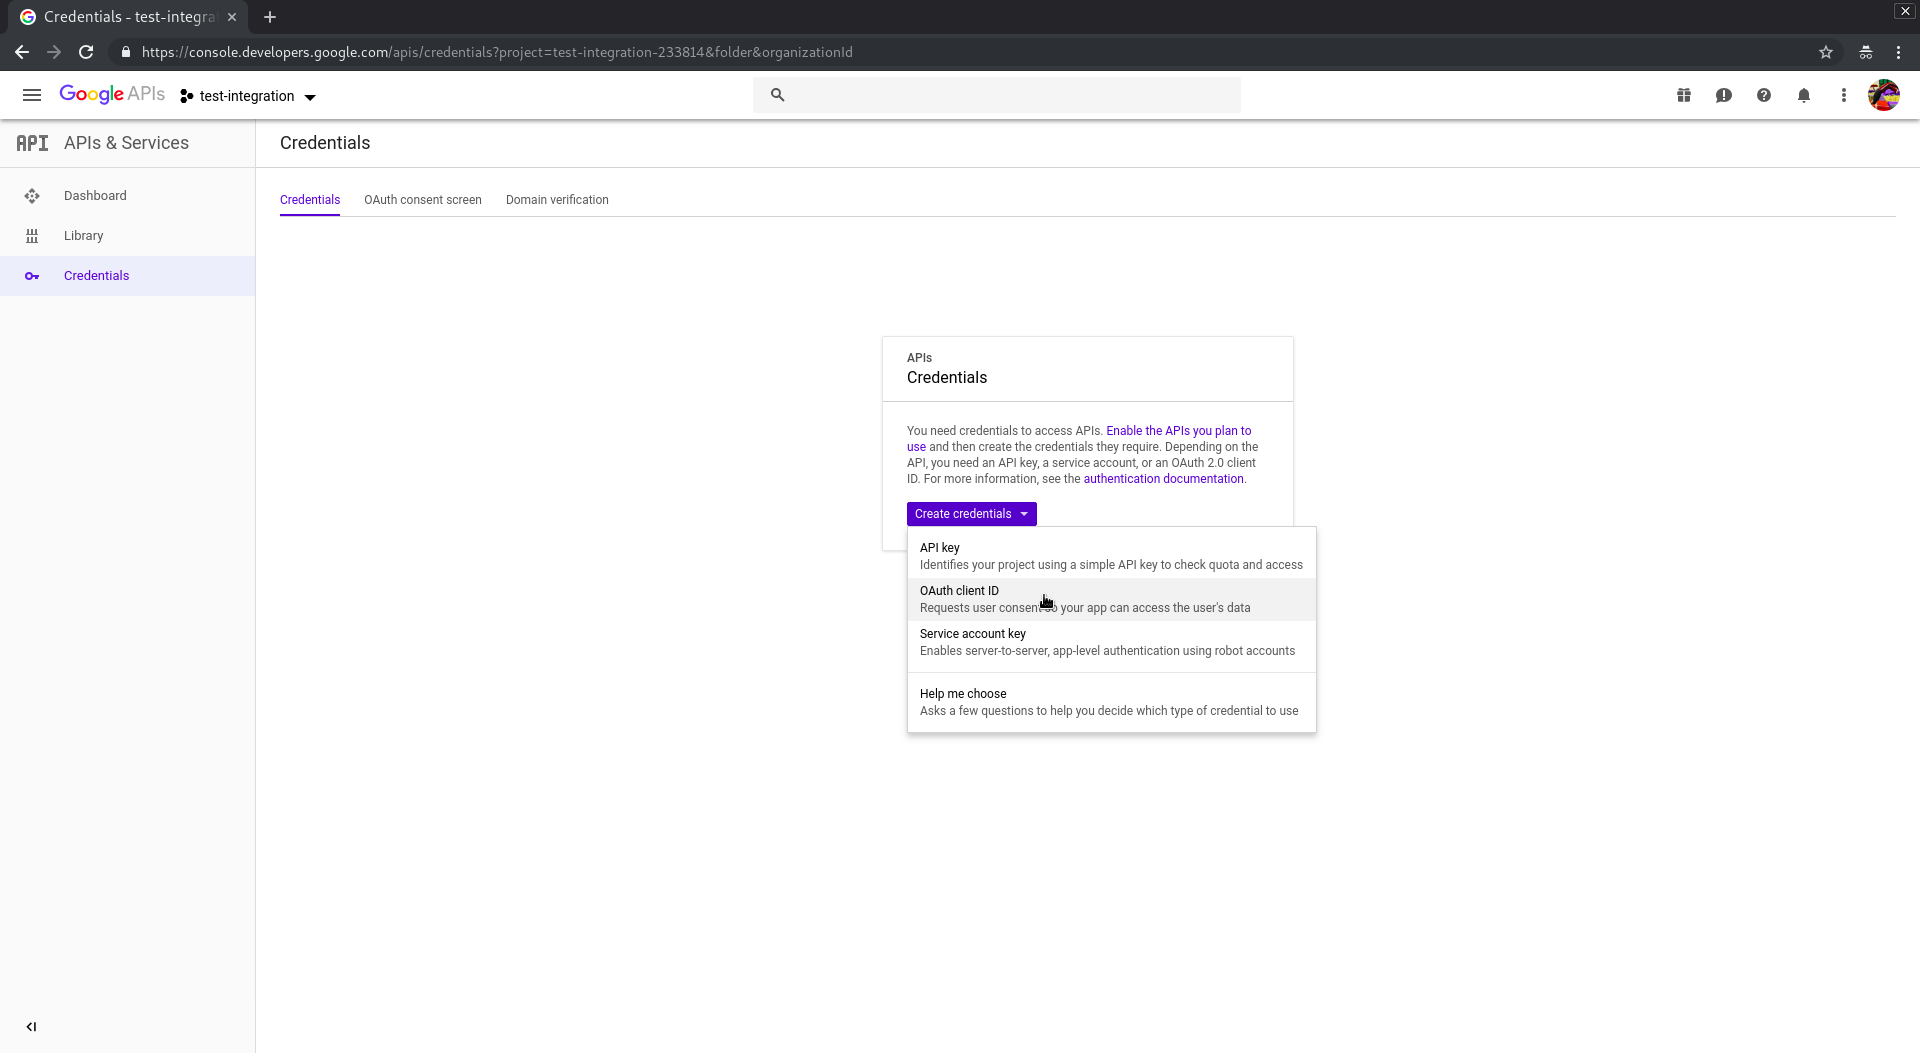
Select Web application in Application type and choose the Name. In Authorized JavaScript origins add the URI of your ocp webconsole. In Authorized redirect URIs add your callback uri. In OCP 3.11 your callback uri should be: https://<master>/oauth2callback/<identityProviderName>. The IdentityProviderName must have the same name as the one we’ll configure in OpenShift. Then click create. A popup will be shown giving you the client ID and the client secret. Save that information because we’ll need them later to setup OpenShift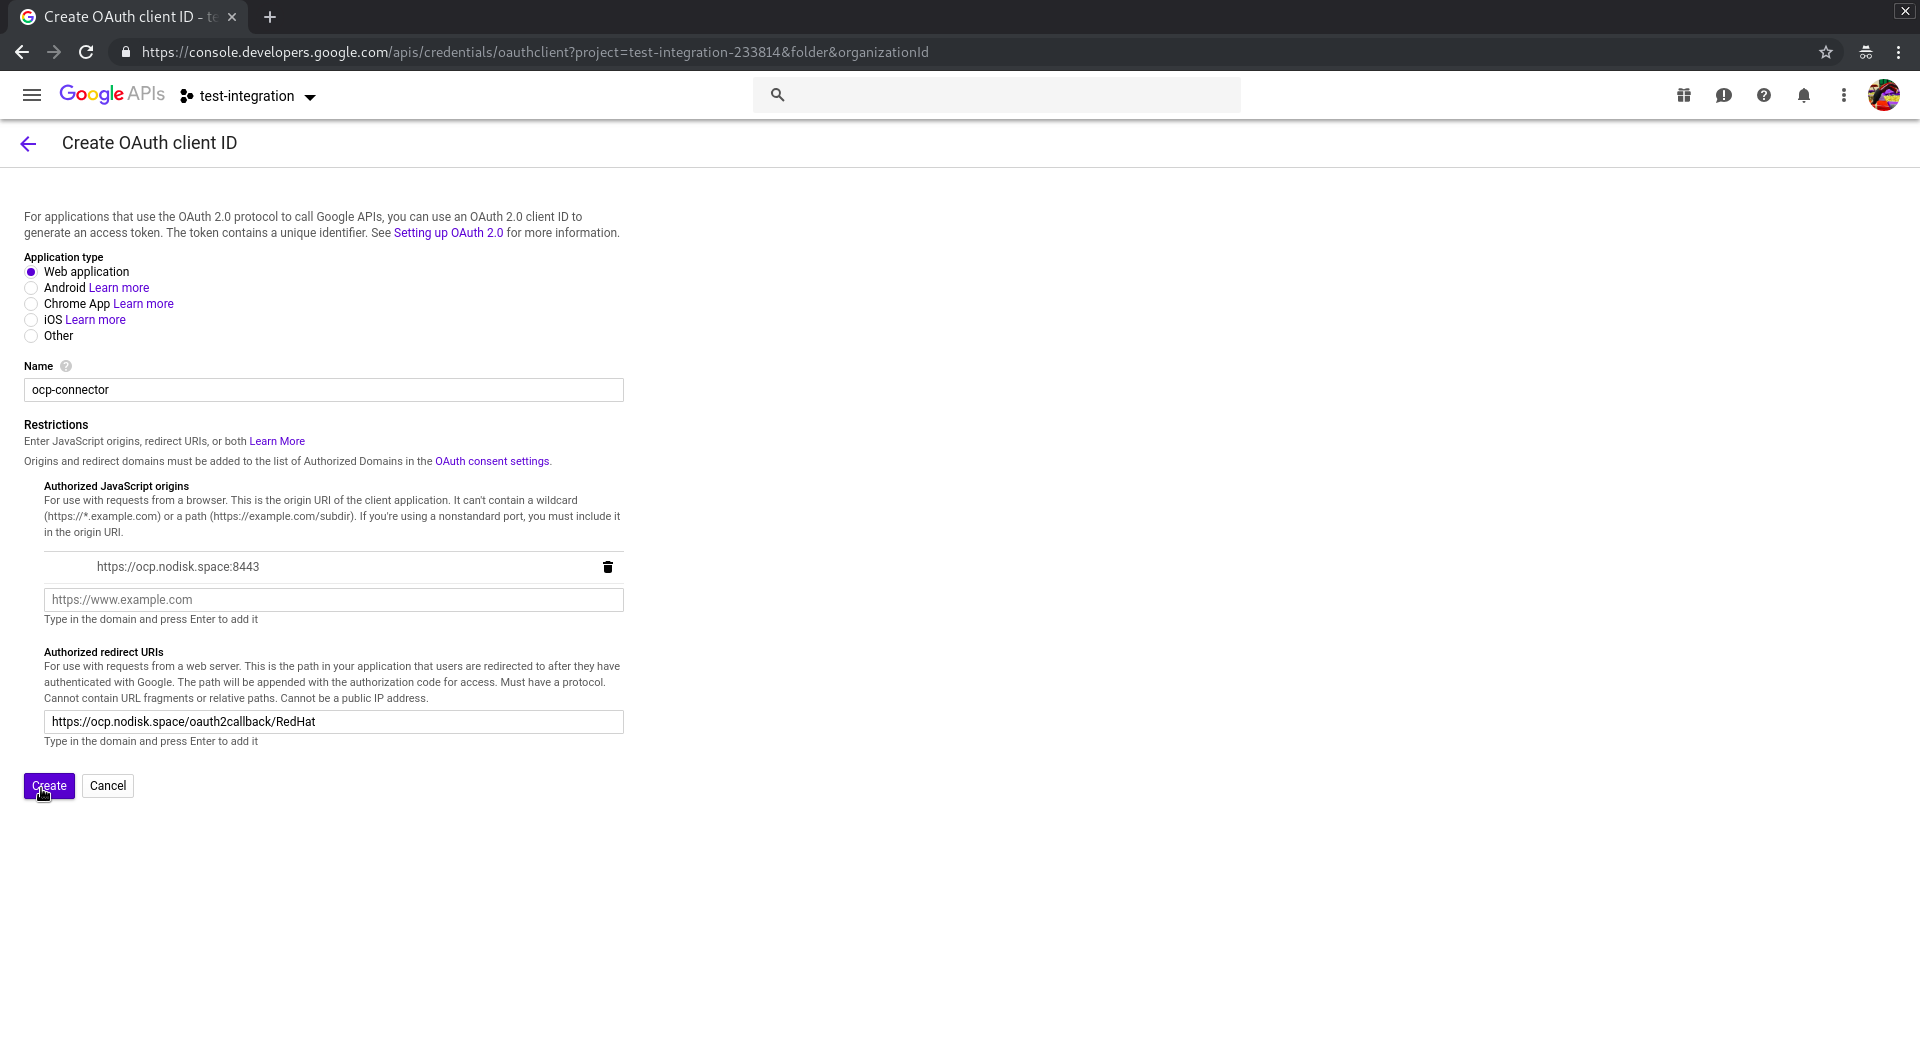
Now it’s time to configure our OpenShift. The following procedure must be done in **ALL **the masters of the cluster.
You must log in the master server and modify the /etc/origin/master/master-config.yml file adding this snippet under the section identityProviders
- name: RedHat
challenge: false
login: true
mappingMethod: claim
provider:
apiVersion: v1
kind: GoogleIdentityProvider
clientID: "xxx"
clientSecret: "xxx"
hostedDomain: "redhat.com"
name must be the same as the IdentityProviderName we have configured in the callback URI
clientID and clientSecret are the info we got in the credentials setup in google.
After that, restart api and controllers
[root@ocp-master1 ~]# master-restart api api
2
[root@ocp-master1 ~]# master-restart controllers controllers
2
[root@ocp-master1 ~]#
Now we can check if all works good. Open in your browser your OCP webconsole and select the RedHat identity provider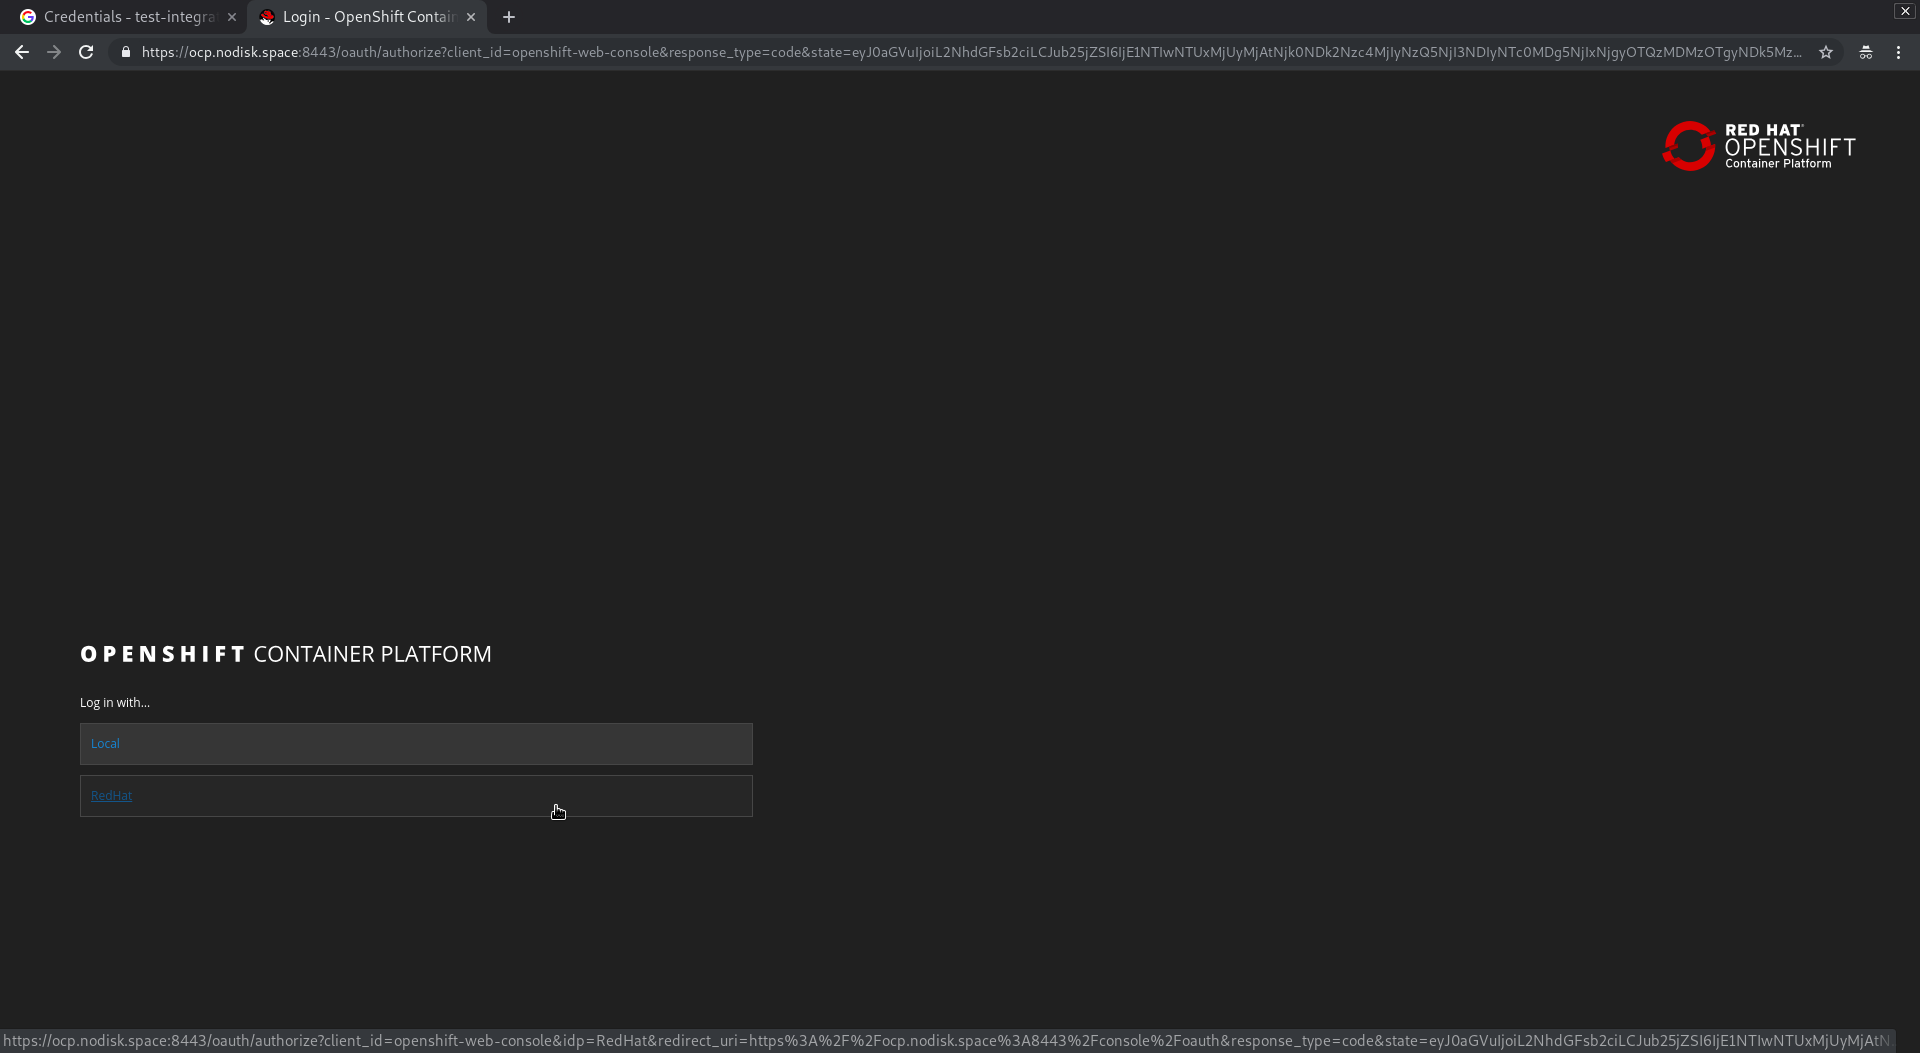
You’ll be redirect into the RED HAT INTERNAL SSO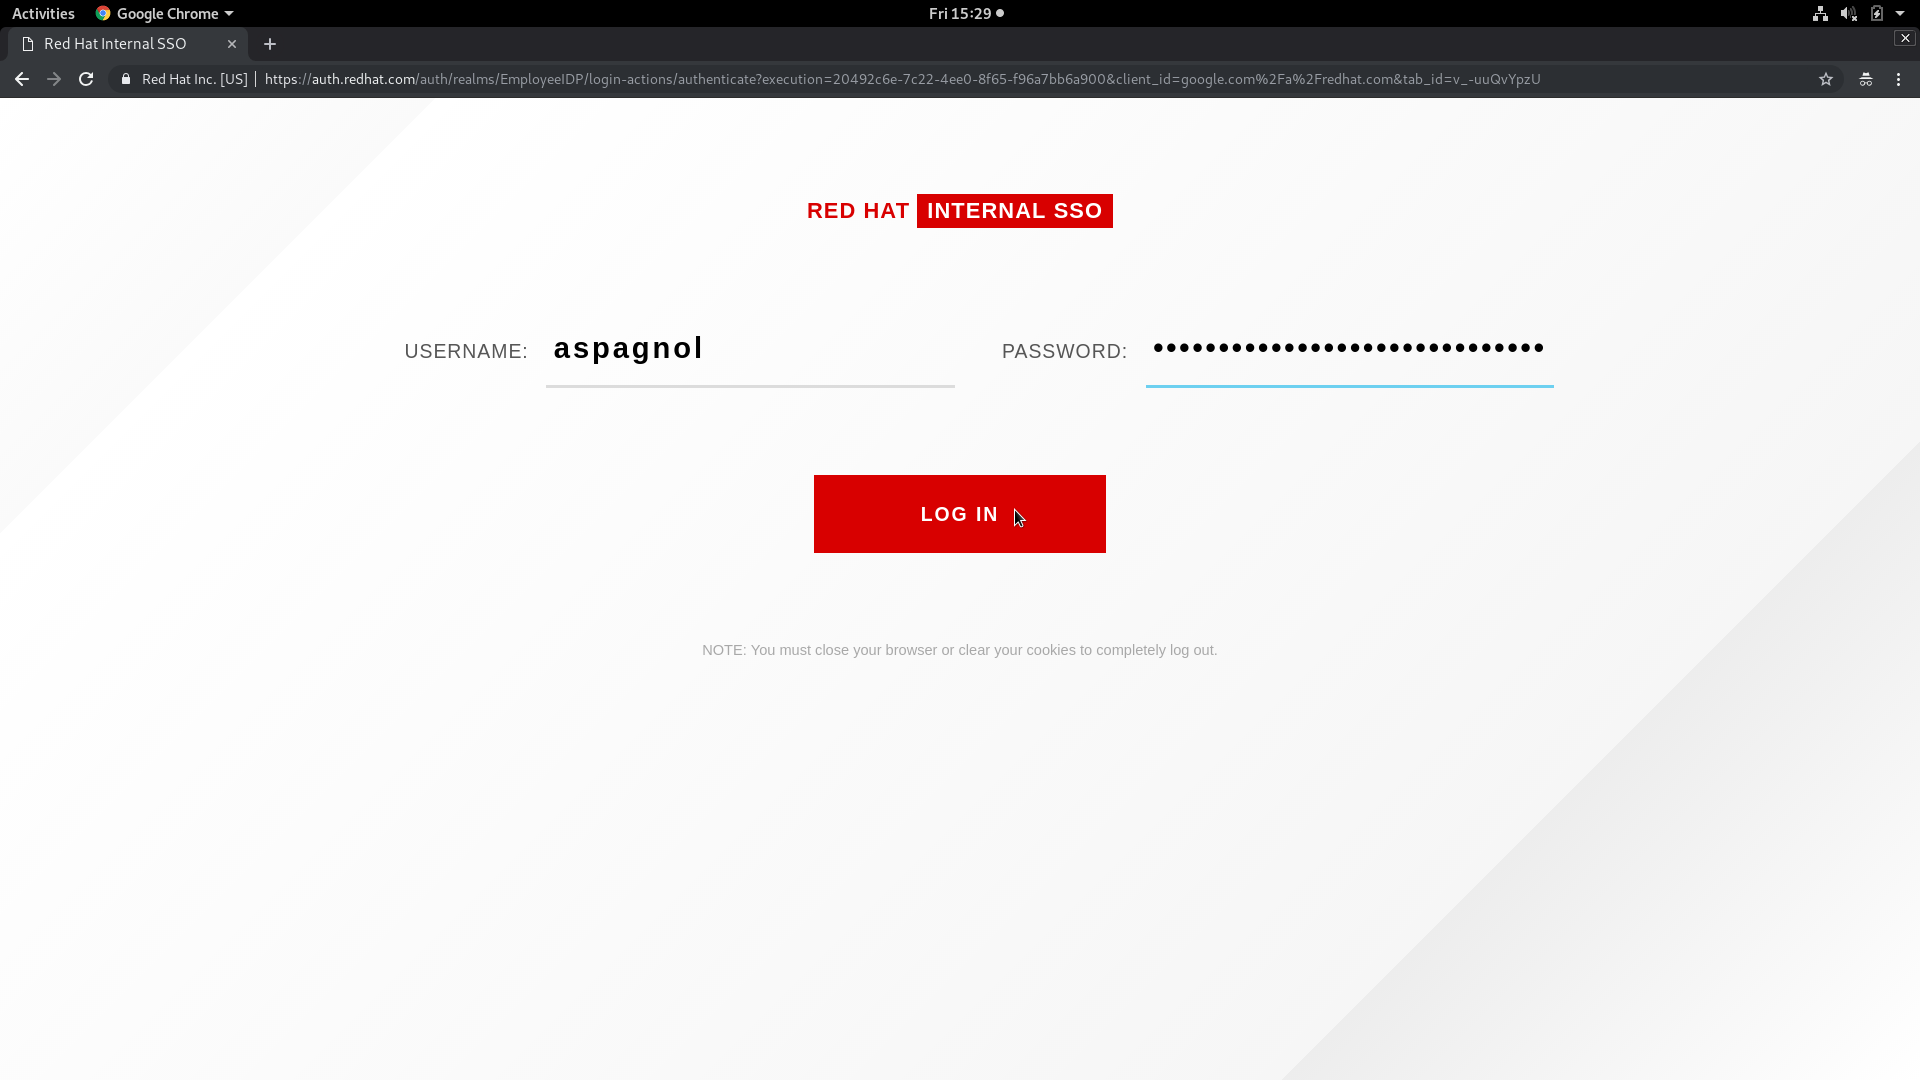
And finally you’ll have access to your OpenShift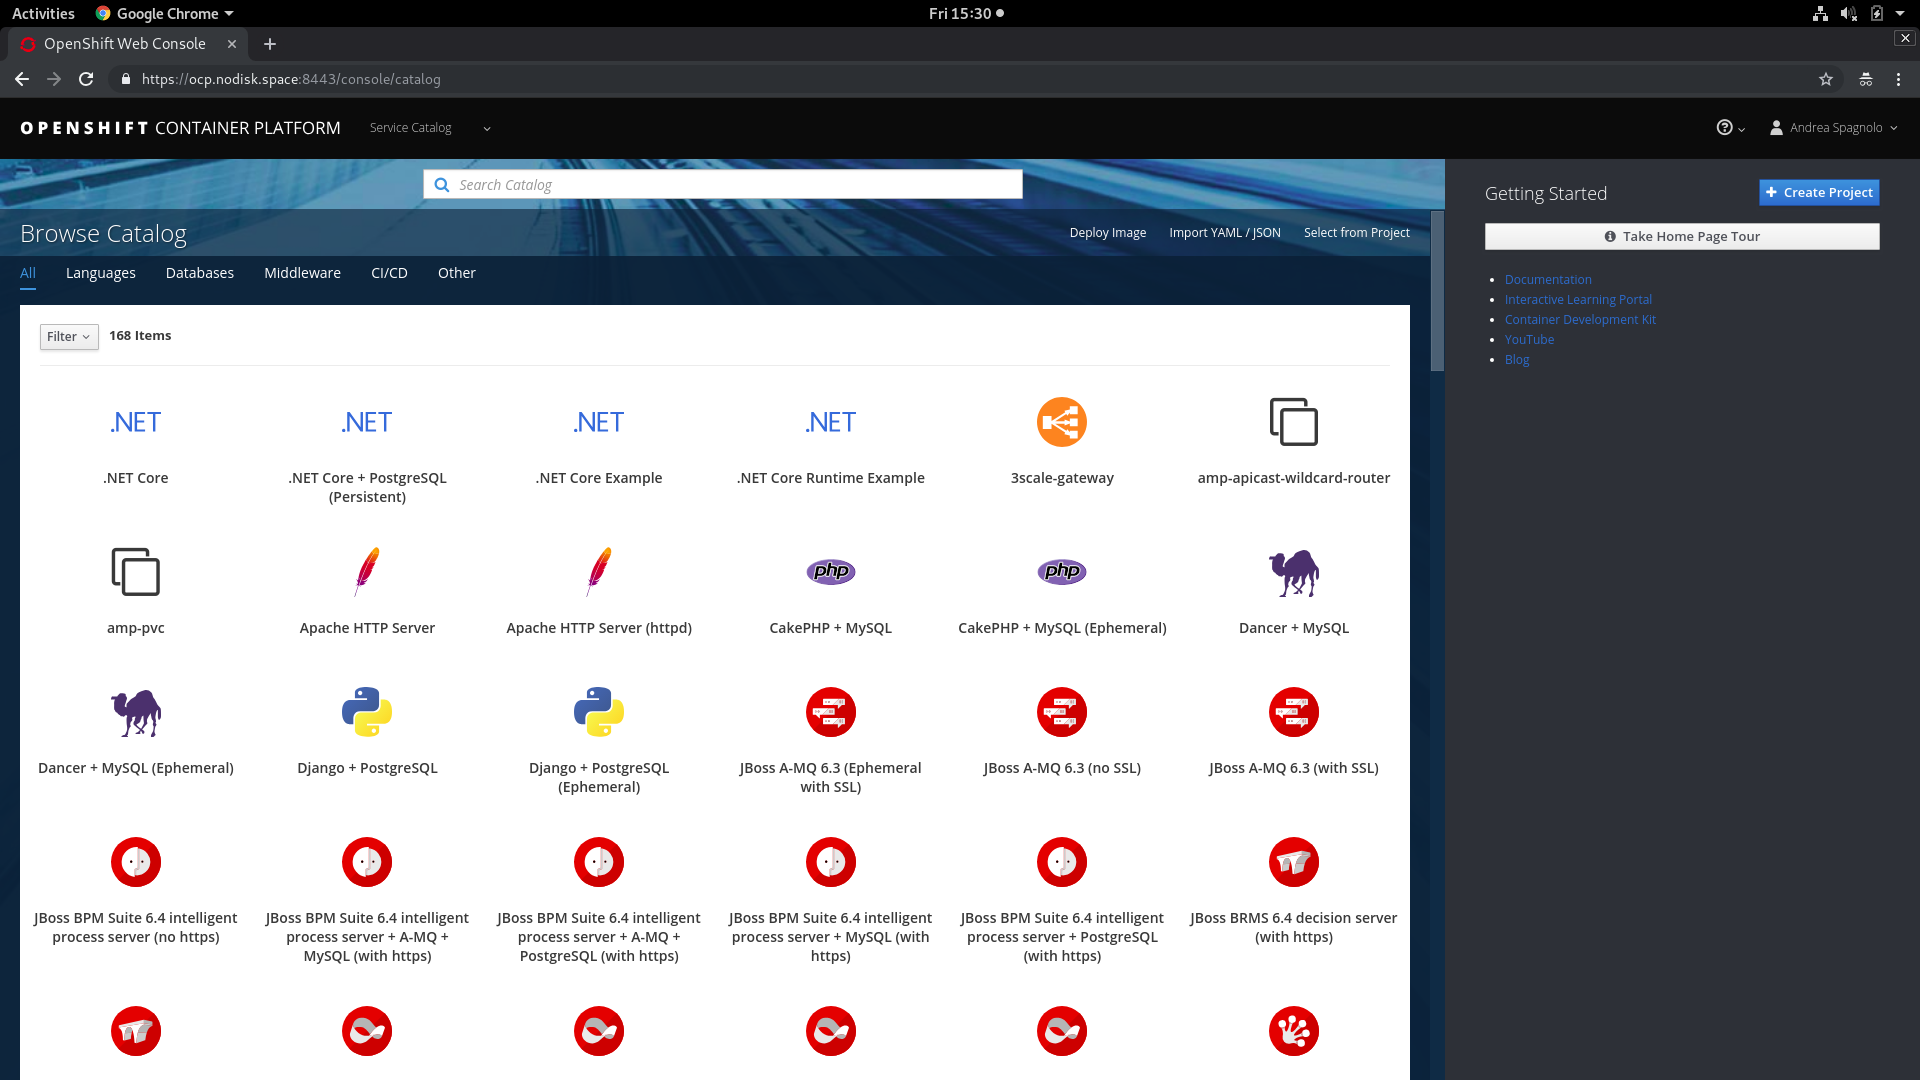
[root@ocp-master1 ~]# oc get user
NAME UID FULL NAME IDENTITIES
[email protected] f2e04e82-40d9-11e9-ac71-005056a802f7 Andrea Spagnolo RedHat:108476506439924310236
[root@ocp-master1 ~]# oc get identity
NAME IDP NAME IDP USER NAME USER NAME USER UID
RedHat:108476506439924310236 RedHat 108476506439924310236 [email protected] f2e04e82-40d9-11e9-ac71-005056a802f7
[root@ocp-master1 ~]#
Now you can manage your users directly in OpenShift and, for example, create an admin group and add the users
[root@ocp-master1 ~]# oc adm groups new admins
group.user.openshift.io/admins created
[root@ocp-master1 ~]# oc adm policy add-cluster-role-to-group cluster-admin admins
cluster role "cluster-admin" added: "admins"
[root@ocp-master1 ~]# oc adm groups add-users admins [email protected]
group "admins" added: "[email protected]"
[root@ocp-master1 ~]# oc describe groups admins
Name: admins
Created: About a minute ago
Labels: <none>
Annotations: <none>
Users: [email protected]
[root@ocp-master1 ~]#
And we can check in the webconsole
You can find the complete documentation about the Identity Providers in OCP here. You can also configure the inventory to add the GoogleIdentityProvider directly during the installation of OCP
openshift_master_identity_providers=[{'name': 'RedHat', 'challenge': 'false', 'login': 'true', 'kind': 'GoogleIdentityProvider', 'clientID': 'xxx', 'clientSecret': 'xxx', 'hostedDomain': 'redhat.com'}]
Please Note
If yours OpenShift masters need a proxy to go to internet, the proxy MUST have https://www.googleapis.com in allow because it’s needed by the server to get the oauth2 token
That’s All!